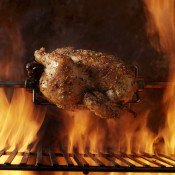
Holidays play an important part in my family’s deep-rooted traditions. A holiday wouldn’t be the same if we weren’t spending time together, most likely while enjoying a beautiful, home-cooked meal. While the ‘big’ holidays are always special, we also look forward to the casual, summertime holidays that are celebrated over grill-outs, cold beers and fireworks. Not only are these holidays fun and exciting, they are also stress-free! We’ve started the tradition a few years back of spending these summer holidays with our close friends, Chrissy, Carl and their son Lucas, who are as near and dear to us as our own family.
A few months back, as we were enjoying a Sunday dinner with our friends, we shared conversation about how much we love Thanksgiving dinner, and how it’s a shame to enjoy such a great meal only once a year. This immediately led us to deciding on having a Friendsgiving Dinner on Memorial Day weekend. The timing would be perfect – it would be exactly 6 months until the actual Thanksgiving holiday, and we would have the rest of the summer to grill up burgers and hot dogs. From there, the wheels were in motion and the menu was planned between all of us…and a new holiday tradition was born!
The Menu
We decided to stick with a traditional Thanksgiving menu: stuffing, mashed potatoes, sweet potato casserole, cranberry sauce, cold apple cider, a pumpkin dessert and, of course…the turkey. Chrissy and Carl also kicked the mood up a notch by digging out their Thanksgiving decorations and playing A Charlie Brown Thanksgiving DVD…complete with popcorn as a snack. Since Memorial Day is the official kick-off to summertime (Carl’s awesome mojitos were a nice reminder of this), I thought it would be fun to cook the turkey on the grill. I have always heard that grilled turkey is fantastic, so what better opportunity to give it a go?
*Note – there was one additional item added to the menu, which I will be sharing in the future. Trust me, it’ll be worth the wait!
The Turkey
The first thing that I learned right out of the gate was that whole turkeys aren’t cheap this time of the year (and the local supermarkets aren’t giving away free turkeys with your bonus points). To not risk over-grilling a $45 bird, I decided to just go with a 6lb turkey breast. An additional benefit to going this route is that you can always purchase legs and wings separately, so you can prepare as many as needed. Being that this was my first try at grilling a turkey, I spent a good amount of time doing my research on the proper cooking methods. One of the key steps that I followed was to soak the turkey overnight in a brine. Not only does brining add flavor to the turkey, it also adds extra moisture to avoid the turkey from getting dried out while on the grill.
Brine Recipe
1-1/4 cups coarse salt
1 cup packed light-brown sugar
1 gallon cool water
Place water, salt and sugar into a large pot, bring to a slow boil. Remove from heat, let cool completely. Place turkey breast into pot, be sure to cover completely with brine. Cover the pot tightly with a lid, refrigerate for 8-12 hours. Rinse brine off of turkey breast before seasoning.
After rinsing the brine off of the soaked turkey, I brushed it with 1 cup vegetable oil, then coated the entire bird, inside and out, with 1 tbspn Italian seasoning and some salt and pepper.
There are a few methods for grilling a turkey that I found online. The most common method that I found and decided to follow was to cook the turkey sitting over a drip pan, using indirect heat. After warming the grill up to 350˚, I placed the seasoned turkey breast, skin side up, on a rack and placed it inside of a roasting pan. I added 1 cup of water to the roasting pan (adding additional liquid as needed while grilling, to prevent the drippings from burning. I sat the roasting pan over indirect heat and let it go for 1 hour and 45 minutes, until the internal temperature of the turkey was 165˚. After removing it from the grill and letting it rest for 20 minutes, the turkey was ready to be sliced. While the turkey was resting, I put the drippings to good use by making a home-made gravy (click here for the recipe).
If you are looking for a new method for making a turkey, I highly recommend grilling it. There is minimum prep time and effort involved, and if you follow the brining method, you will be sure to end up with a turkey that is flavorful and juicy!
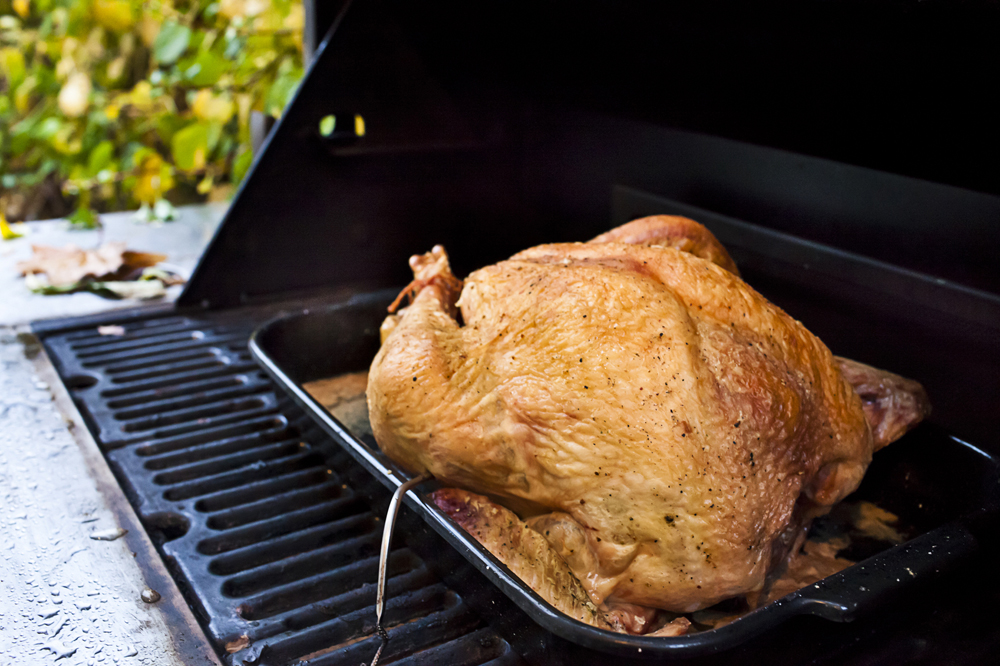
Whole turkey cooked on a gas barbecue, using a roasting pan. Image courtesy of istock.com
What, No Cranberries?!?
Aside from finding out that turkeys are not in large supply this time of year, it was also a challenge to find fresh cranberries for my home made cranberry sauce. Instead of resorting to frozen cranberries, I thought it would be fun to add a bit of a summertime flavor to the table by making Bon Appetit’s Cherry Compote recipe (click here for the recipe). This an excellent substitute to the traditional cranberry sauce. It offered a nice summertime sweet/tart flavor combination, and the leftovers worked very well served over vanilla ice cream!
You Can’t Forget the Pumpkin!
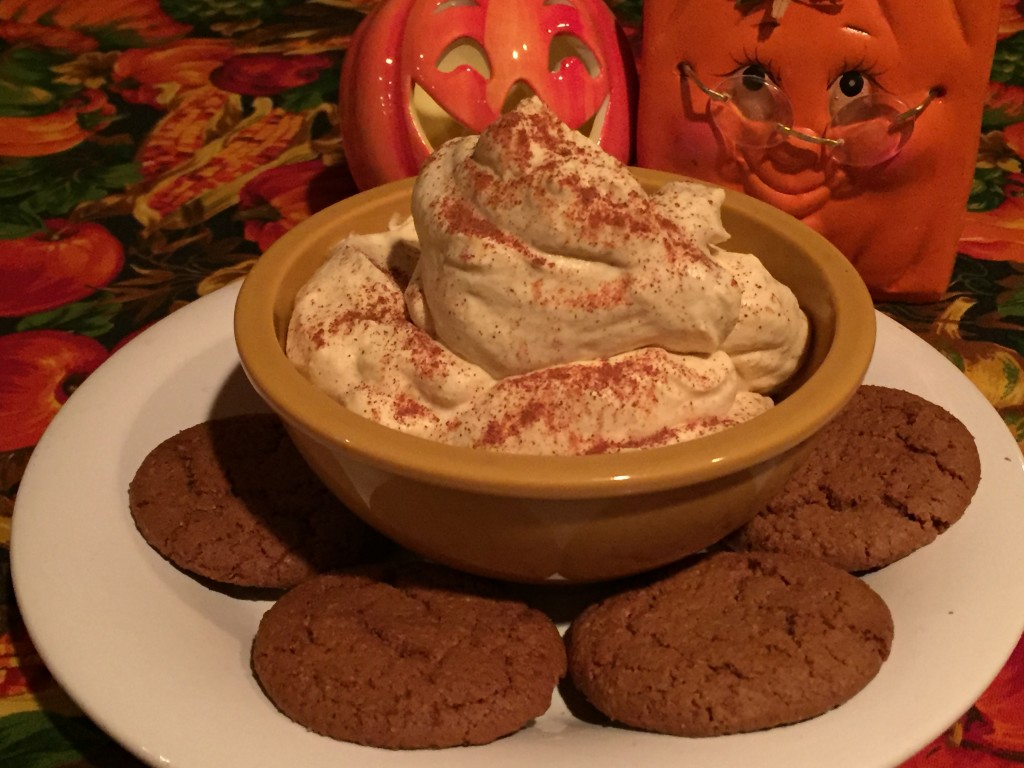
It’s no secret that I am a nut for all things pumpkin. Even though we are not in pumpkin season, we made sure that it would somehow be represented at our Friendsgiving meal. For dessert, my wife Daria made a pumpkin crisp that has been a signature at our family’s Thanksgiving dinner for a few years now. We made sure to add a scoop of vanilla ice cream, which put this dessert over the top!
Pumpkin Crisp
(Originally posted at myrecipes.com)
1 (15 oz) can pumpkin
1 c. of evaporated milk
1 c. sugar
1 tsp vanilla extract
1/2 tsp. ground cinnamon
1 (18.5 oz) pkg butter-flavored yellow cake mix
1 c. melted butter
Optional:
1 c. chopped pecans
Ground nutmeg
Whipped cream
Vanilla ice cream
Preheat oven to 350F. Stir together the first five ingredients. Pour into a lightly greased 13×9 inch baking dish. Sprinkle cake mix evenly over pumpkin mixture (if you wish to add pecans, sprinkle them evenly over cake mix). Drizzle melted butter over cake mix. Bake at 350F for 60 – 65 minutes or until golden brown**. Remove from oven and let stand for 10 minutes before serving. Serve warm or at room temperature. IF desired, serve with whipped cream, sprinkle of nutmeg or vanilla ice cream.
** If baking ahead of time, I baked for about 55 min then re-heat again for another 10 min before serving.
I am very fortunate to be thankful for a lot of things in my life, most of all for my family and friends. I am also thankful that we started a new tradition to look forward to every Memorial Day!
Here’s to friends…and Friendsgiving!
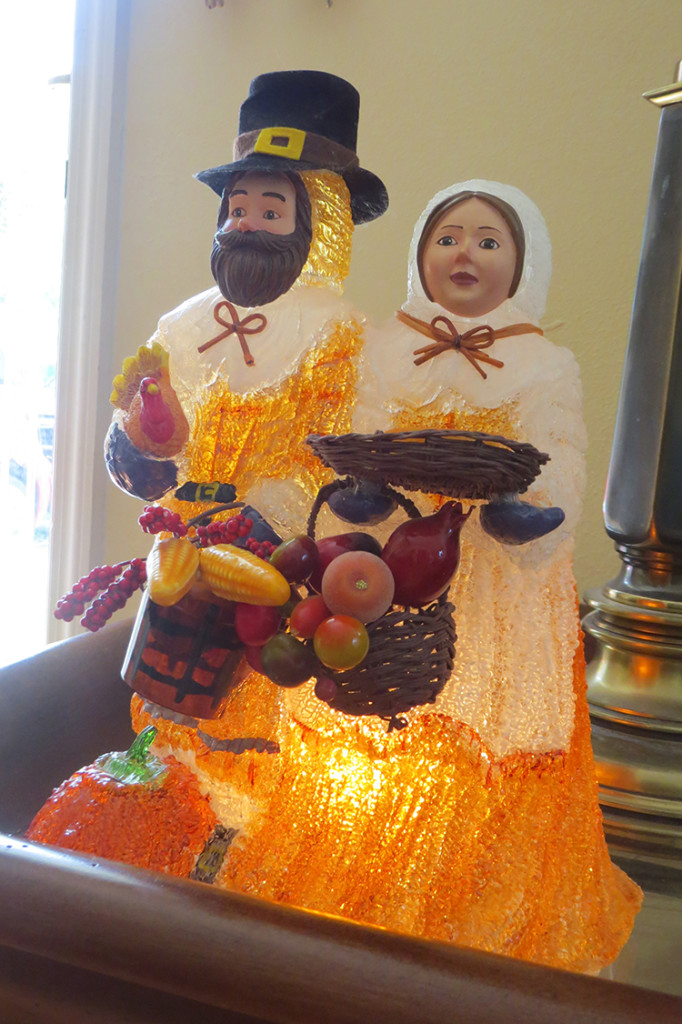
Friendsgiving mascots!
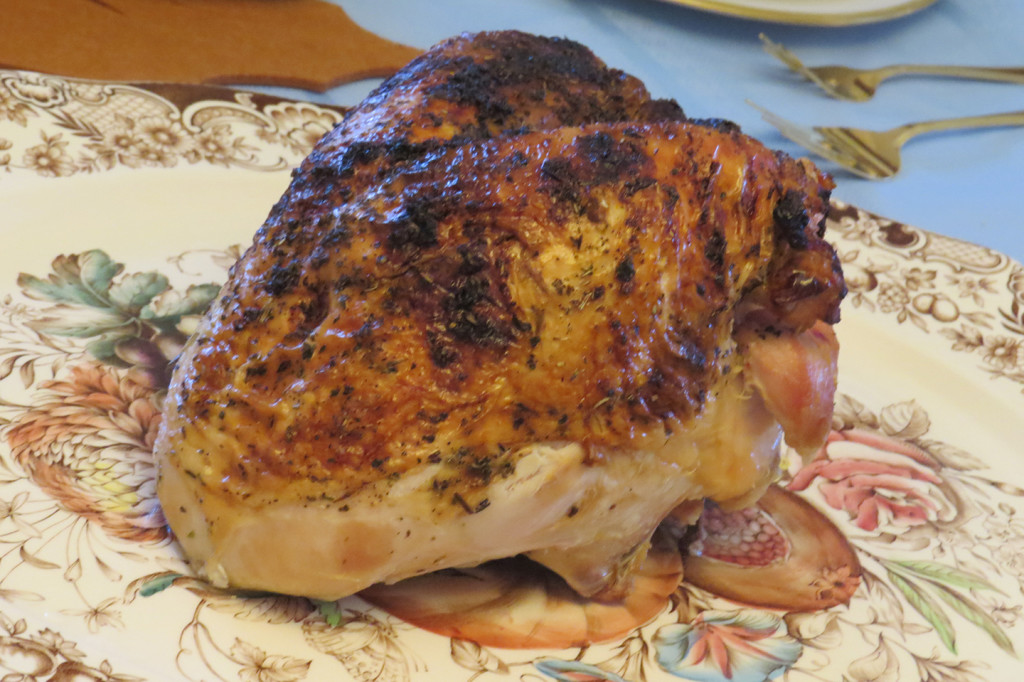
The turkey breast, fresh off the grill!
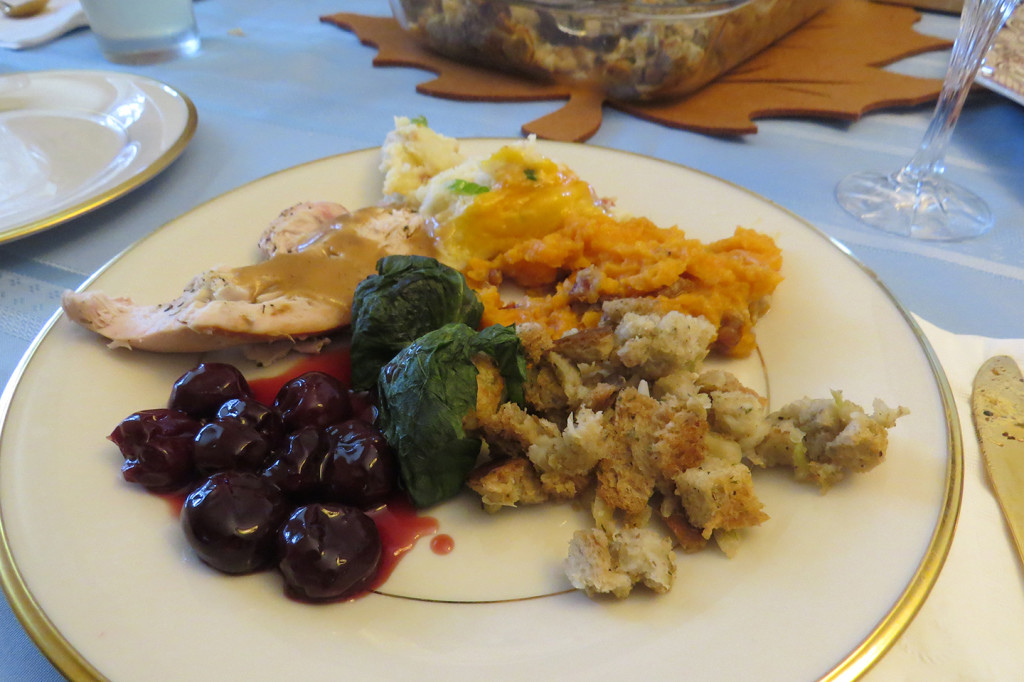
…and dinner is served!




Recent Comments