
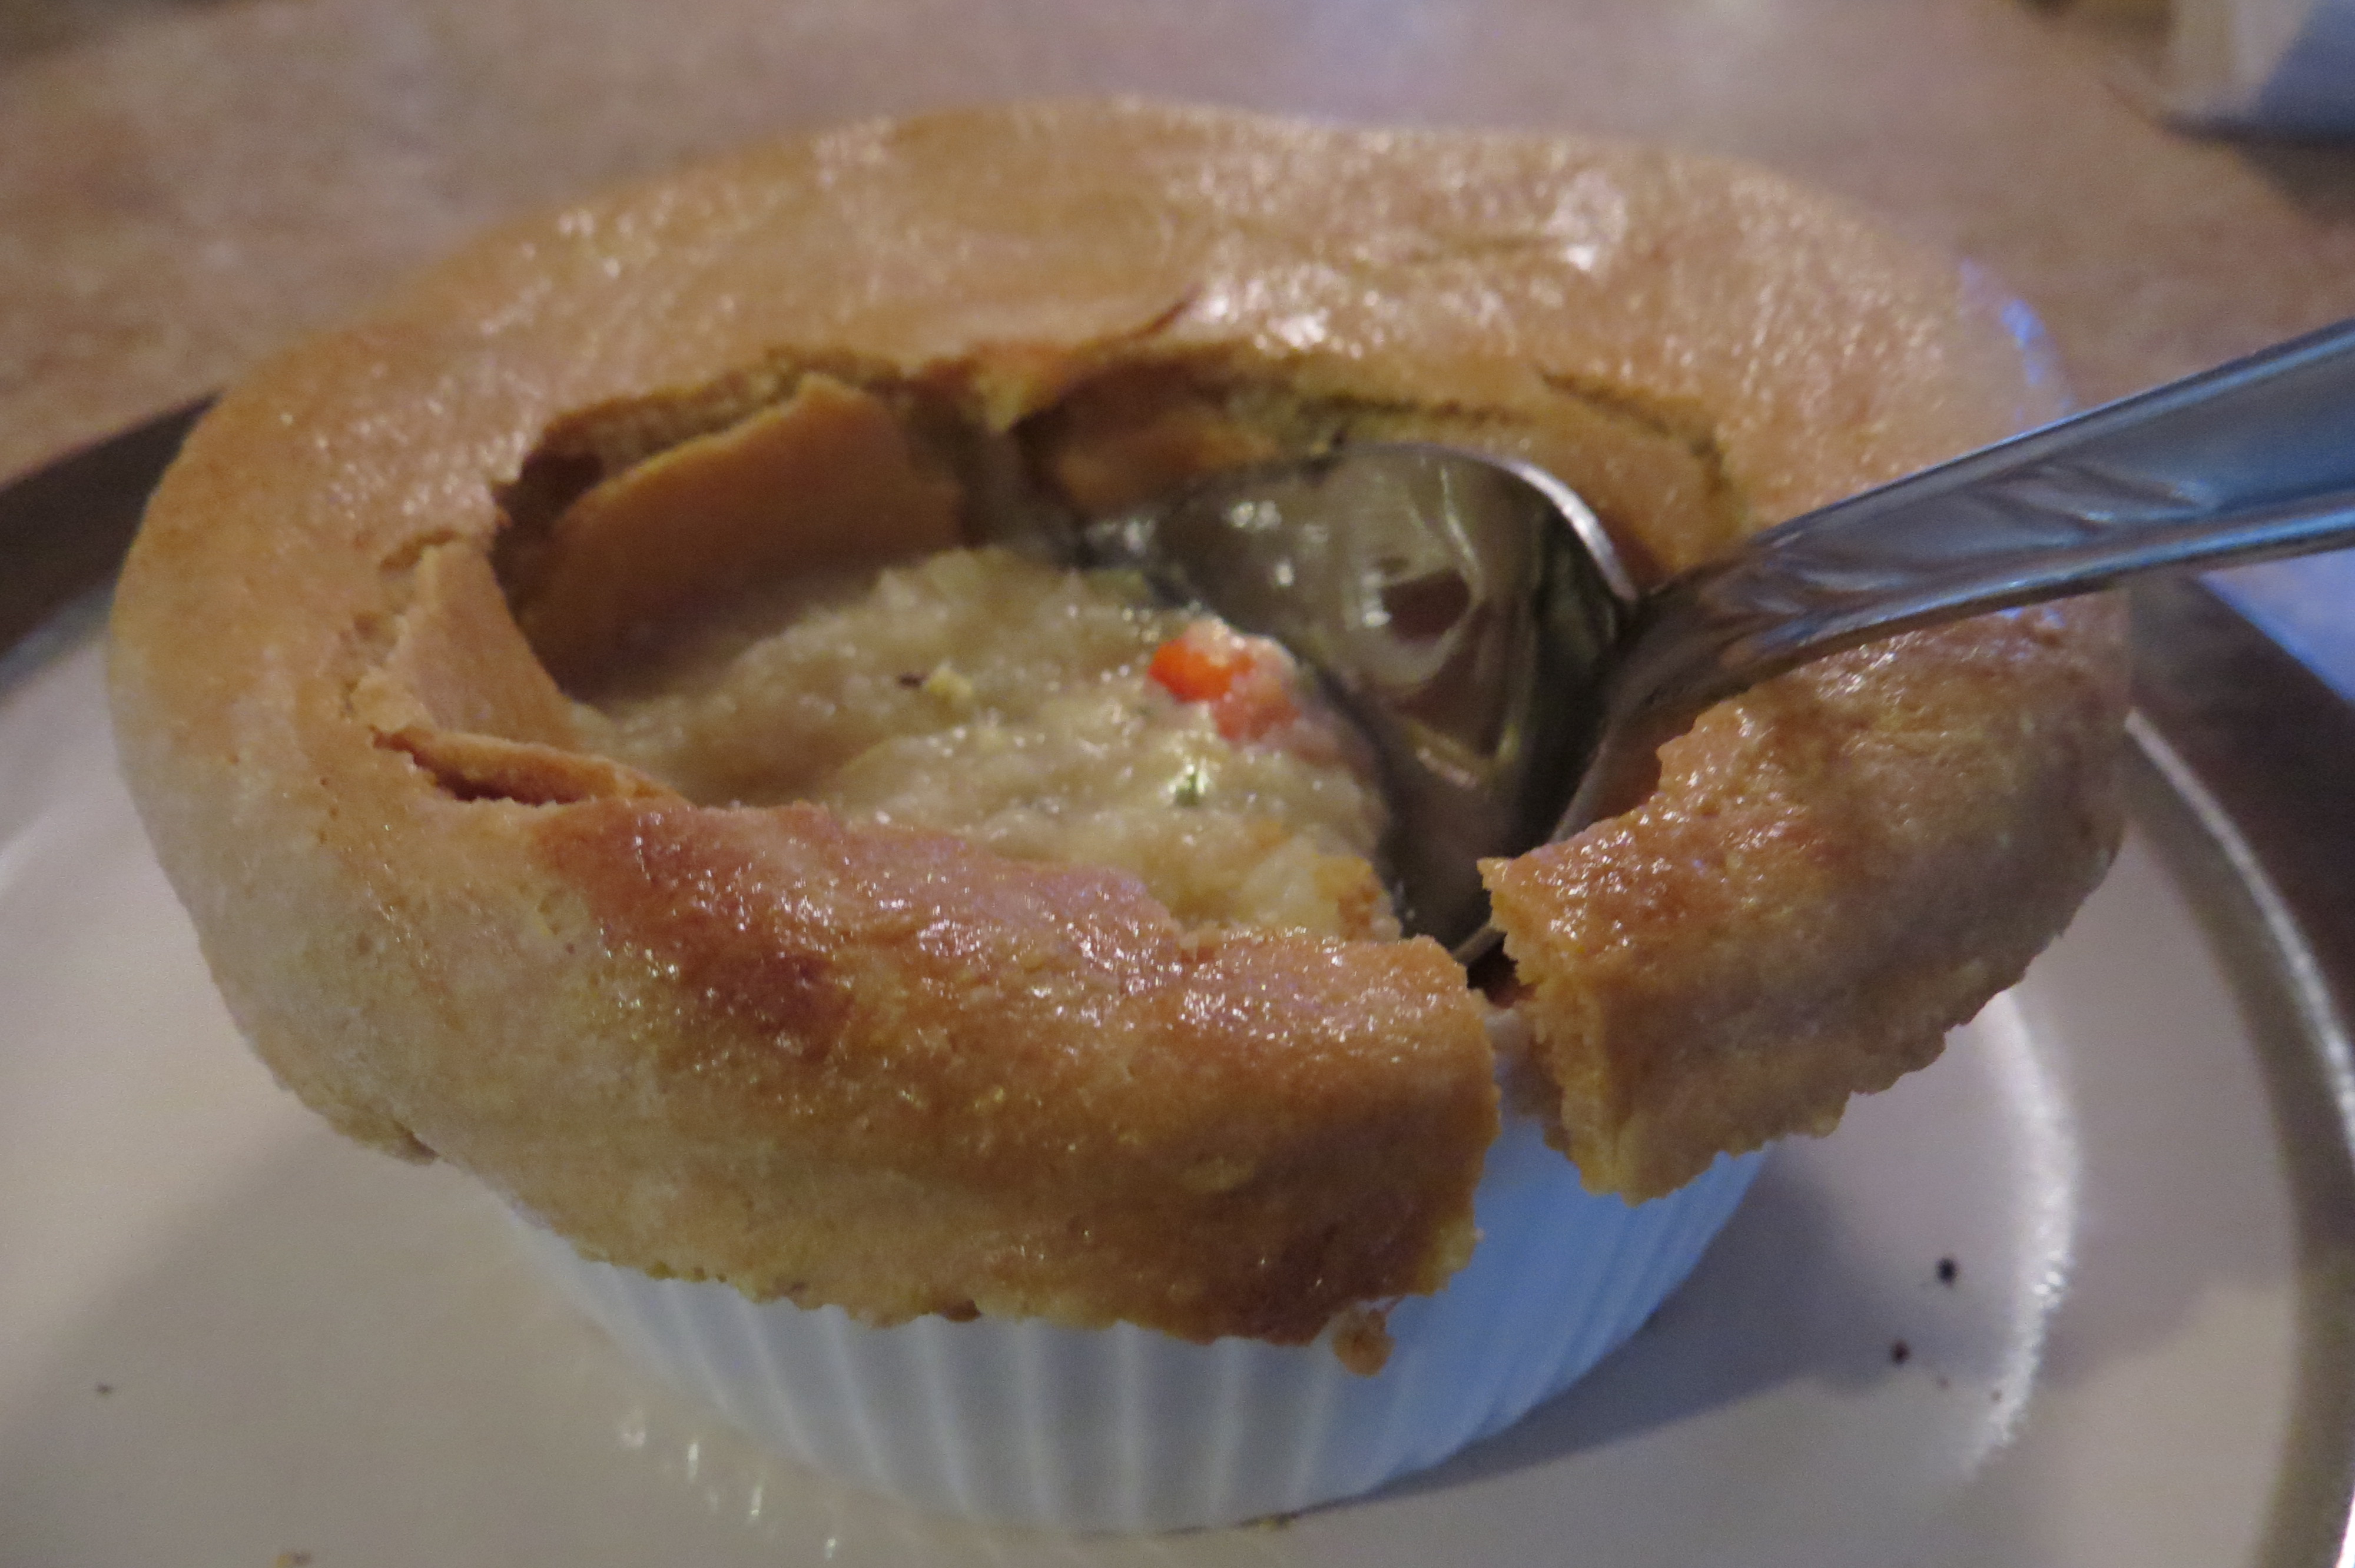
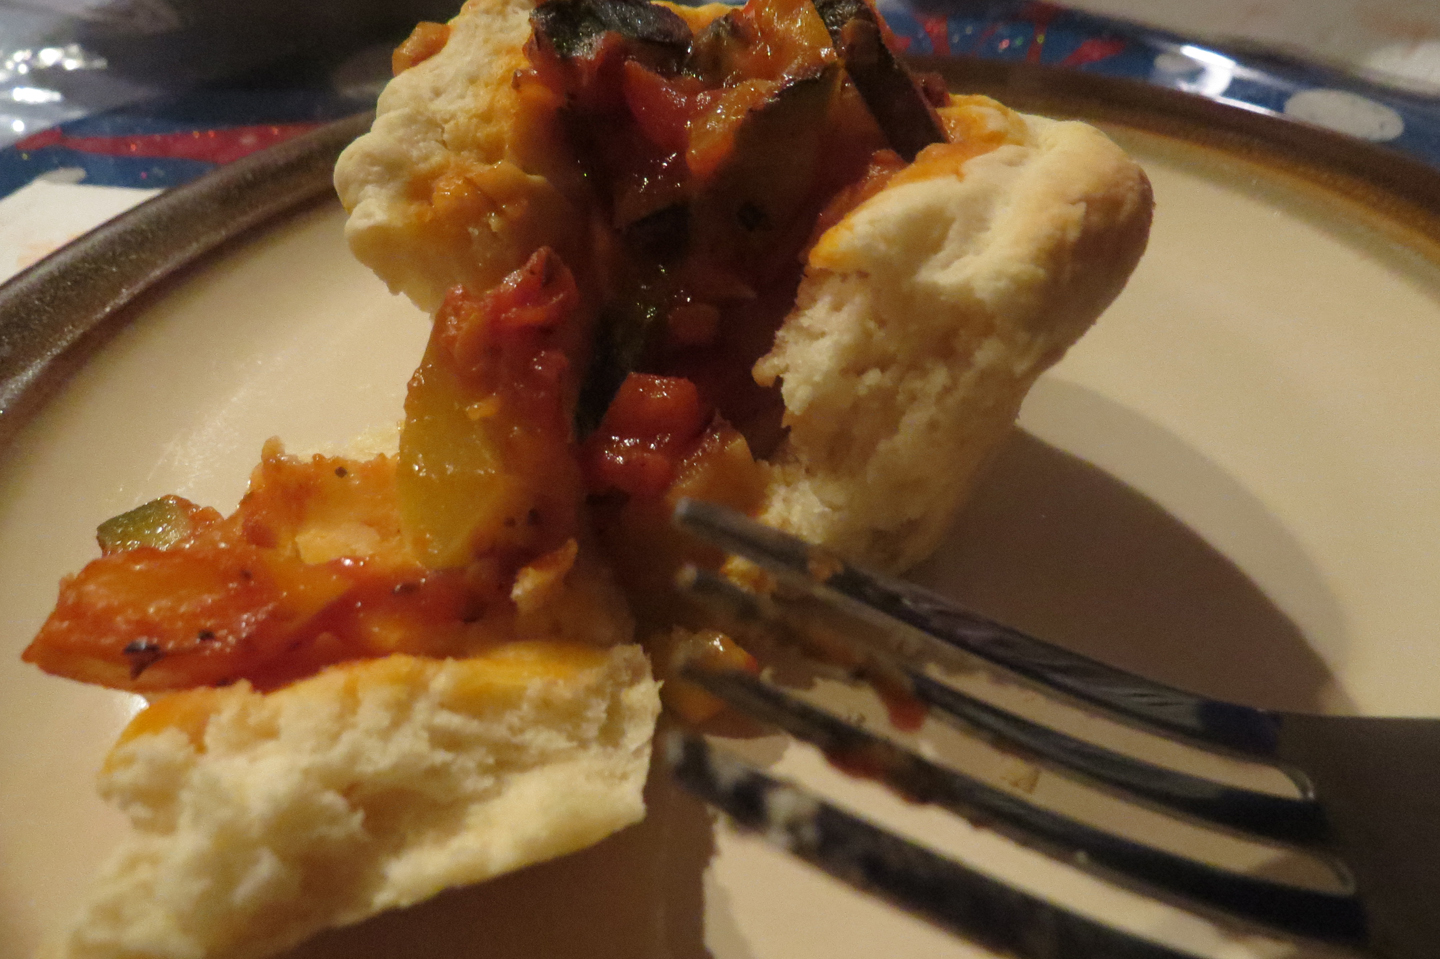
Crab and Corn Chowder Pot Pie

The idea for this recipe has been simmering on my “to cook” list for a while now. I finally had the opportunity to put this dish together recently, and I’m very happy to say that it was everything that I was hoping for. Crab and corn are a classic combination to begin with, so I knew that adding crab meat to a creamy corn chowder would work well. Because cornbread is often served up with corn chowder, I decided to use cornmeal when making the dough for the pot pie, so that the grainy and sweet cornbread flavor would be incorporated in every flaky bite of the pot pie crust. The addition of the cornmeal to the dough worked as well as the crab meat did in the chowder. When all of the ingredients were finally combined, the end result was incredibly tasty and very enjoyable. Normally, I would save a creamy chowder or a pot pie dish for the cold winter season. This dish however is a bit lighter and sweeter than a traditional winter chowder, so it can be enjoyed just about any time of the year. And if you’re not in the mood for a hearty pot pie, you can serve up the easy to make chowder on its own!
Crab and Corn Chowder Pot Pie
Step 1: The Chowder
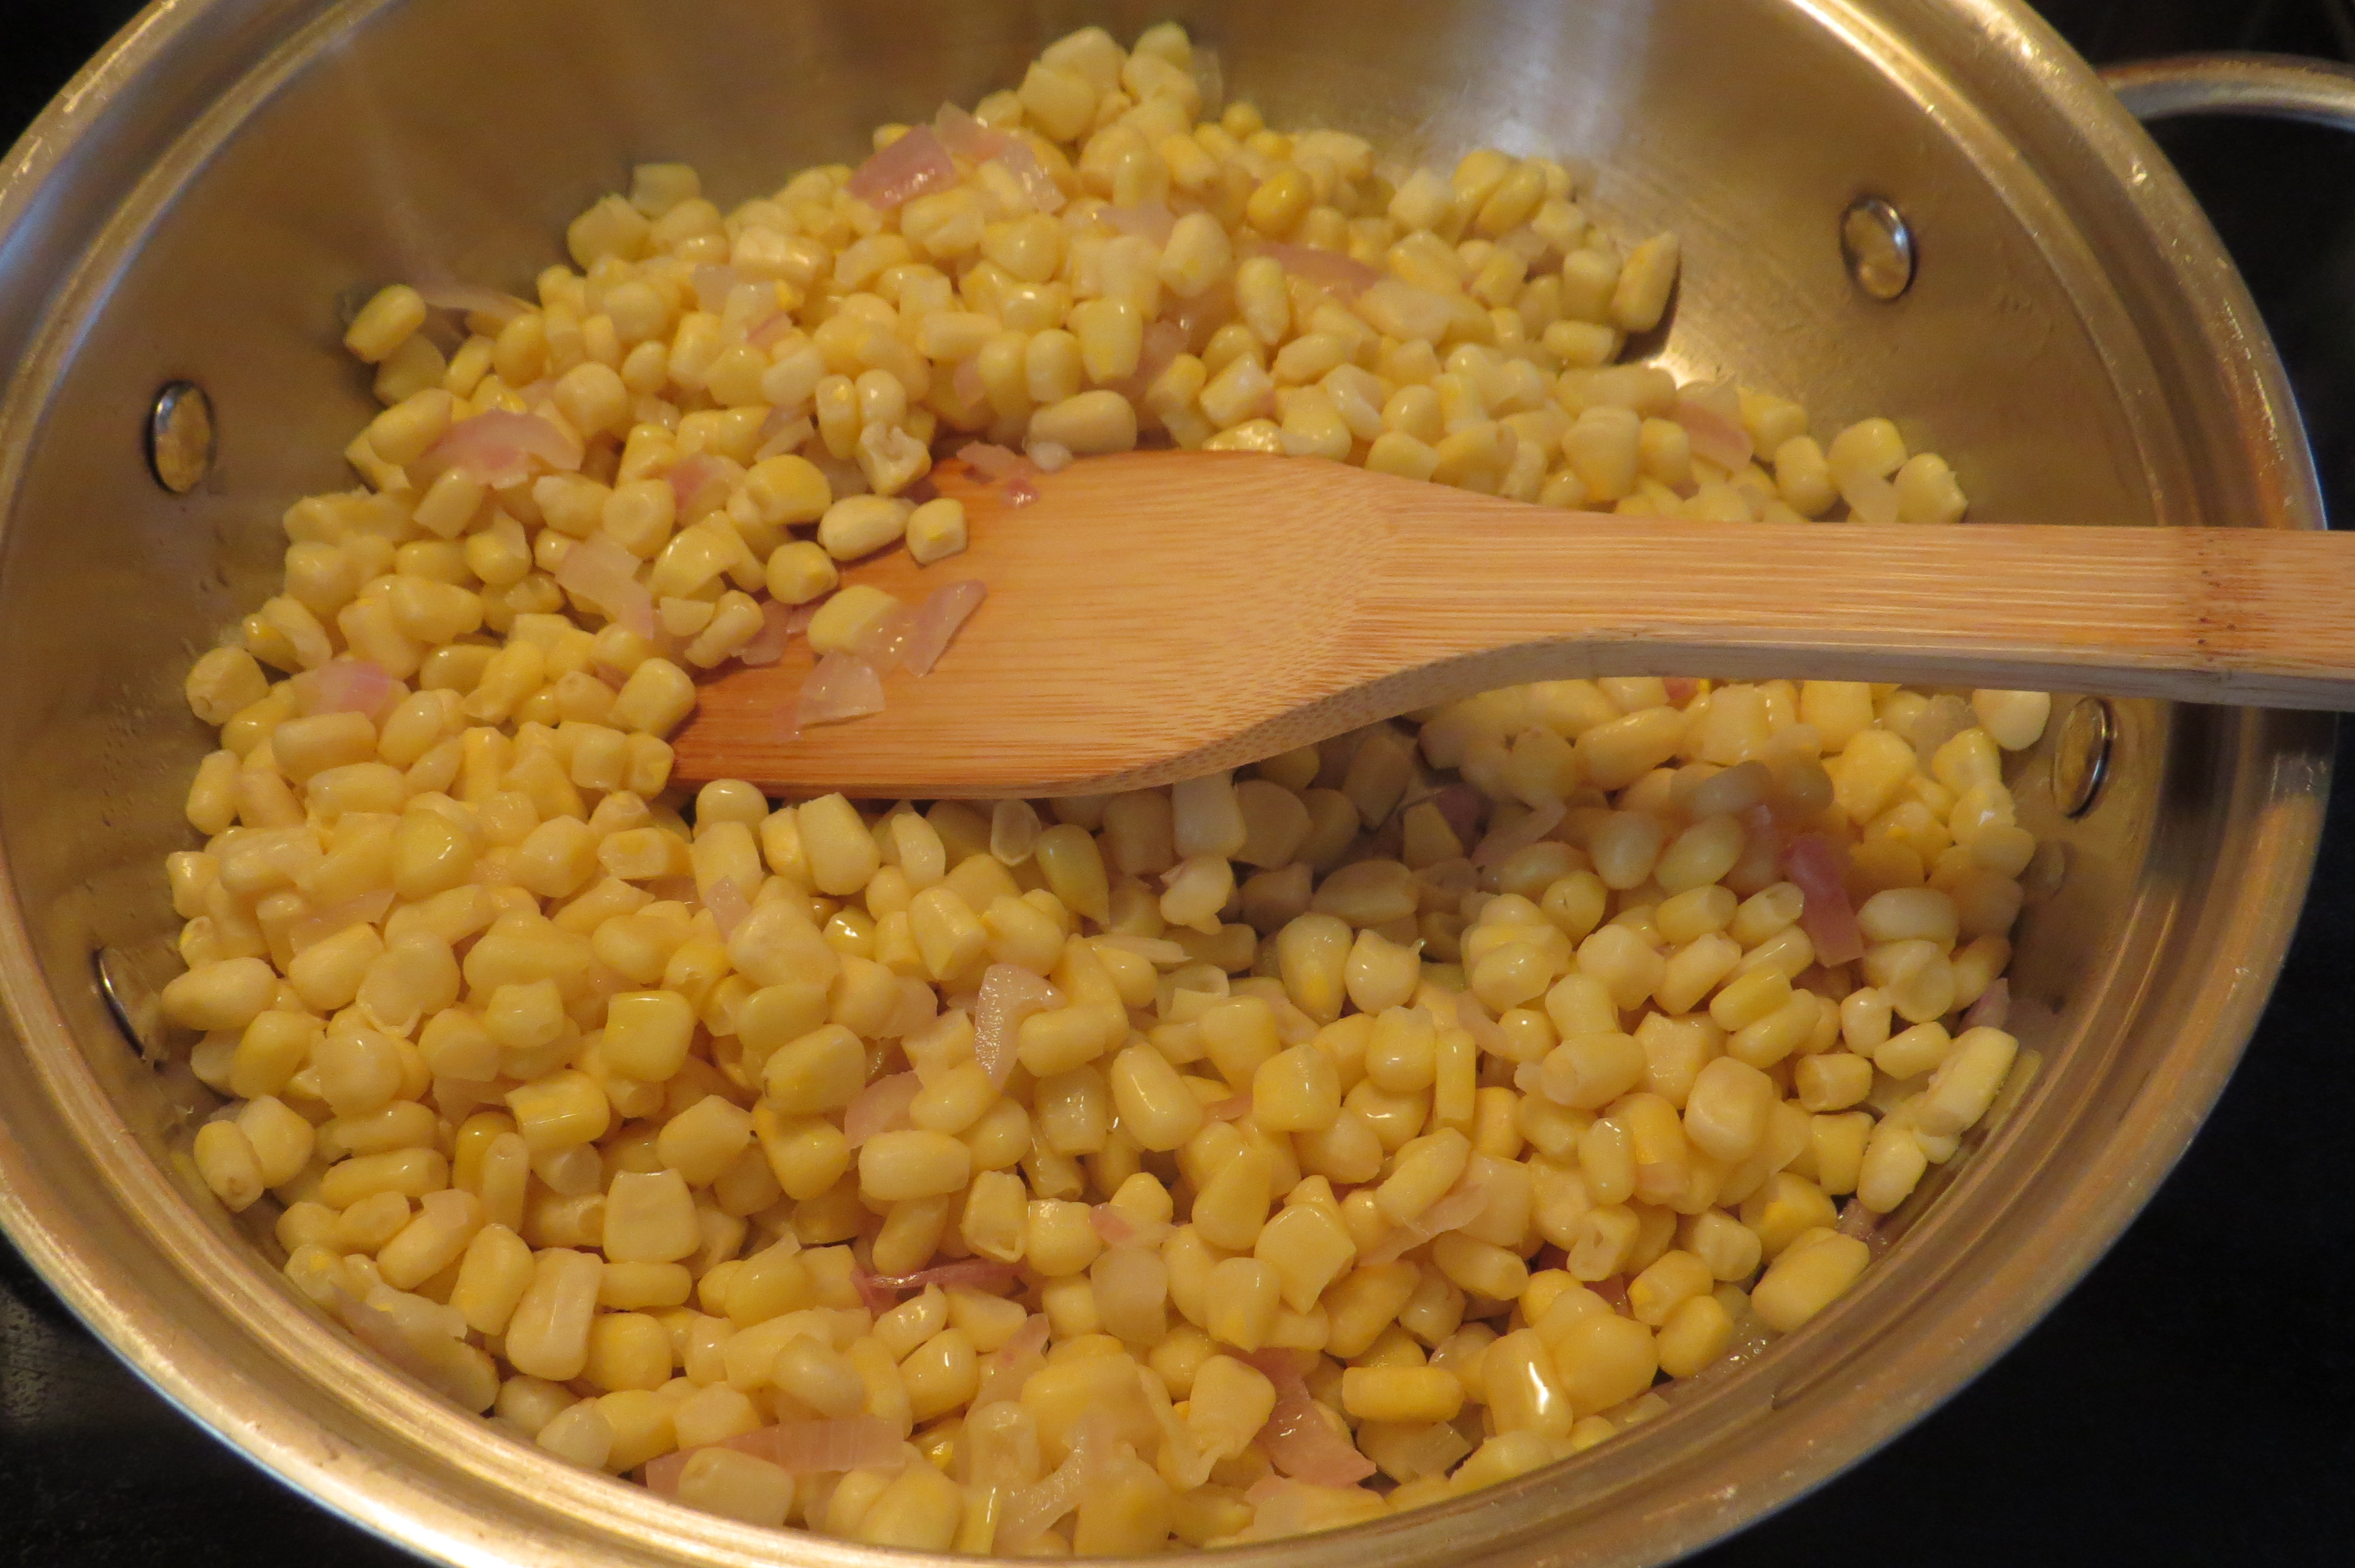
1 shallot, finely chopped
6 cups frozen corn, divided (sweet or white corn)
3 cups reduced sodium chicken broth, divided
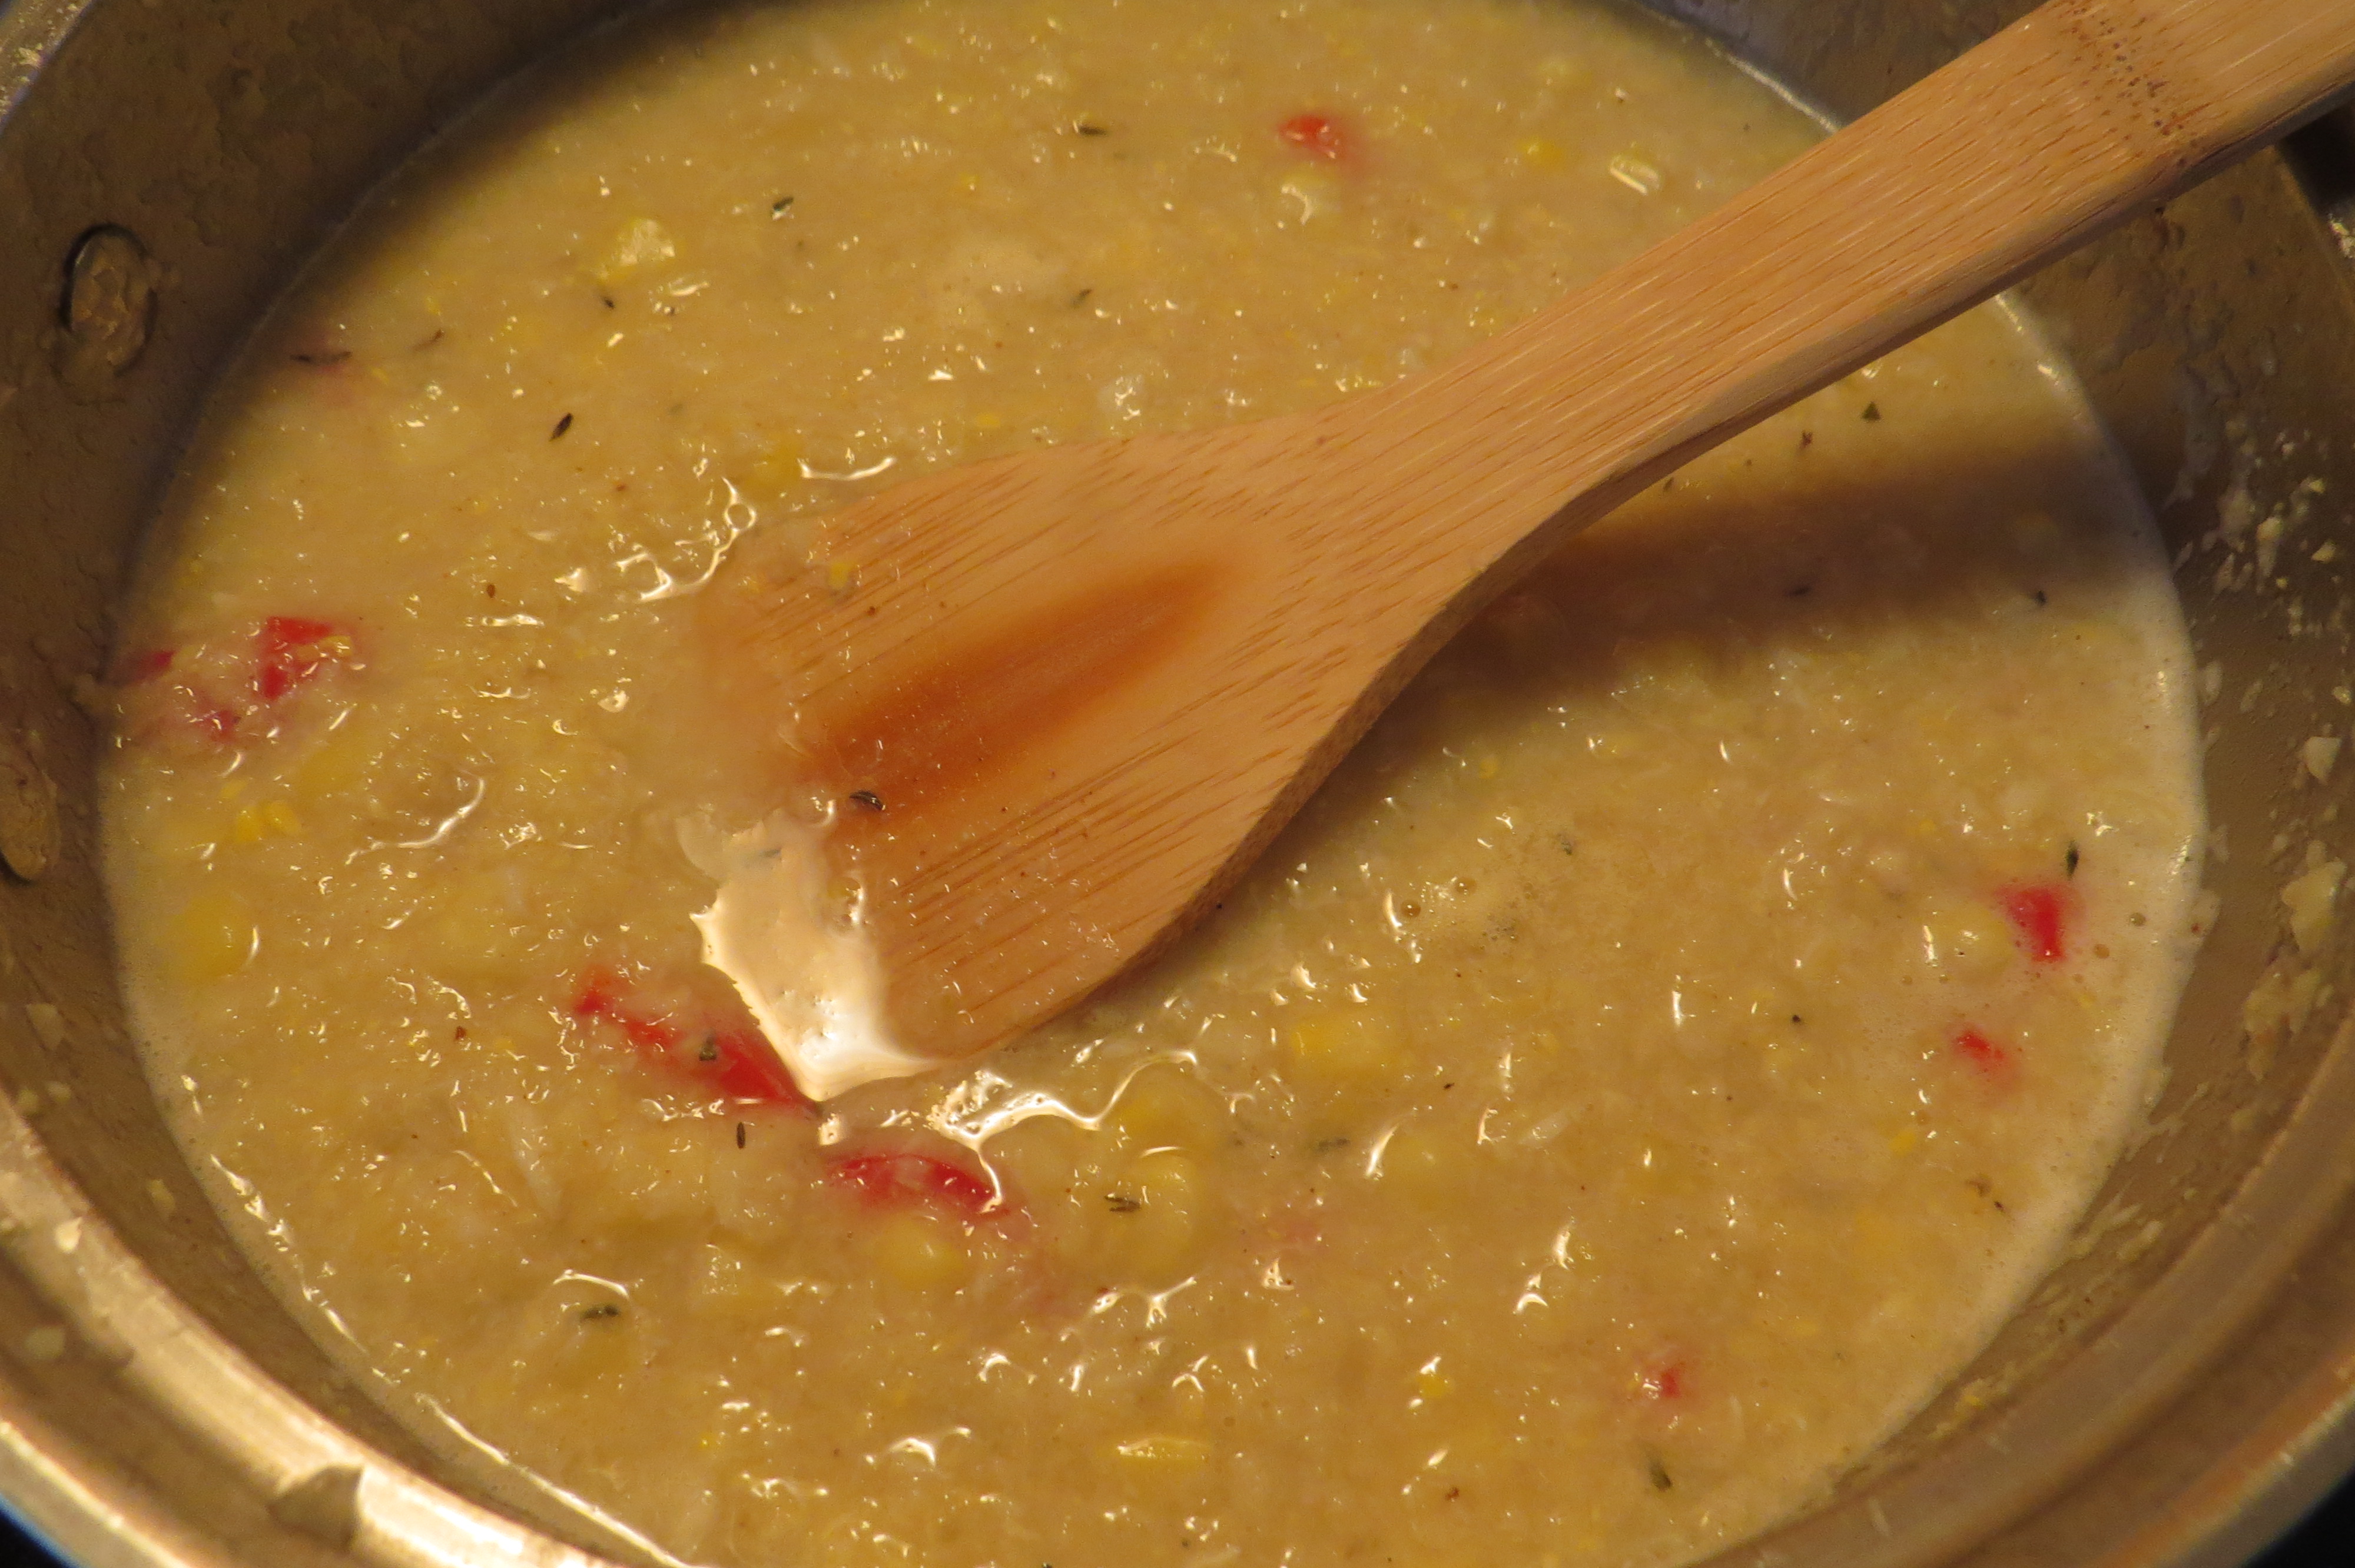
1 large sweet red pepper, chopped
1/2 tsp Old Bay seasoning
1/2 tspn dried thyme
salt and pepper to taste
6 oz can crab meat
Lightly coat a large sauce pan with cooking spray. Add shallot; cook and stir over medium heat for 4 minutes or until tender. Add 4 cups corn; cook and stir until corn is softened, about 5 minutes. Add 2 cups broth; bring to a boil. Reduce heat; cover and simmer for 10 minutes or until corn is tender. Cool slightly.
Carefully process soup in batches in a blender, until smooth; return mixture to the pan. Add the red pepper, Old Bay seasoning, thyme, salt and pepper, crab meat and remaining corn and broth; cook and stir for 10 minutes or until the corn is tender. Set aside.
Step 2: The Pie Crust
1/2 cup cornmeal
1/2 cup flour, plus more for shaping
1 tspn salt
2 tbspn shortening
1 egg
1/4 cup water
Combine cornmeal, flour and 1 tsp salt in a bowl. Cut in shortening. In a separate bowl, beat together egg and 1/4 cup water. Add to cornmeal mixture.
Shape the dough into a ball, using extra flour to prevent sticking. Wrap the ball in plastic wrap and place in the refrigerator for at least 30 minutes.
Step 3: The Pot Pie
Preheat oven to 375˚. When ready to assemble the pot pies, remove dough from fridge and roll it out on a floured surface. You’ll want to cut the dough into circles large enough to slightly overlap your serving bowl, so the thinner you roll the dough the more dough you will have to use.
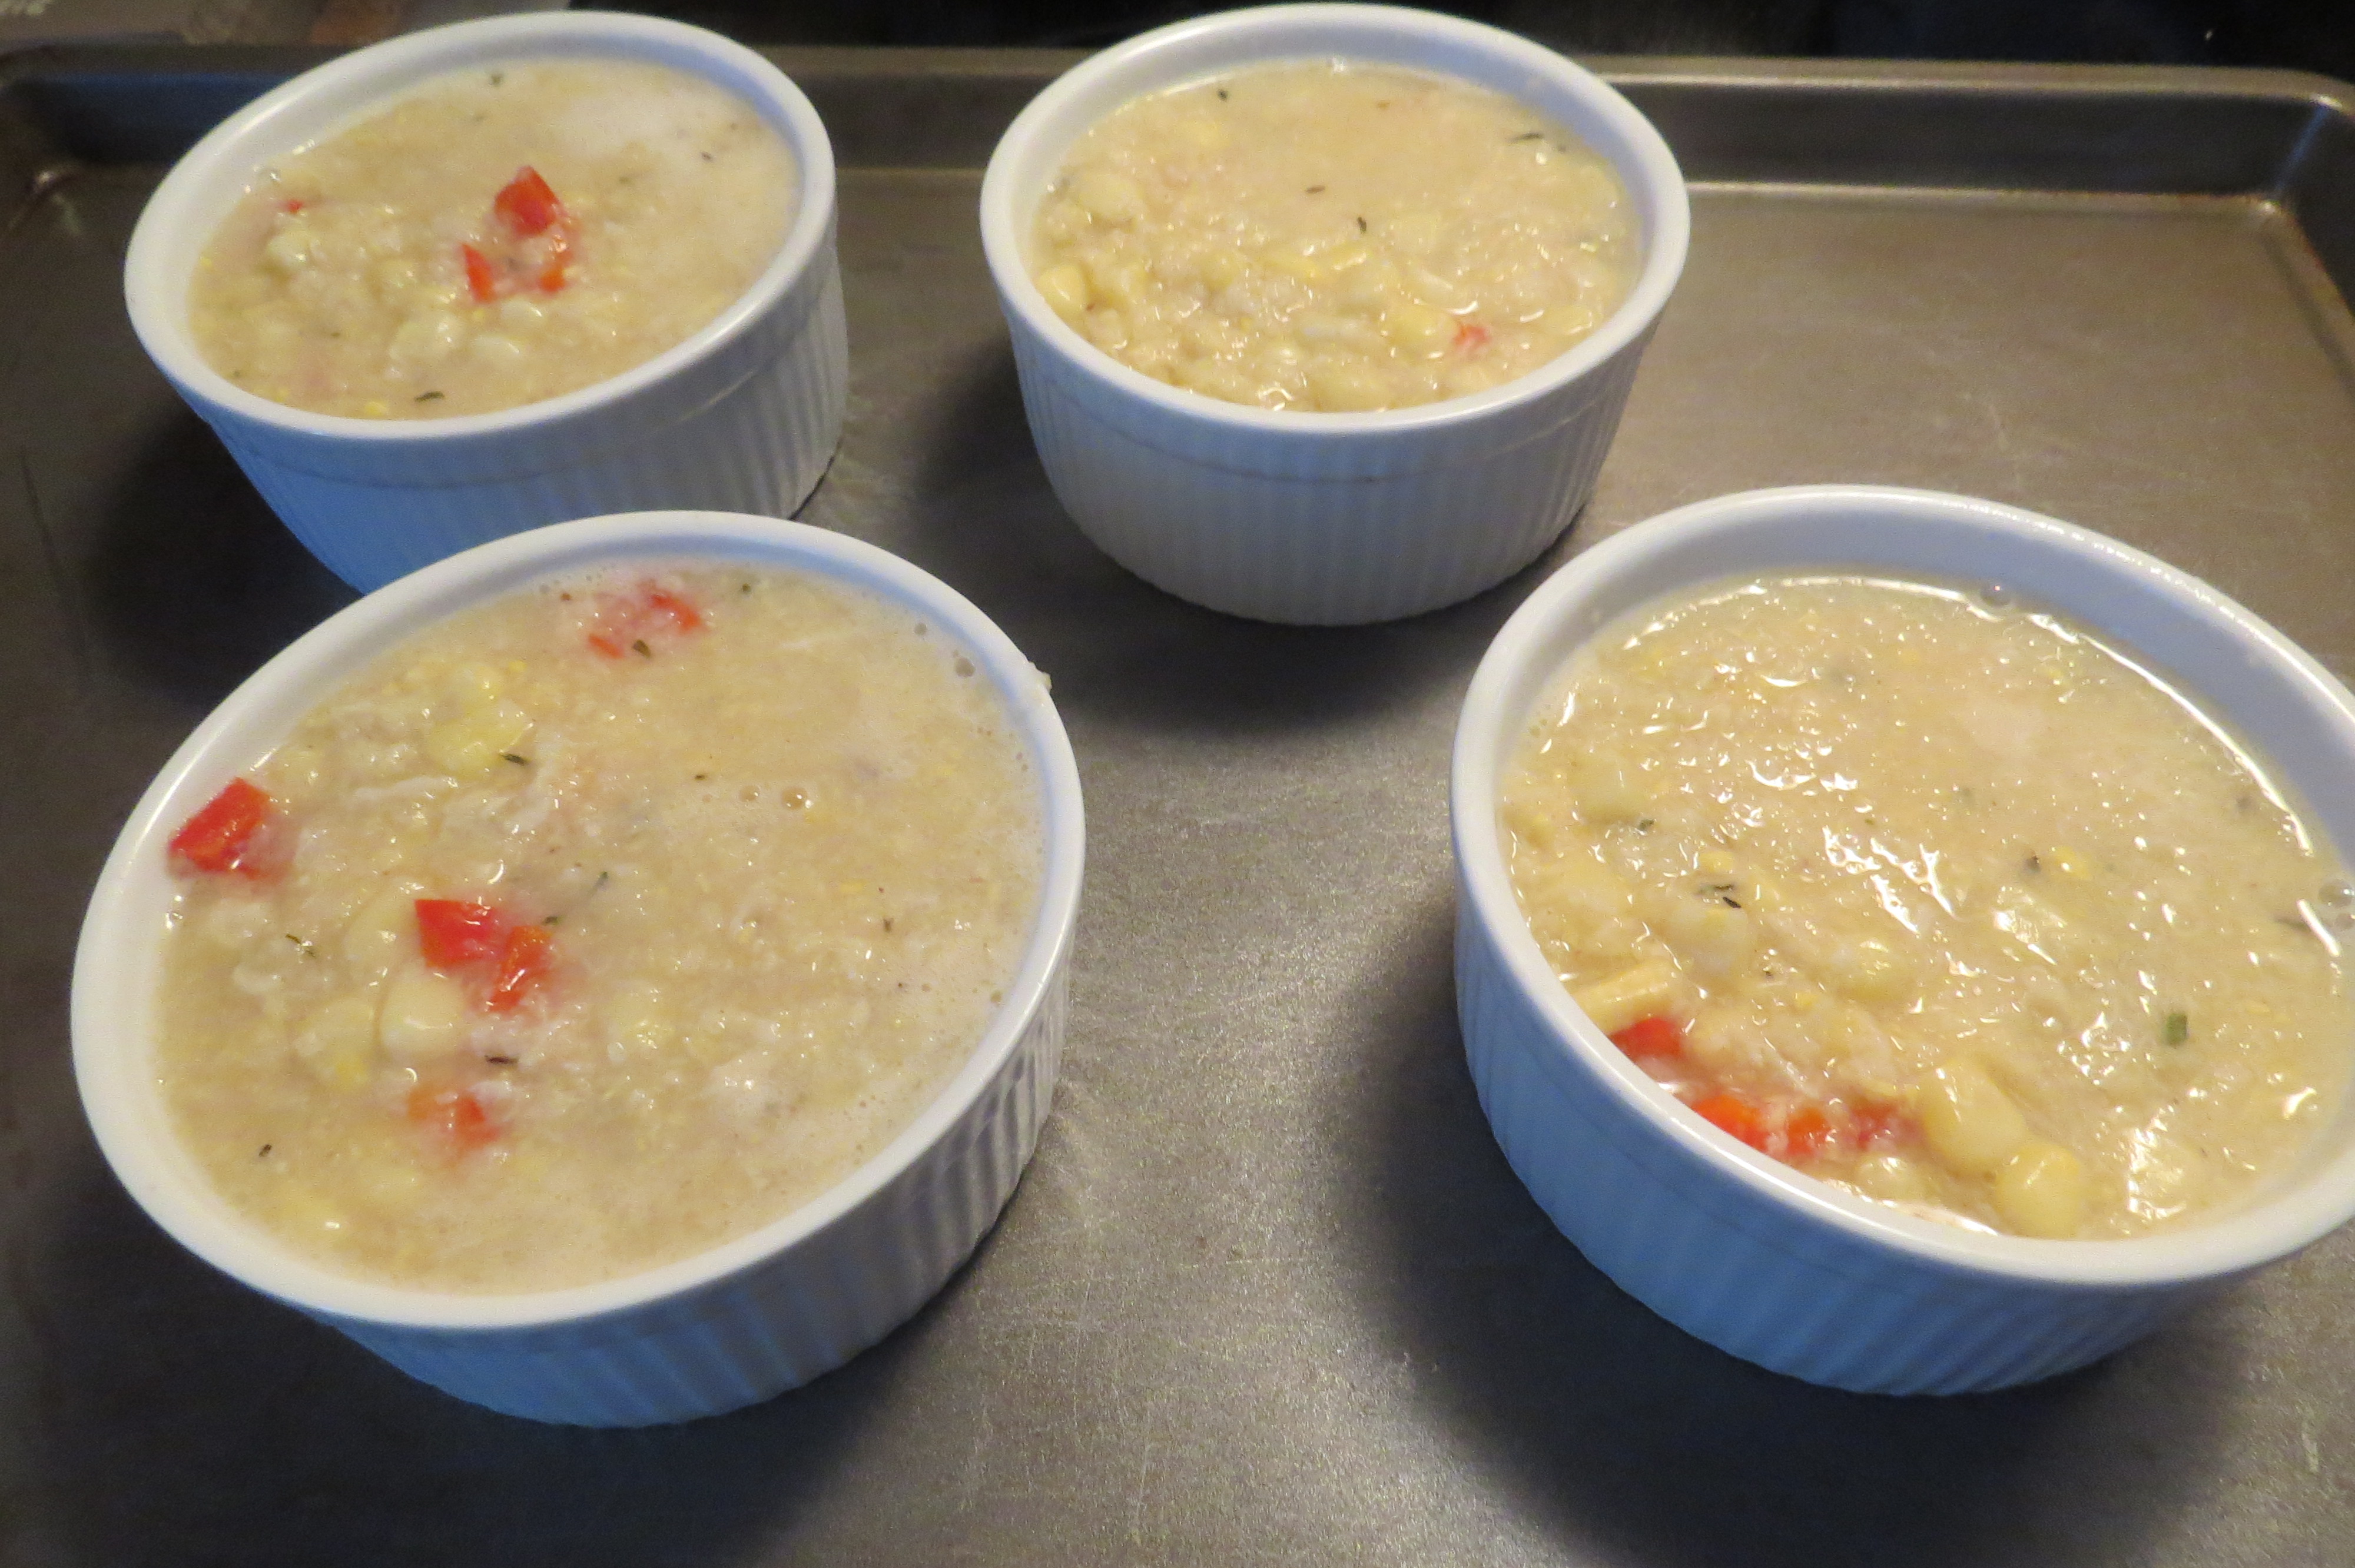
Divide the chowder equally among 6 oven-proof individual serving bowls or ramekin dishes.
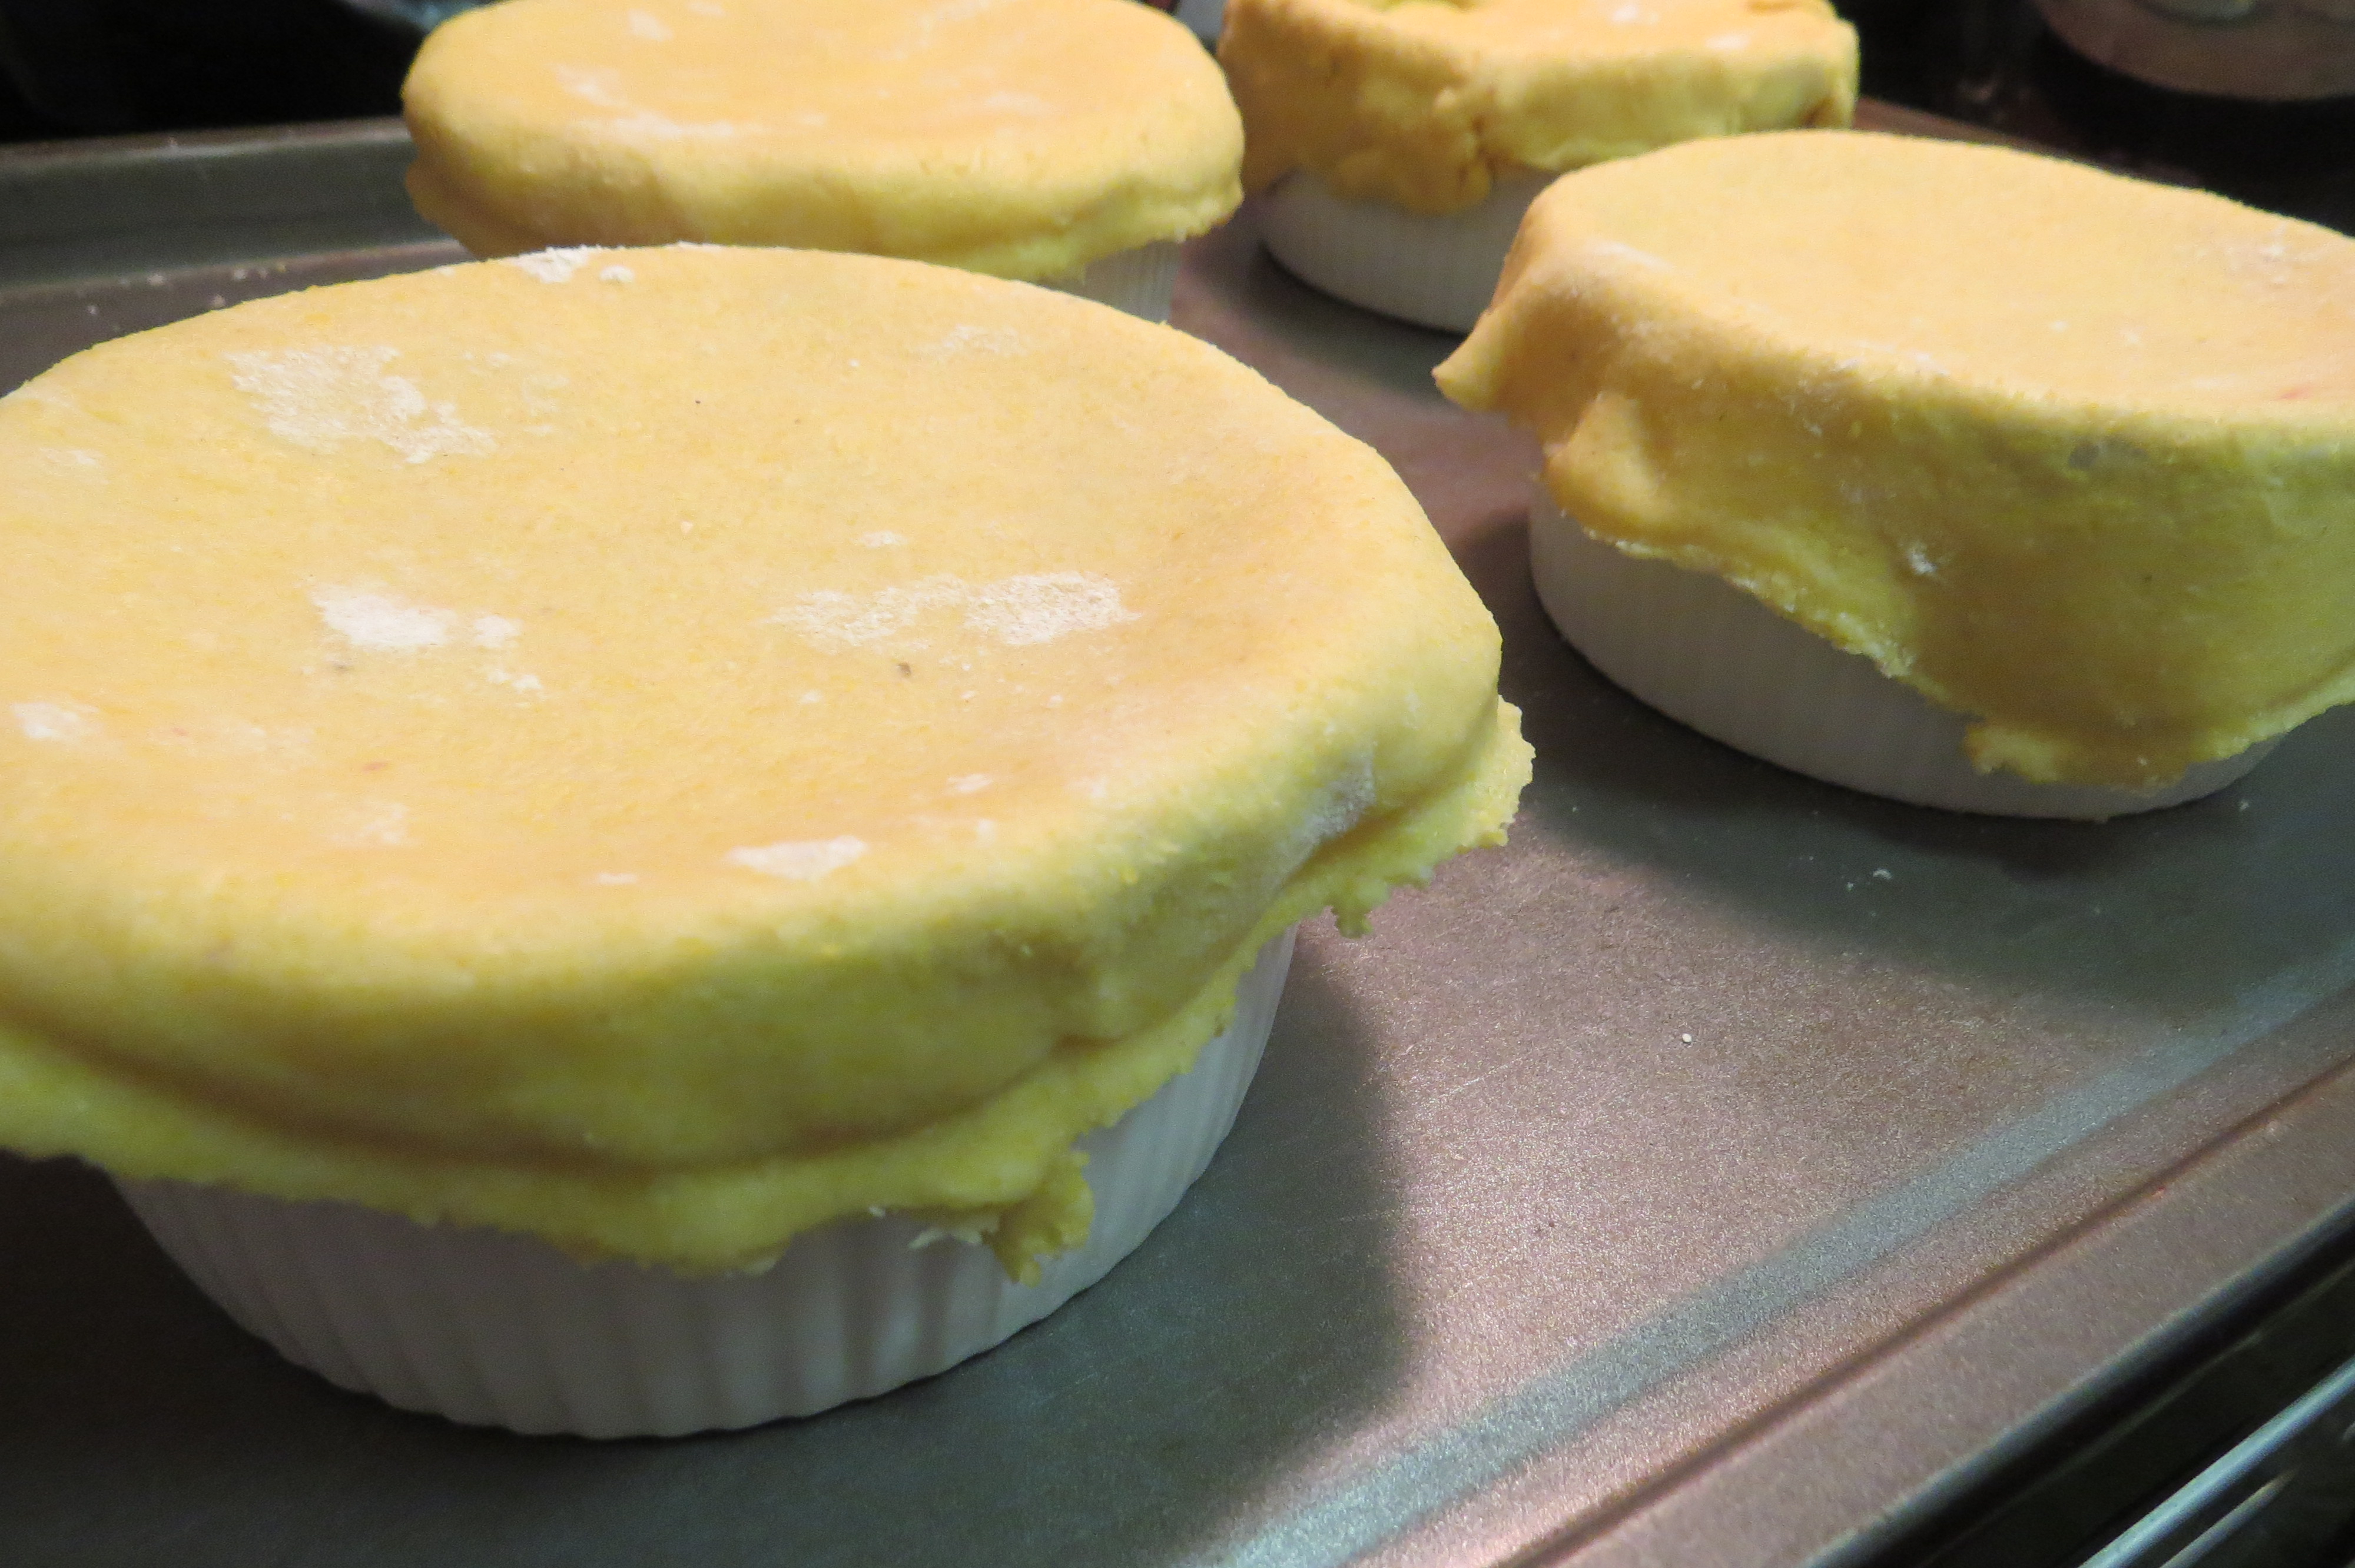
Brush the outside edges of each bowl with an egg wash, then place the dough on top. Trim the circle to 1/2-inch larger than the top of the bowl. Crimp the dough to fold over the side, pressing it to make it stick. Brush the dough with egg wash and make a criss-cross slit in the center of the dough. Place the bowls on a baking sheet and bake for 1 hour, or until the top is golden brown and the filling is bubbling hot.


Recent Comments