Home » Entrees » Recent Articles:

Stuffed Sausage Meatballs

January 13, 2016 Appetizer, Entrees, Menu No Comments

Meatballs and sausage. Two staples on an Italian-American menu. Sunday gravy would not be the same without them! For today’s recipe, I’m combining the two into one, with a surprise stuffing in the middle. Mind-blowing, right? The easy thing about making sausage meatballs is that you don’t have to put as much effort or ingredients into it as you would a traditional meatball. The meat is already seasoned, and there are more fats contained within it to help hold the shape of the meatball without adding breadcrumbs and eggs. You can, of course, add these ingredients if you like. But they are not necessary. Another good thing about using sausage meat for meatballs is that there is a wide variety of sausages available. From your basic hot or sweet Italian sausage, to chicken or turkey sausage, to gourmet sausages filled with ingredients such as spinach, sun-dried tomatoes and feta. Dare I say you can even use the Gimme Lean vegetarian sausage substitute, if that is your preference. Any of these would make for fantastic meat for these sausage meatballs. And if you can find ground sausage loose (not in the casing), all the better! It will save you some time from cutting the meat out of the casing when you are ready to get rolling (see what I did there?).

I’m not going to get into specifics on ingredients for this dish, because you can really get creative and go in whatever direction you desire. However, I will list some interesting filling combinations that would work well with ground sausage. Keep in mind that you will need a decent amount of meat to surround the filling that you are using. Certain cheeses that you may decide to use may get very soft within the meatball. This is a good thing, but you want to make sure that the filling is fully encased, otherwise the cheese will ooze out of any crevices or openings within the meatball. You are looking at about 6 large meatballs per pound of ground sausage meat. To help contain the shape and texture of the rolled meatball, simply roll the meatballs into some breadcrumbs. This will also make for a nice, crunchy texture.

Filling Suggestions

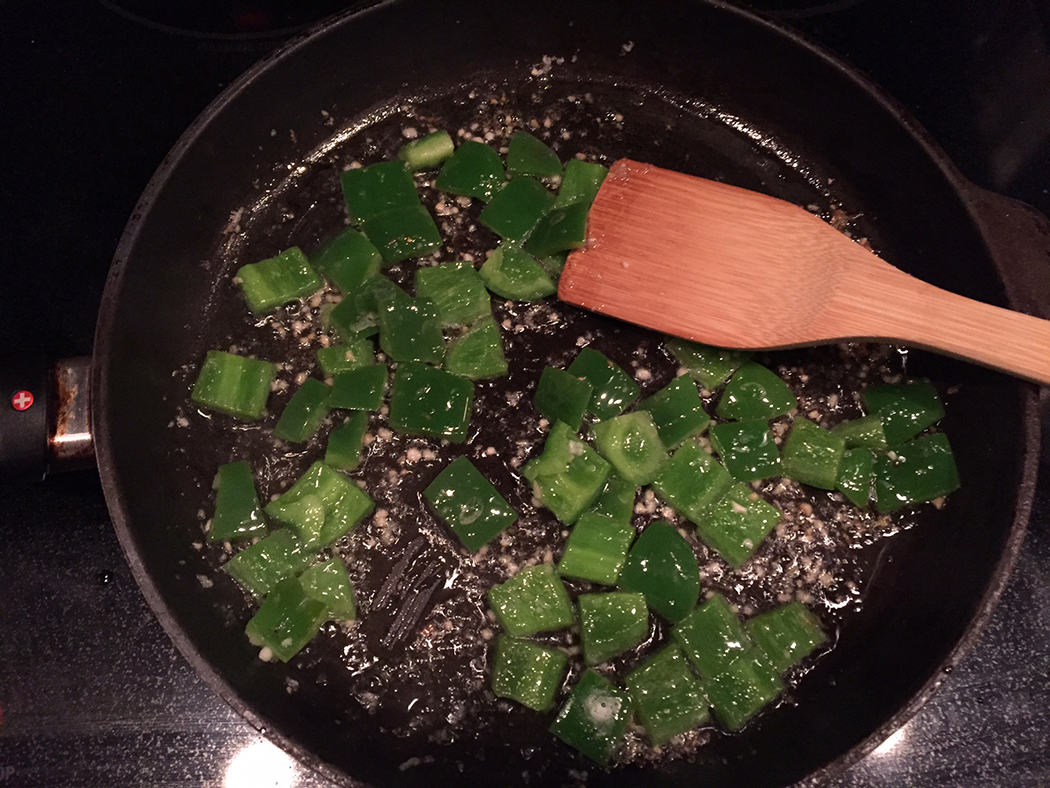
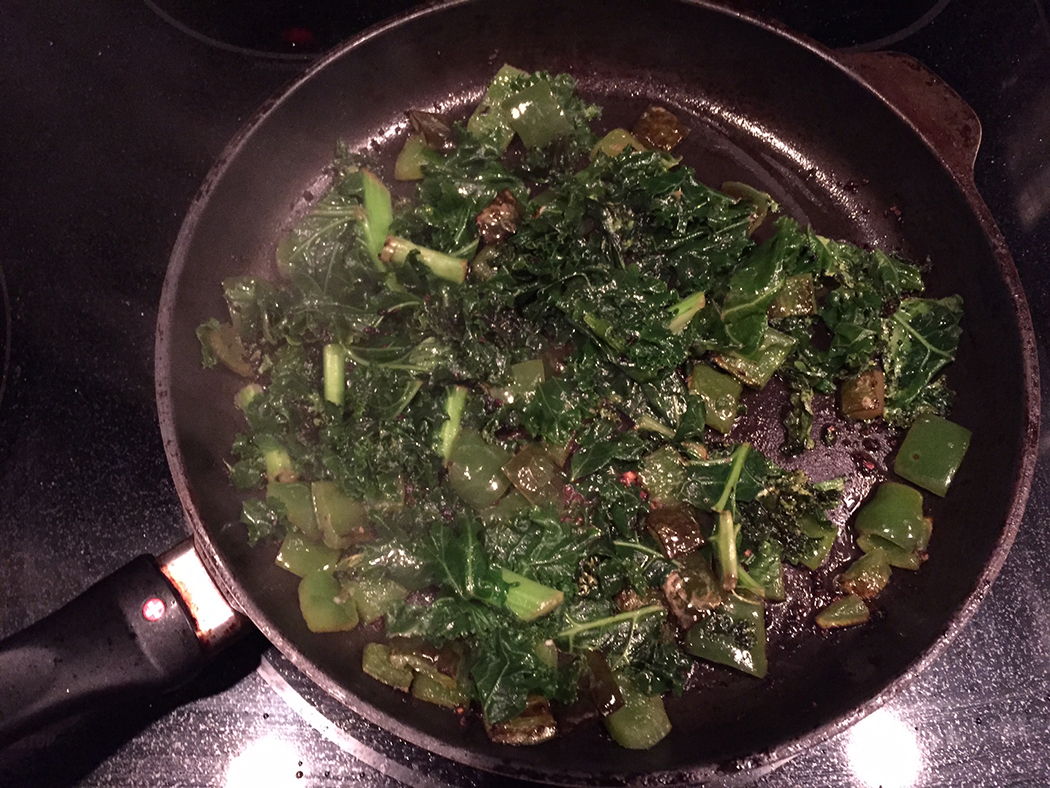
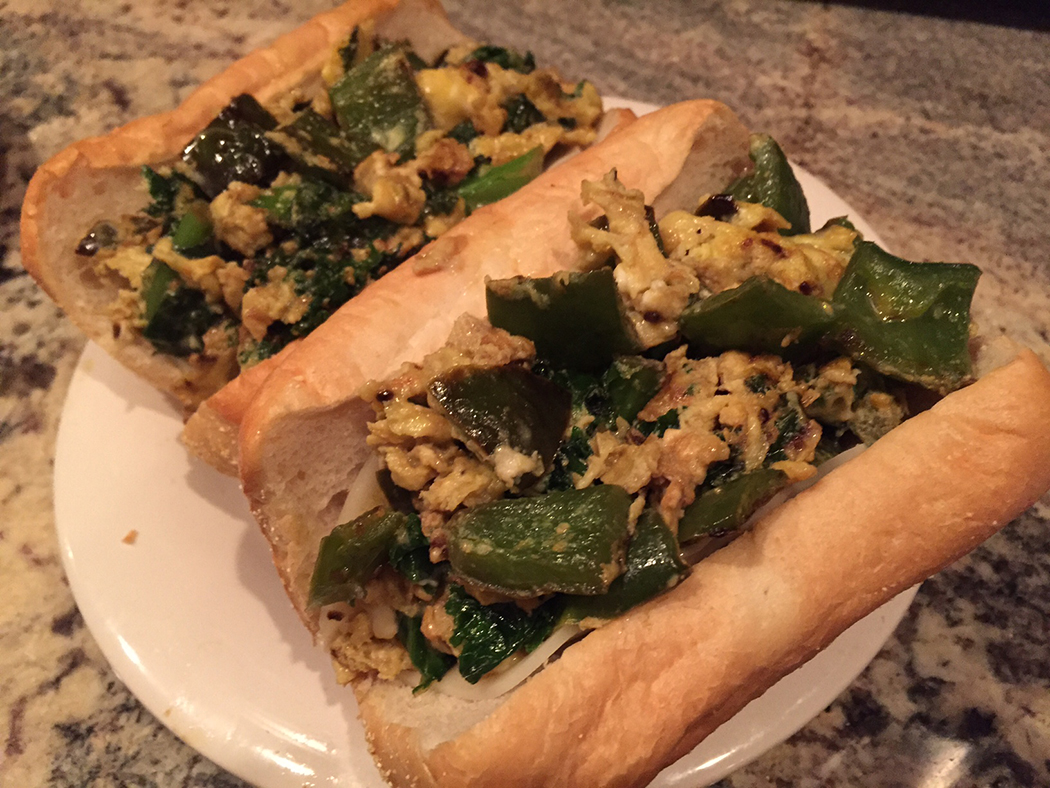
For my sausage meatballs, I am using a nice chicken and cheese sausage that I bought from my local butcher, and am stuffing them with broccoli rabe and extra sharp provolone. Here are some of my other suggestions that would make for great stuffings in a sausage meatball.

Roasted Red Peppers
Sun-dried Tomatoes
Provolone Cheese (mild, medium or sharp)
Mozzarella Cheese (a smoked mozzarella would be fantastic!)
Feta Cheese
Black or Green Olives
Pesto
Prosciutto
Shrimp


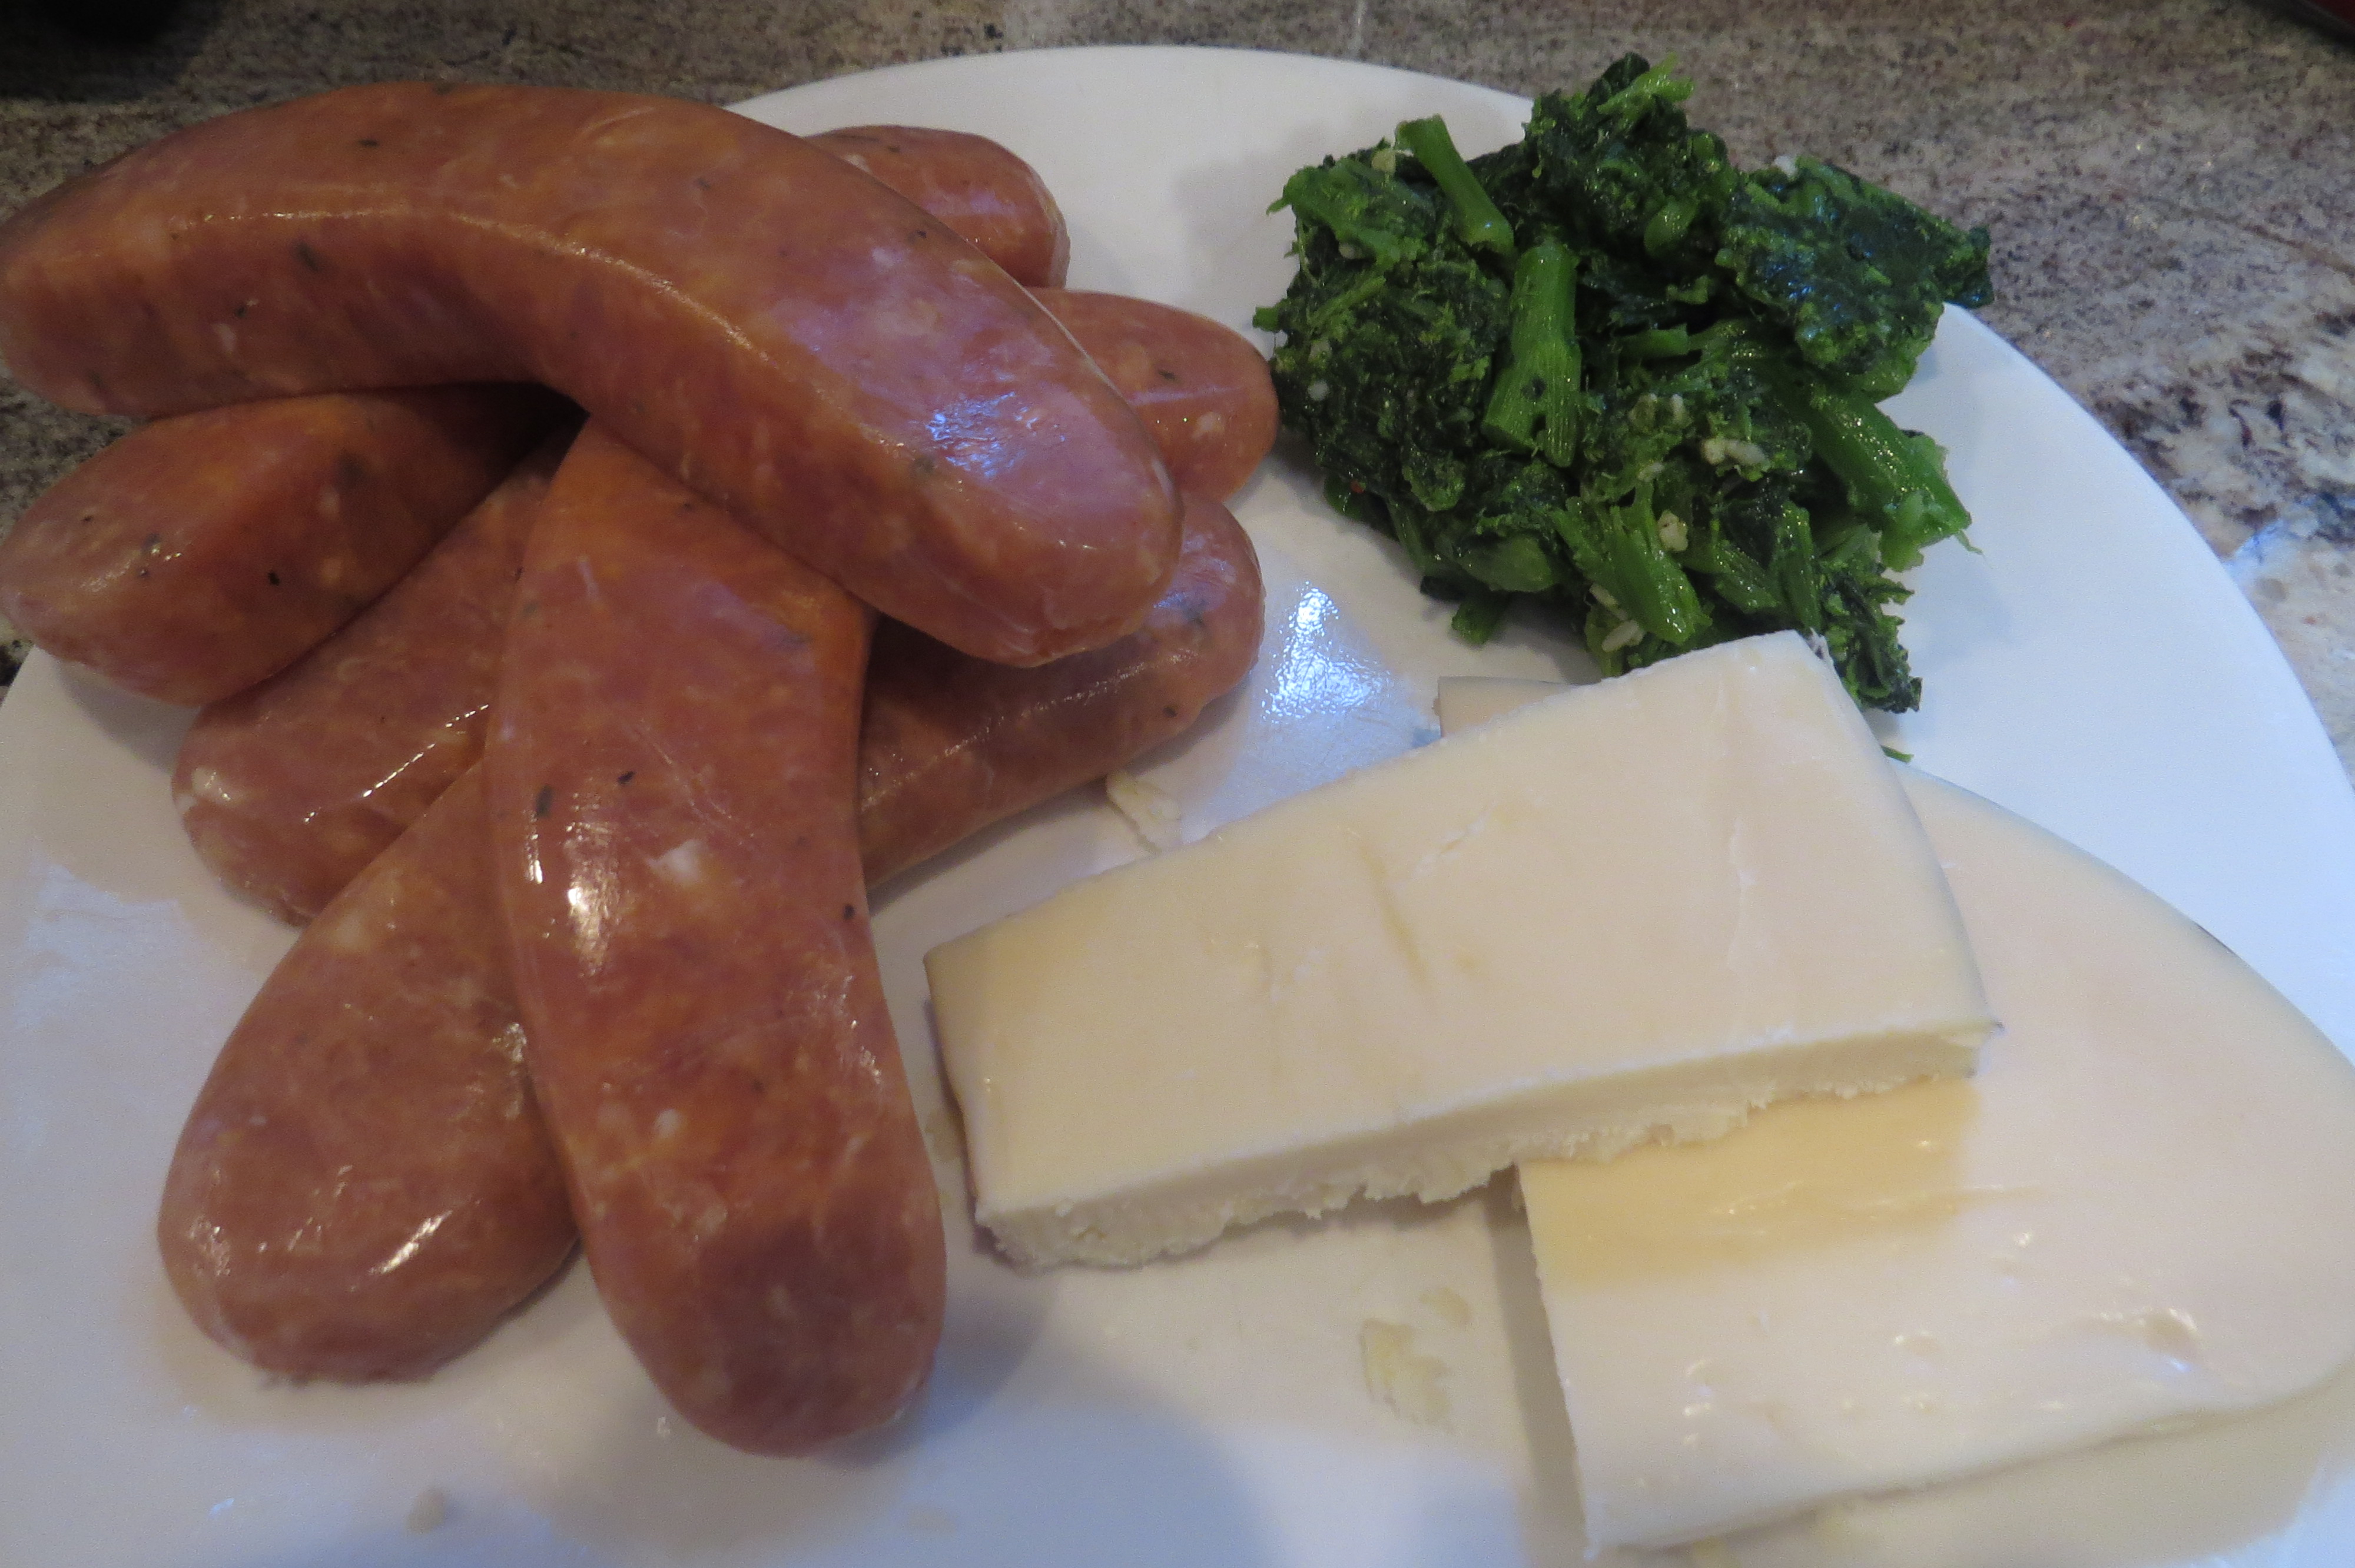
Step 1: select your key ingredients. I’m going with chicken sausage, broccoli rabe and extra sharp provolone cheese.


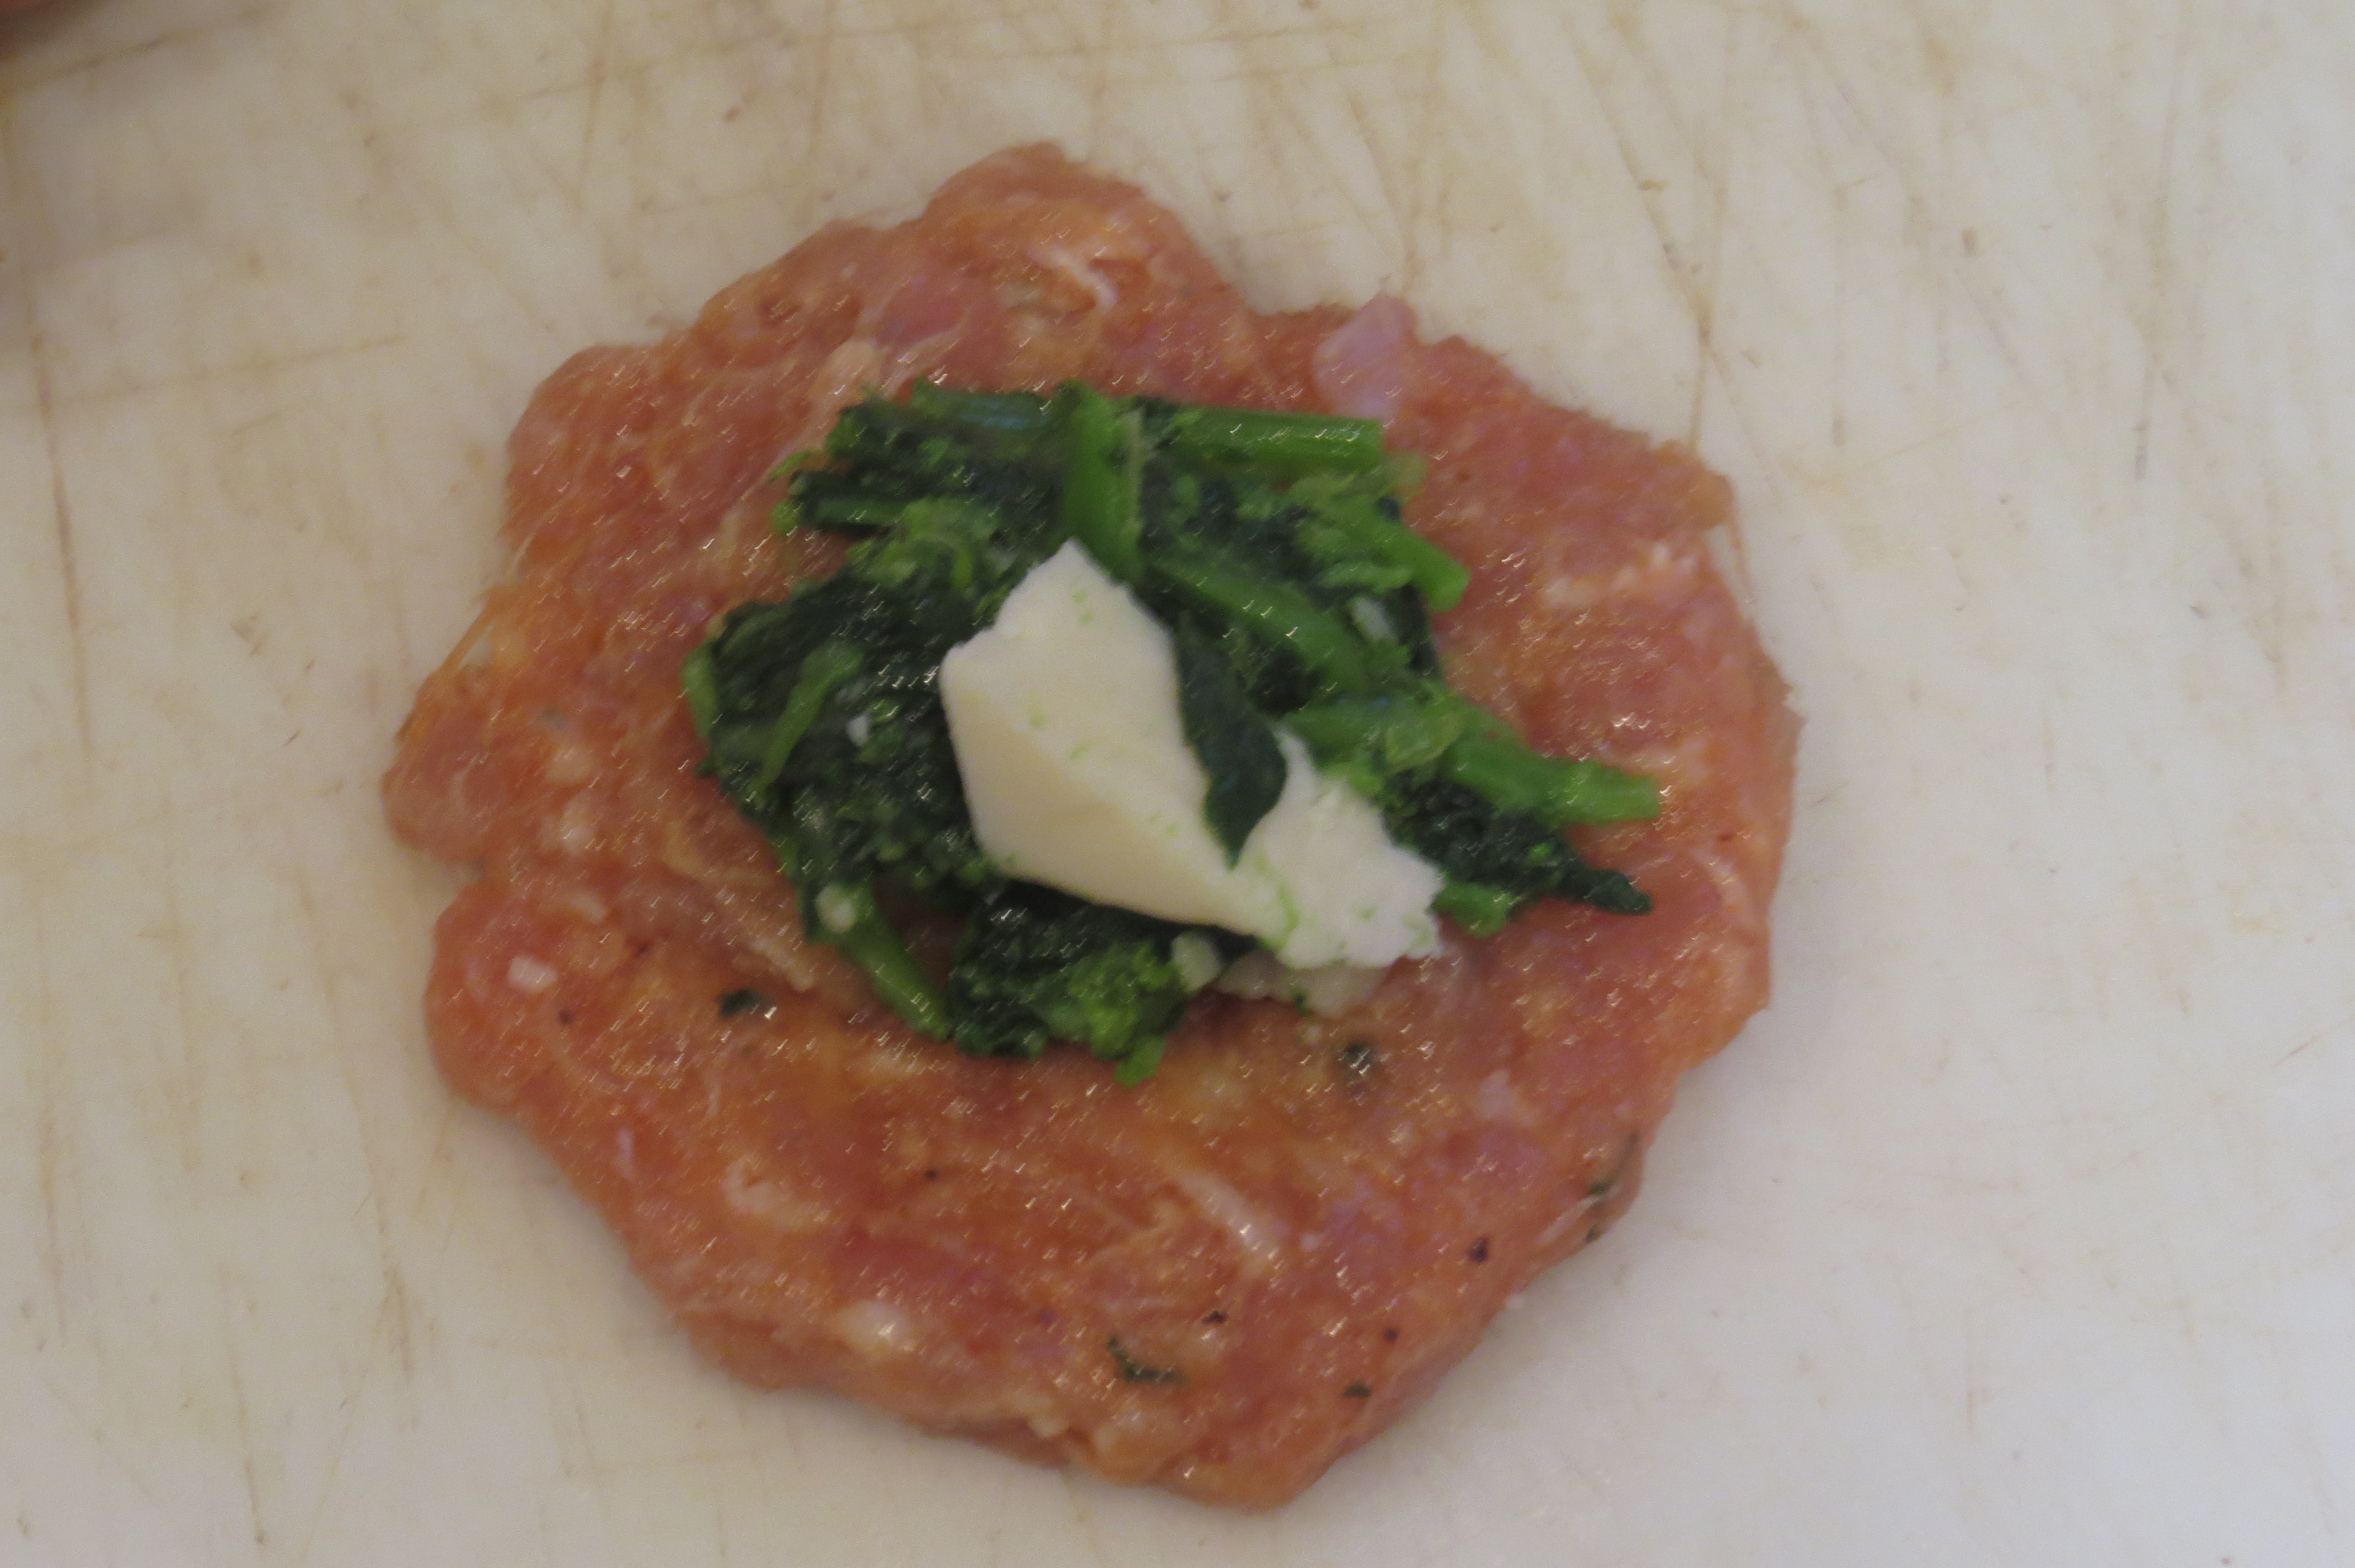
Step 2: pat down a handful of meat, top with a small amount of filling. Do not overfill, otherwise the meatball may fall apart.


Step 3: roll the meatballs tight.

Step 3: roll the meatballs tight.


Step 3: roll the meatballs in breadcrumbs. Lightly spray, and bake at 375˚ for 45-50 minutes, until crispy.

Step 4: roll the meatballs in breadcrumbs. Lightly spray the meatballs, then bake at 375˚ for 45-50 minutes, until crispy.


Step 4: serve with a side of your favorite sauce and enjoy!

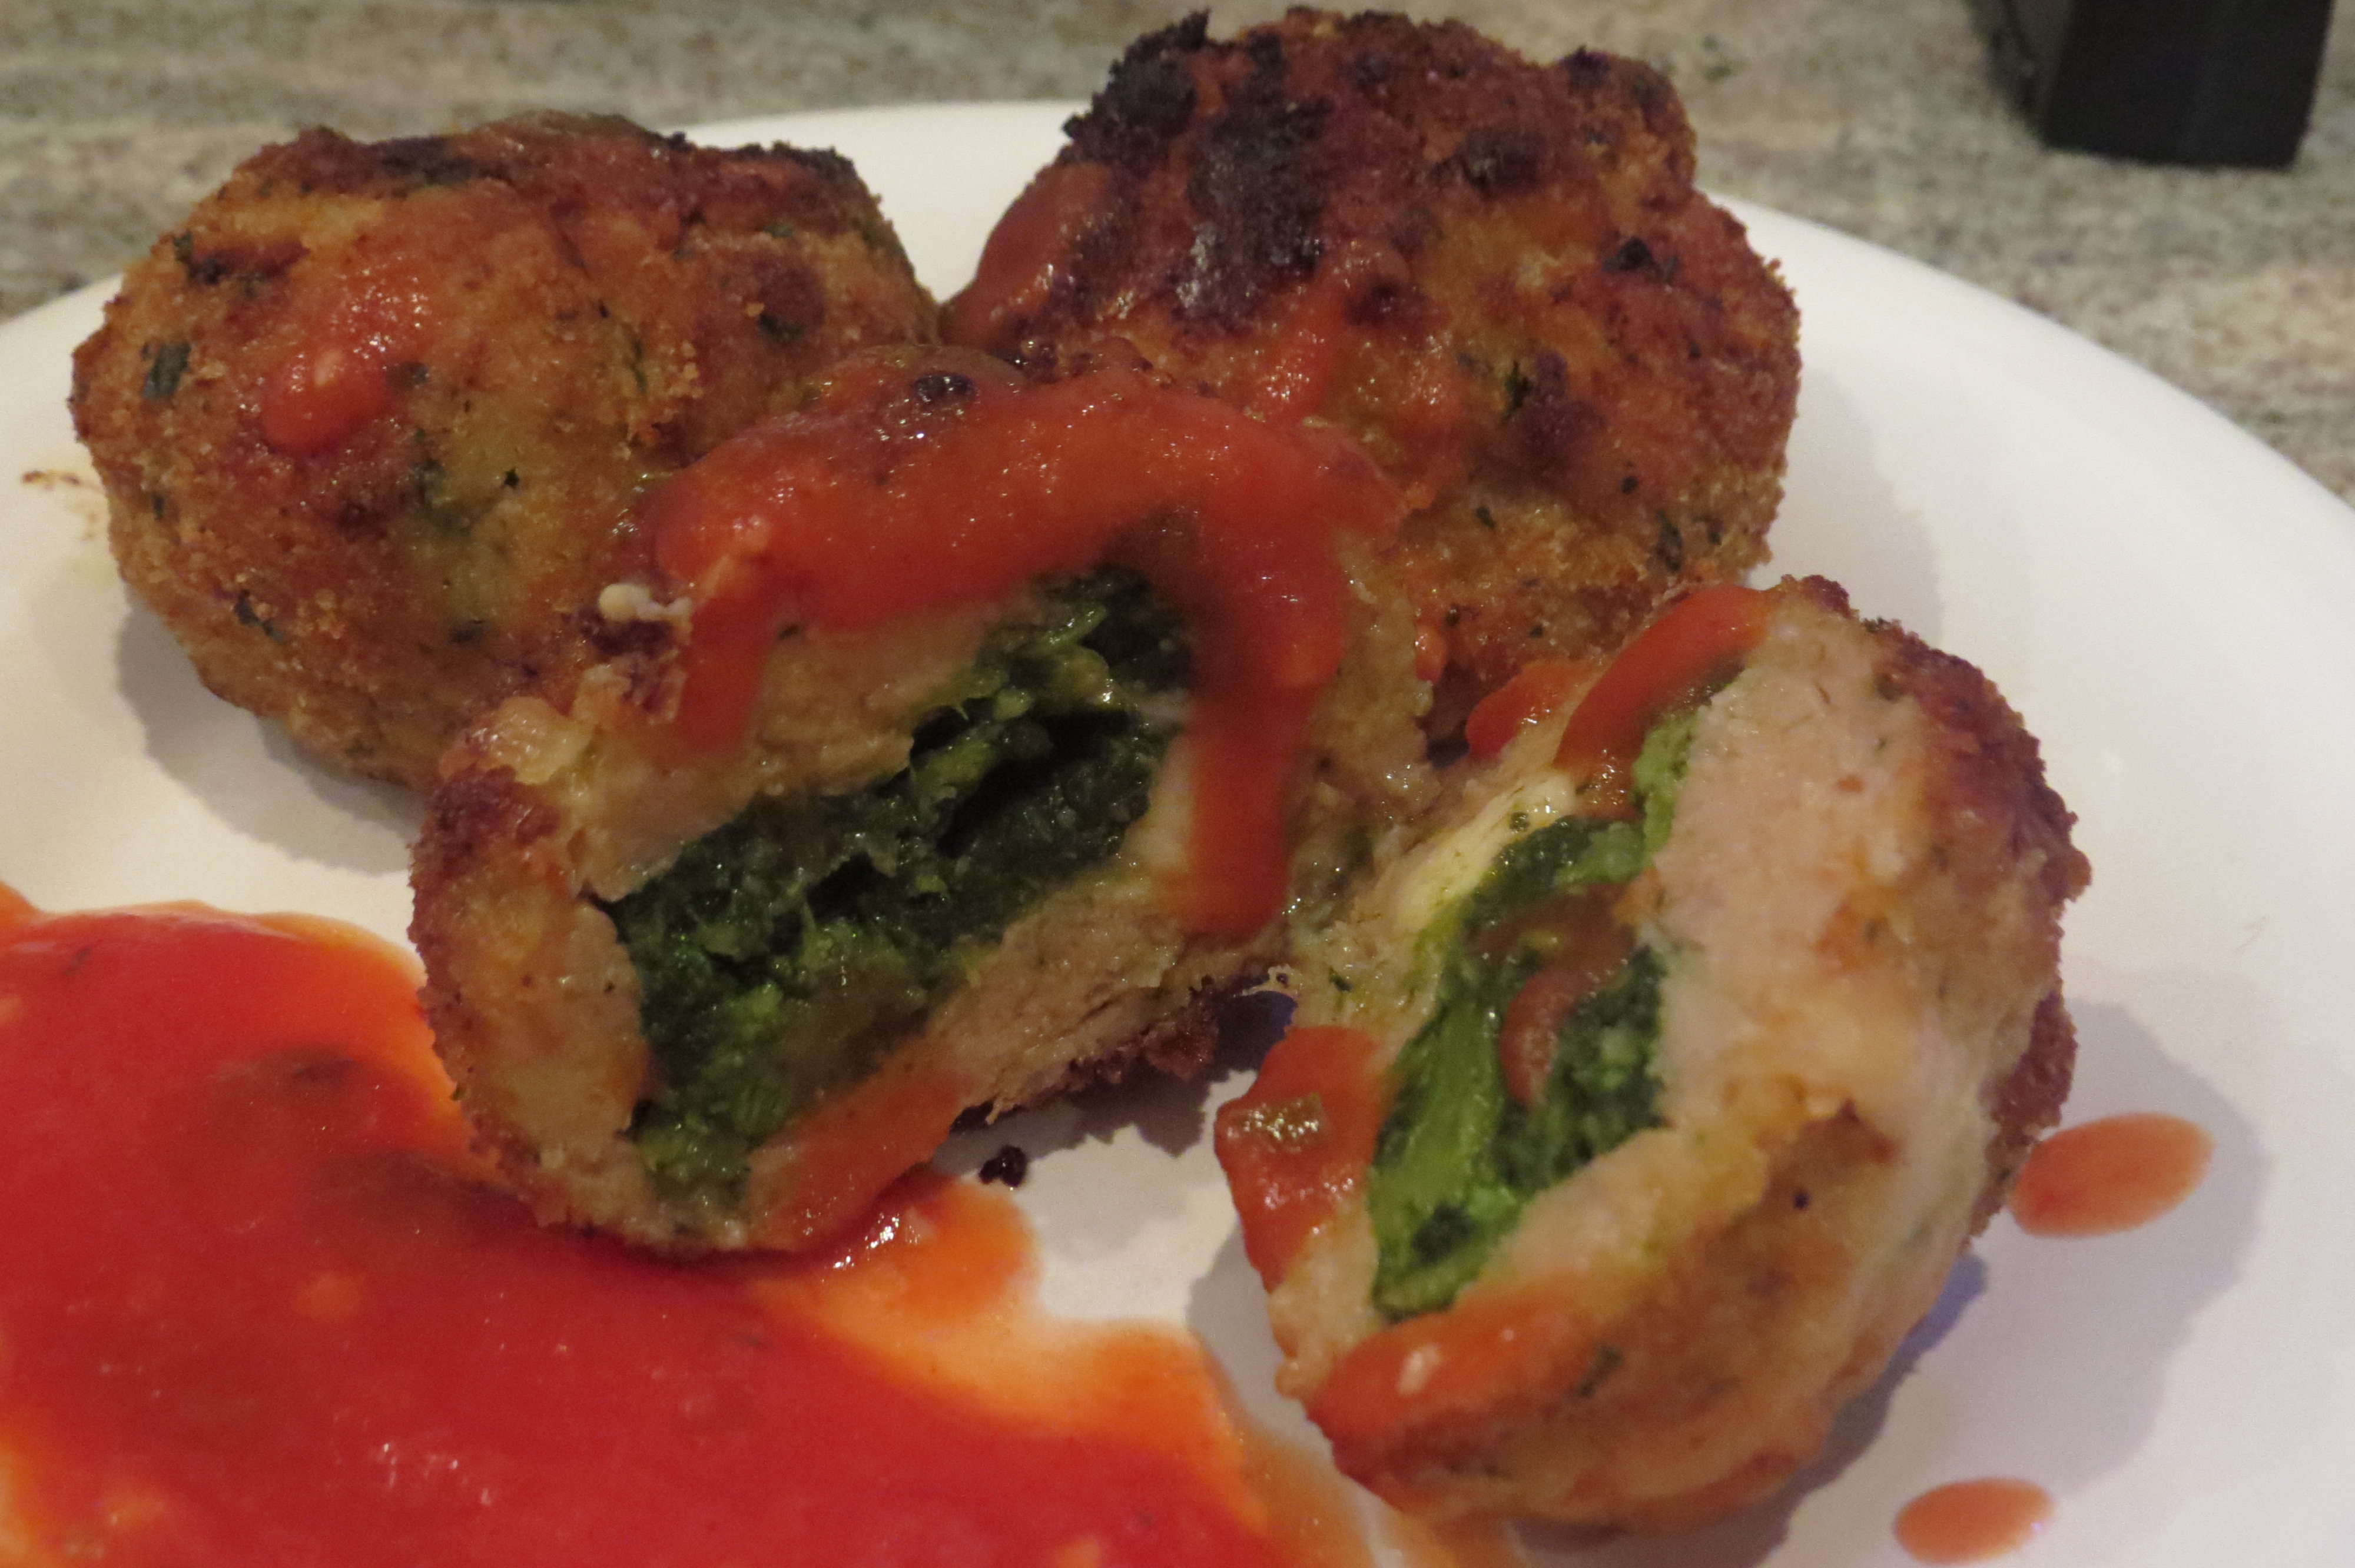
Step 5: serve with a side of your favorite sauce and enjoy!

Share

Carrot Pecan Pesto

November 11, 2015 Appetizer, Entrees, Menu, Pasta No Comments

Pesto is traditionally thought of as a pasta sauce that is made of fresh blended herbs, garlic, olive oil, grated cheese and pine nuts. Its most common ingredient is fresh basil. However, there are a number of creative variations that have popped up over the years. I like to do a half and half blend of basil and mint, and my sister-in-law makes a delicious pea pesto. This carrot and pecan version of pesto makes for a fantastic addition to your Thanksgiving menu. It would work well as an appetizer with fresh veggies or crackers. If pasta is part of your Thanksgiving dinner, it would be a nice alternative to a traditional marinara sauce/red gravy. And you can bet that slathering it on top of a turkey sandwich would be heavenly!

Before you break out your food processor or food chopper, you’ll want to first roast the carrots and pecans in the oven for 15 minutes. This will soften the carrots for easier chopping and will enhance the flavor of both the carrots and pecans. I decided to use pecans in this recipe because I feel that their taste is very complementary to carrots. You can use walnuts, pine nuts, macadamia nuts, or any holiday nut combination of your liking.

Carrot Pecan Pesto

1/2 lb baby carrots (1/2 of a small bag)
1/2 cup pecans
vegetable or canola oil
1/4 cup grated parmesan cheese
dash of ground ginger
1 tspn fresh thyme, plus additional for garnish
1/2 cup olive oil
salt and pepper to taste

Preheat oven to 375˚. Lightly coat the carrots with a small bit of vegetable or canola oil. Place the carrots and pecans onto a baking tray. Bake for 15 minutes, remove from oven.

Place the roasted carrots and pecans, parmesan cheese, ginger and thyme into a food processor. Pulse until finely chopped. Keeping the machine running, slowly add the olive oil until fully incorporated. You may need to scrape down the sides of the mixing bowl a few times. Season to taste with salt and pepper, garnish with additional sprigs of fresh thyme.


IMG_6290


IMG_6296

Share

Kale, Peppers and Eggs Sandwich

October 14, 2015 Entrees, Menu No Comments

This recipe is by far not an original. In fact, its roots go back to one of the most traditional Italian-American classics, the peppers and eggs sandwich. There are a number of variations on this sandwich – my grandfather would often add hot dogs, and I’ve added shrimp or pancetta to mine.

This version takes a bit of a healthier route, with the addition of fresh kale. In true Italian-American style cooking, some of the measurements in this recipe are eyeballed. But with a dish like peppers and eggs, a little of this and some of that is always the perfect amount.


Kale, Peppers and Eggs Sandwich

Makes two fully packed sandwiches

1 green bell pepper, chopped
(you can learn more about my quick pepper slicing techniques by clicking here)
1 clove garlic, minced
1/4 yellow onion, chopped or grated
(you can learn more about my onion grating techniques by clicking here)
Olive oil
2 handfuls of fresh kale, chopped
4 large eggs
1 heaping teaspoon grated parmesan cheese (optional, but gives the egg a nice flavor)
Salt and pepper

Lightly coat the bottom of a pan on medium heat with olive oil. Add the garlic and onions, stir. Add the peppers, stir. Once the peppers are slightly softened and tender, add the kale. Season with salt and pepper. Add about a tablespoon of water to the pan, then cover the pan and lower the heat to medium-low. Let simmer for about 5 minutes.

In a bowl, scramble the eggs, parmesan cheese and a bit of salt and pepper. Once the kale has softened, give the peppers and kale one more stir to mix it together. Add the egg mixture, tilt the pan to make sure that the egg mixture is evenly distributed.

Once the eggs start to firm up, carefully flip everything in the pan with a spatula. Continue to flip and stir until the eggs are evenly cooked.

Serve the kale, peppers and eggs in a roll. I prefer adding a slice of provolone cheese. Enjoy!

Step 1. Stir together the garlic, onion and peppers in olive oil.

Step 1. Stir together the garlic, onion and peppers in olive oil.


Step 2. Add the kale.

Step 2. Add the kale.


Step 3. Simmer until the kale wilts.

Step 3. Simmer until the kale softens.


Step 4. Add the egg mixture.

Step 4. Add the egg mixture.


Step 5. Allow the egg mixture to cook and mix in with the veggies.

Step 5. Allow the egg mixture to cook and mix in with the veggies.


Step 6. Serve it up in a nice roll...add provolone cheese for extra zip!

Step 6. Serve it up in a nice roll…add provolone cheese for extra zip!


Even my kids enjoyed it!


peps8

peps7

Share

Grilled Garlic Parmesan Cauliflower

August 5, 2015 Appetizer, Entrees, Menu No Comments

Cauliflower, in my opinion, is a vegetable that doesn’t get due respect. Not that cauliflower has a bad rap…it just simply seems to be ignored. Aside from a store-bought veggie tray, cauliflower doesn’t make many other appearances. Even when you do spot it on a party plate, it is usually overshadowed by the carrots, peppers, cucumbers and broccoli. As a vegetable lover, I find this to be a real shame. Cauliflower is one of the healthiest vegetables that you could enjoy. A cousin to cabbage, kale and broccoli, cauliflower is packed with nutrients and antioxidants, along with many anti-inflamitory, cardiovascular and digestive benefits.

Recently, I was introduced to a delicious cauliflower pizza, which was a white brick-oven pizza topped with sautéed cauliflower. The pizza itself was tremendous, but the cauliflower was definitely the shining star. Because I love grilling up veggies during these summer months, the pizza encouraged me to give cauliflower its due time on my grill. Many grilled cauliflower recipes that I found while doing my research had you slicing the cauliflower head into thick, steak-like wedges. While this sounded delicious, I wanted to take advantage of the softer, sautéed taste and texture. I was afraid that following the grilled wedge version would have given more of a charred taste. Enjoyable, no doubt…but again, not what I was aiming for.

What I decided to do was divide the head into individual florets, discarding the thicker stem portions. I then made a marinade by mixing some olive oil, parmesan cheese, garlic powder, and some salt and pepper (I love the taste of black pepper with cauliflower). I mixed the marinade with the cauliflower, making sure that the florets were evenly coated. I then wrapped the florets in an aluminum foil pouch and set it on my grill, over indirect heat. After about 35-40 minutes, the cauliflower was done, and cooked to my exact expectations. Perfect! The marinade made for the perfect flavor, and softened up the cauliflower just enough (cauliflower, in my opinion, is best when partially cooked, instead of fully cooked and mushy). The heat from the grill did brown the florets slightly, which gave a nice, yet subtle grilled taste. Because my grill top was already packed with other items, the only indirect area that I had available was my upper rack. Had there been more room on the grill, I would have found an area where I could have closed off one burner to avoid charring. But it’s nice to know that the upper rack serves a good purpose with this dish. No doubt, cauliflower will become a regular item on my grill!

Grilled Garlic Parmesan Cauliflower

1 cauliflower head, chopped into individual florets, discarding thick stems
1/4 cup olive oil
2 tspn parmesan cheese
1/2 tspn garlic powder
salt and pepper

Preheat your grill to medium-high heat (about 400˚). Designate an indirect heating area, where the flames will not come in direct contact with the cauliflower. An upper rack works well for this. Mix the oil, parmesan cheese and garlic powder. Place the chopped cauliflower in a bowl and add the oil mixture. Stir to evenly coat the florets, adding additional oil if needed. Add some salt and pepper, stir again. Tear off a piece of aluminum foil large enough to hold the florets. Pour the florets onto the foil, then carefully  fold and wrap the foil to make a loose pouch, open side on top. Place the pouch on your indirect heating area, close the lid and let cook for 35-40 minutes, checking occasionally. When the cauliflower starts to slightly char, carefully remove from grill. Let sit for a few minutes before opening the pouch. Carefully open the pouch, avoiding getting burned but the released steam. Plate it, serve it and enjoy!

cauliflower1

Share

Recent Comments

Archives

powered by
Socialbar