


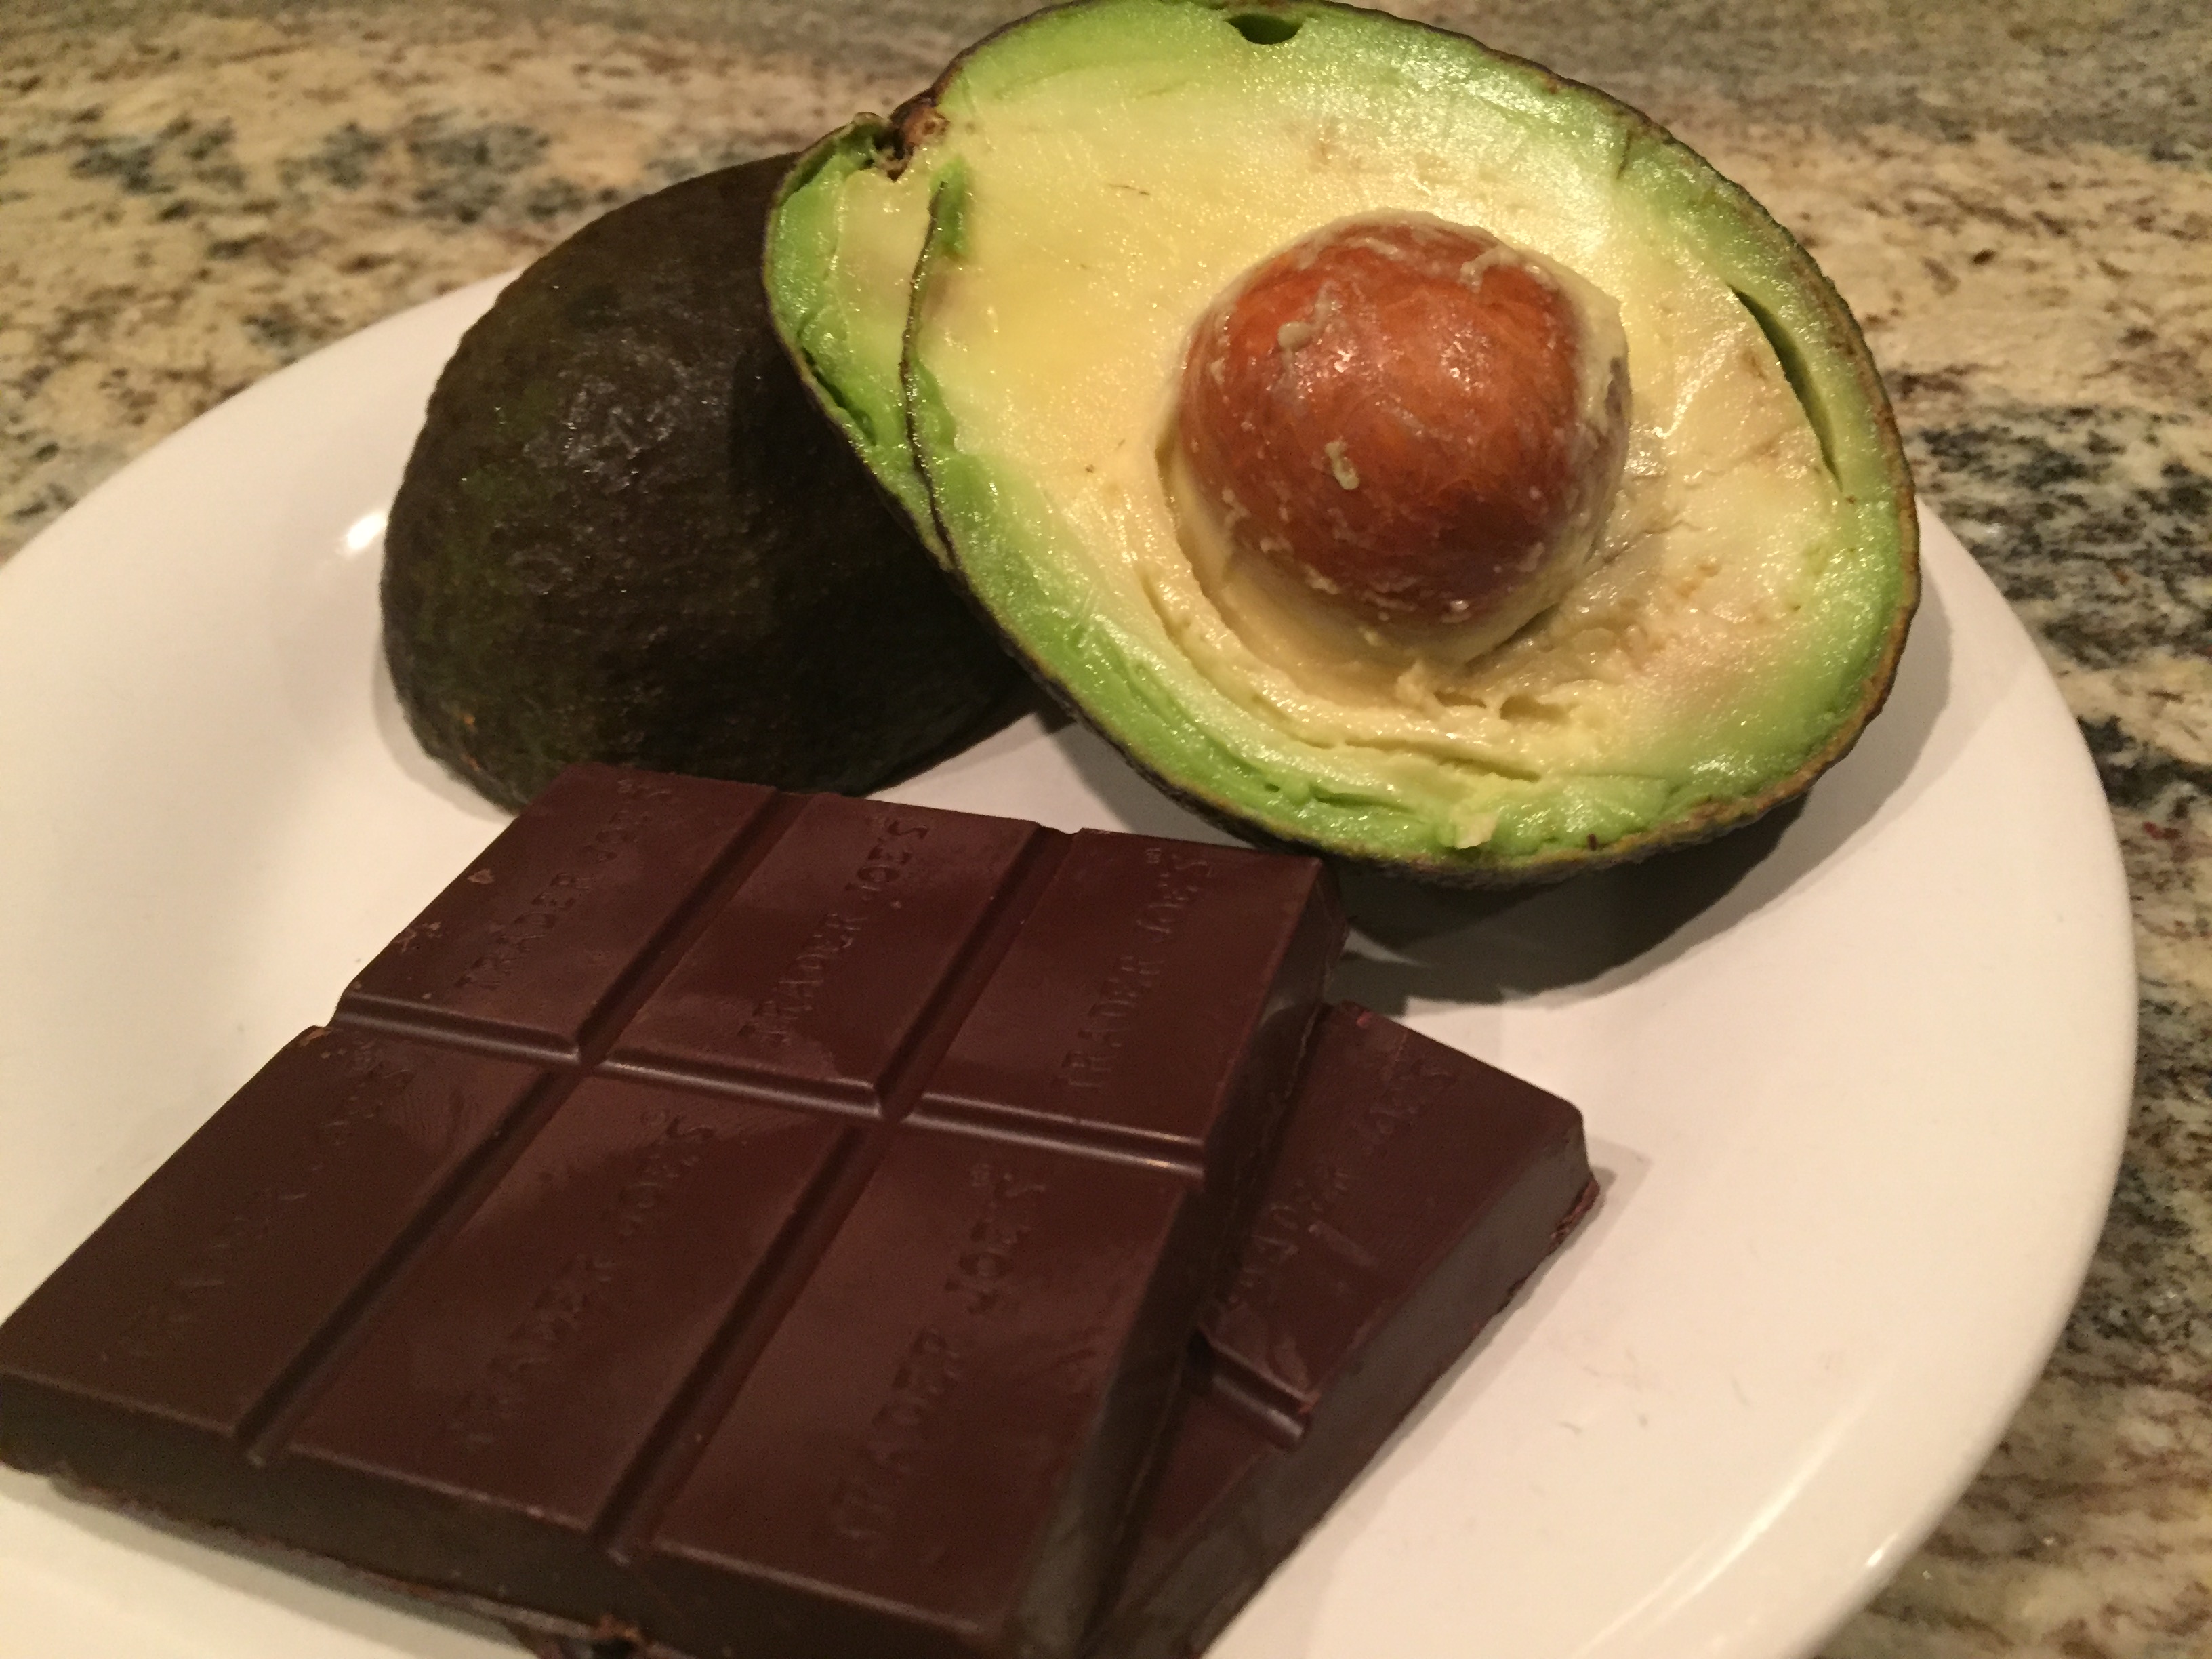

- 1 large ripe avocado
- 1/4 cup (or 2 oz.) dark chocolate (73% or higher)
- 1/8 cup coconut milk or almond milk
- sugar or other natural sweetener (approximately 1 tspn or to taste, depending on the bitterness of the dark chocolate)
- 1 tsp natural vanilla extract
- 1/4 tspn ground cinnamon
Beans and Greens Stuffed Peppers
Stuffed peppers are a very popular and hearty dish that could be prepared in a number of tasty ways. On this food blog alone, you could find quite a few stuffed pepper recipes from previous posts, including ground turkey and rice stuffed peppers, crab-stuffed bell peppers, stuffed peppers and eggs, grilled Mediterranean stuffed peppers, and Aunt Tina’s stuffed peppers recipe, which uses an old world bread style stuffing that may be my favorite stuffing recipe of all time (links to all of these recipes can be found at the end of this post).
Because I have been experimenting lately with recipes that are heart healthy, yet still bursting with flavor, I decided to use a modified version of a beans and greens recipe as pepper stuffing. Beans and greens – which is another rustic and flavorful classic – could also be prepared in a number of ways, using various ingredients. Just the greens alone could take you in a number of directions. Spinach, escarole, mustard greens, Swiss chard and broccoli rabe will all work well. I’ve selected kale as my green for this go-around, but you could substitute it with any of the above mentioned, or any other favorite leafy green of your choice. For the beans, I’m using canned garbanzo beans. Cannellinni beans (or white kidney beans) would be my second choice for this dish. If you are up to the task, you could purchase and prepare fresh garbanzo or cannellini beans, but you’ll need to set aside some time to have them ready to roll for this dish. You can check out various methods on how to prepare fresh beans by clicking here.
What I really like about this recipe is that it starts off very basic, and is accommodating to many diets. Just a few spices and seasonings are enough to give it real taste and flavor. I added some cooked quinoa to the fold, and I’ve also decided to kick things up a bit by adding some bacon to the mix and sautéeing the beans and greens in a bit of the bacon grease for some real flavor. Of course, you could eliminate the bacon portion if you do not want to add meat to the recipe. But if you are looking for some knock-down flavor, I suggest you give it a try. Shrimp would also be a nice addition if you wish.
Instead of removing the cap of the bell pepper and stuffing it from the top, I went with halving the peppers length-wise, so that the peppers could sit flat on the dish. Not only does it make for nice presentation, it also makes stuffing the pepper a bit easier…and less messy to eat!
No Peppers? No Worries!
If you are not a fan of peppers, or maybe just don’t have any on hand, I suggest you still give this stuffing recipe a try. It would work fabulously served over pasta, or even just served on its own as a warm salad.
Whichever ingredients you decide to incorporate, or whichever method you decide to serve it, I can guarantee you that this recipe will leave you stuffed and satisfied.
Beans and Greens Stuffed Peppers
4 bell peppers (your choice of color), cut in half length-wise with membrane and seeds removed
*4 oz pancetta, diced, or 4 slices of thick cut bacon, cut into small pieces
1 small onion, diced
1 15 oz can cannellini or garbanzo beans
8 ounces of kale (or your preference of leafy green)
olive oil (if needed)
1/4 to 1/2 cup chicken broth (if needed)
salt and pepper
shredded cheese for topping (optional)
* If you prefer not to use pancetta or bacon in this recipe, simply start by sautéeing the onion in olive oil. Other additional ingredients that would work well with this filling are cooked quinoa, rice or other grains (approximately 1/2 cup cooked). You could also sauté shrimp before adding the beans and greens to the mix.
Also, you could prepare the filling ahead of time. Simply refrigerate until ready to use.
Preheat oven to 400˚.
Sauté pancetta or bacon pieces in a large pan over medium heat until crispy and fat is rendered, about 7-10 minutes. Remove pancetta or bacon and set aside.
Add onion to rendered fat in the pan (or start with olive oil if you are not using pancetta or bacon grease), sauté until onions are soft and translucent (add additional olive oil if needed). Add beans, stir together, cook until heated.
Add the kale, stir together. You can add 1/4 to 1/2 cup of chick broth if needed, to help cook down the kale. Season with salt and pepper to taste. If you are using the pancetta or bacon, you will not need to add much additional salt for taste.
Once the kale is cooked down, add the pancetta or bacon back to the pan.
While the stuffing is heating up, prepare your peppers by slicing them in half lenght-wise and scooping out and discarding the seeds and membrane. Place the peppers in a baking dish (open side up), and carefully stuff each of the peppers with the stuffing. Cover with foil and bake for 30 minutes.
Carefully remove foil, top the peppers with some shredded cheese (optional), and place back into the oven uncovered for an additional 15 minutes.
Serve and enjoy!

The beans and greens, heated up and ready to be used as a stuffing, a topping on pasta, or as a warm side salad.
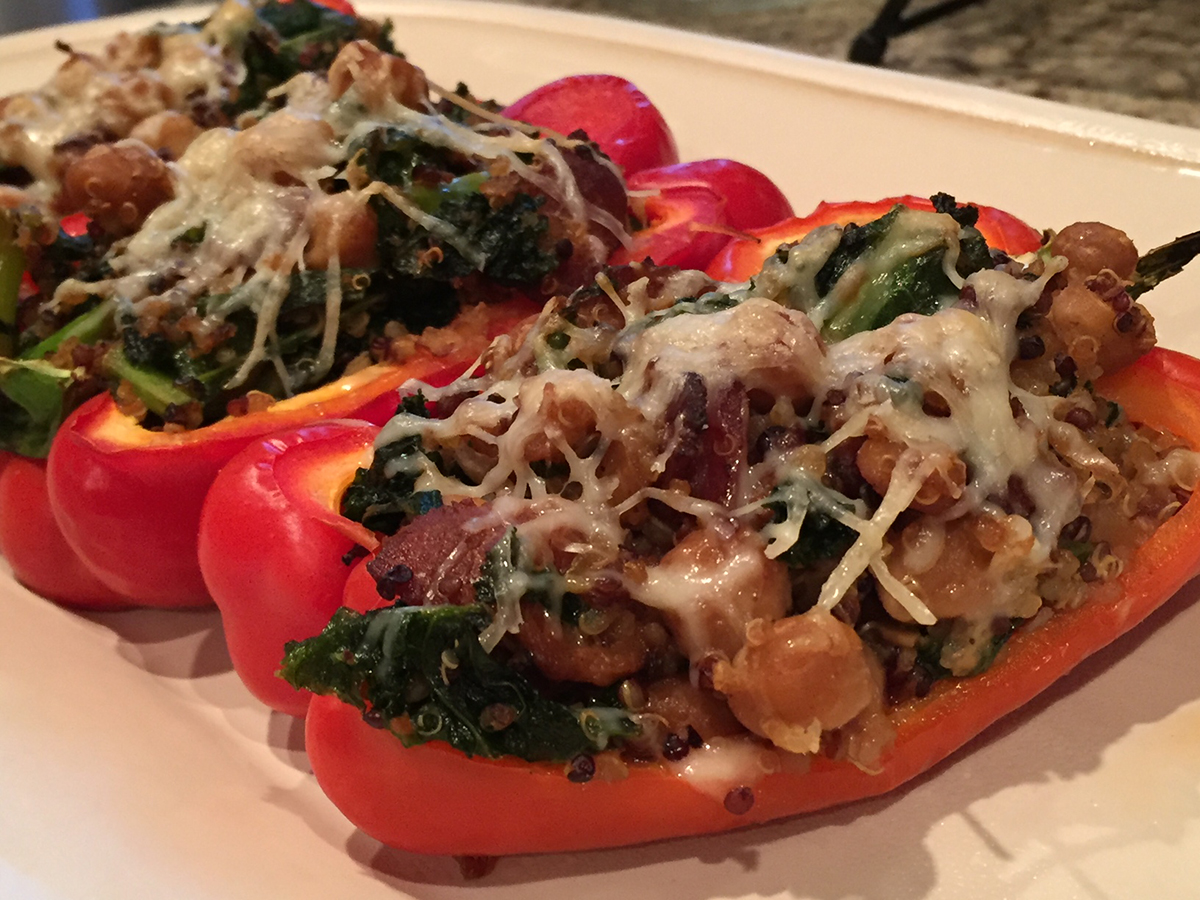
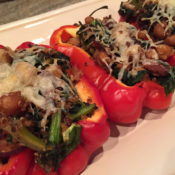
The peppers….stuffed, baked and ready to be enjoyed.
Previously featured Stuffed Pepper recipes:
Ground Turkey and Rice Stuffed Peppers
Crab-stuffed Bell Peppers
Stuffed Peppers and Eggs
Grilled Mediterranean Stuffed Peppers
Aunt Tina’s Stuffed Peppers

Recent Comments