
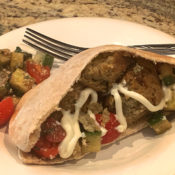
Mediterranean Eggplant Meatball Pita Pockets
This recipe is actually a reimagining of my Eggplant and White Bean Meatballs recipe that I had previously posted a few years back. The original recipe has been a family favorite and is often in our standard dinner rotation. The way that I would most often serve the meatballs is with a side of rice and some marinara sauce for dipping. To change things ups bit, I decided to add a Mediterranean flare. Because one of the main ingredients in my eggplant meatballs is white beans, they have a similar taste and texture to falafel. This got me to thinking that the meatballs would really work well with some Mediterranean flavors. Right away, a zesty tomato-cucumber salad, some fresh mint and feta cheese came to mind.
Another update that I made to my meatball recipe was to do the initial eggplant prep process in the oven. My original recipe would have you preparing the eggplant on the stove top with shallots and some seasoning in olive oil and warm water. While this method does work well, I find that I now prefer to season the fresh chopped eggplant, toss it with some olive oil and bake it. This method adds a bit more flavor to the eggplant and is also more of a hands-free method.
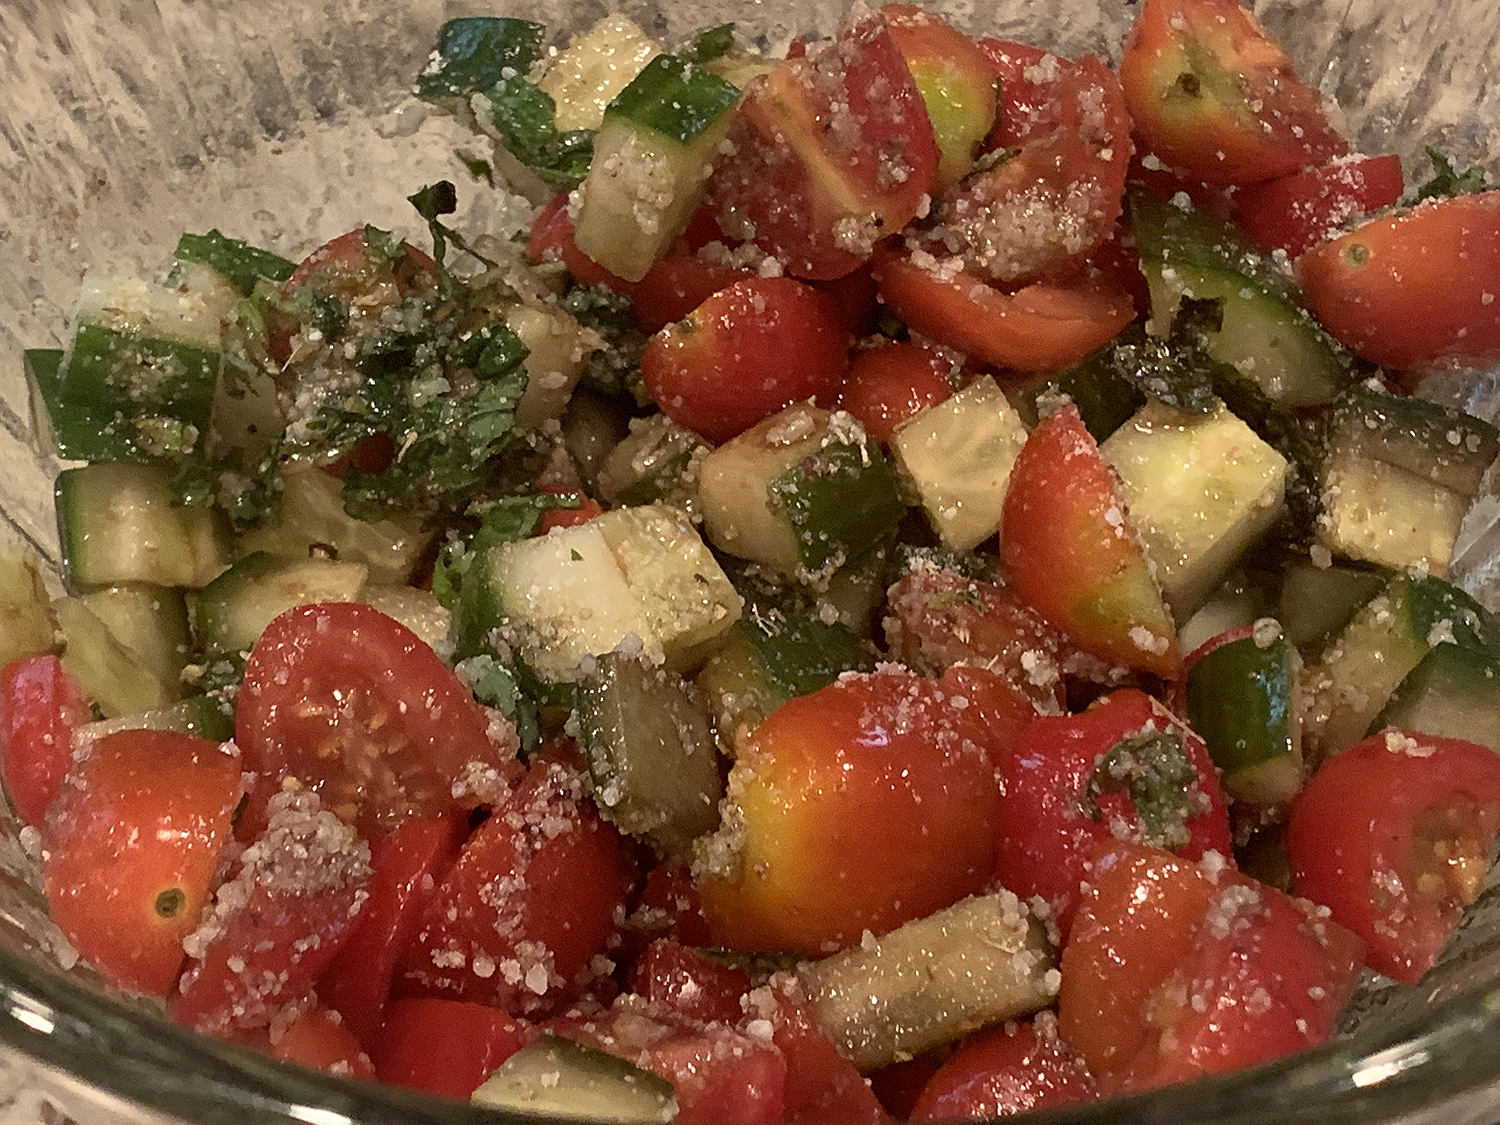
As far as the tomato-cucumber salad recipe goes, the seasoning and measurements are pretty much up to you, depending on how much you prefer to prepare. For my family, I use a half of an English cucumber and a half pint of cherry tomatoes, seasoned with onion and garlic powder, salt and pepper to taste. Tossed with some fresh chopped mint, some crumbled feta, and some olive oil and a tiny splash of balsamic. This is really a salad that you can make and adjust to your liking!
Serving this new version of my recipe is very easy. You simply stuff a pita pocket (a tortilla wrap will also work well) with some of the tomato-cucumber salad, then add two to three eggplant meatballs (again to your preference). I also suggest adding a bit of a creamy dressing for additional taste, such as a creamy horseradish aioli, lemon aioli or tzatziki. What you will end up with is a pita loaded with all kinds of goodness and a multitude of flavor profiles. The fresh crunch of the seasoned tomatoes and cucumbers combined with fresh mint. The slight punch of the balsamic splash. The savory and flavorful meatballs. The zip of the additional creamy topping. All held together by a nice, firm pita pocket. And the ingredients are all on the healthy side!
Mediterranean Eggplant Meatball Pita Pockets
For the Tomato-Cucumber Salad
My preference for the salad is 1/2 of an English cucumber diced, 1/2 pint of cherry tomatoes halved, tossed with a drizzle of olive oil and a splash of balsamic vinegar. Seasoned to taste with salt, pepper, onion and garlic powder, and chopped fresh mint. Tossed with crumbled feta or goat cheese. This is a very versatile salad, so you can adjust the amount and ingredients to your liking!
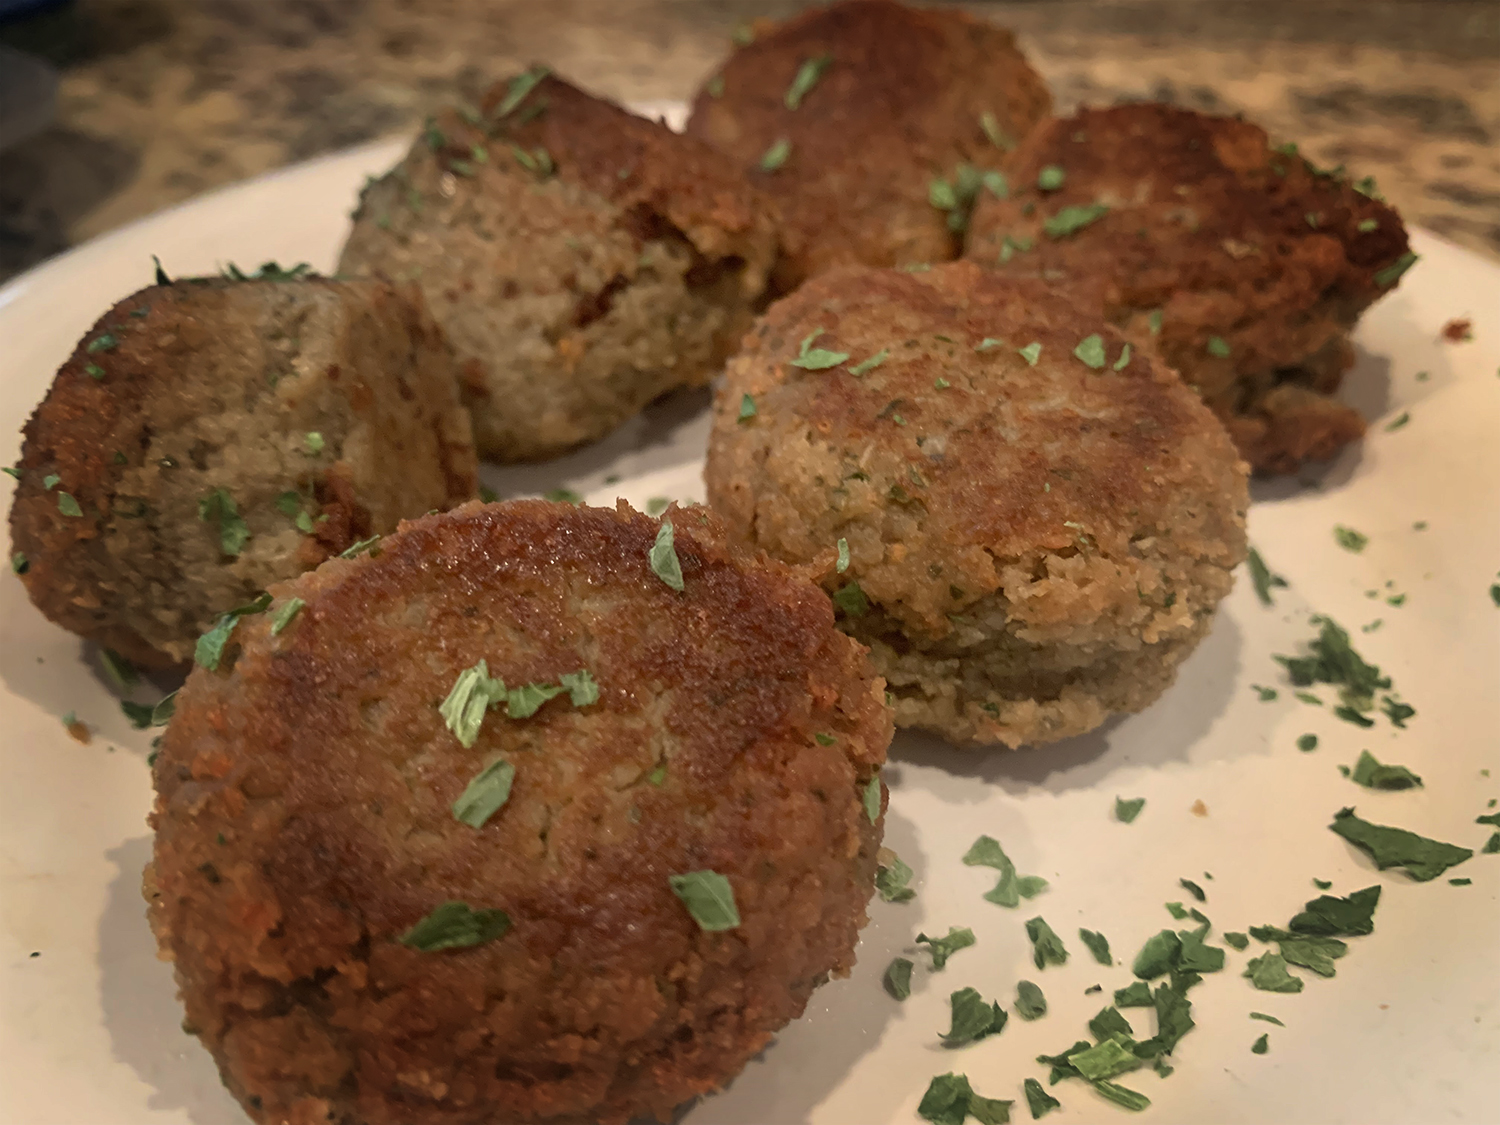
For the Meatballs
Makes approximately 12-15 meatballs
1 large eggplant, skin removed, cut into 1″ pieces
1 tspn garlic powder
1 tspn dried oregano
2 tbspn olive oil
salt and pepper
1 tbspn fresh basil, finely chopped
1 tbspn mint, finely chopped (you can use 2 tbspn basil if you do not have mint on hand)
1/2 cup canned canellini or garbanzo beans, rinsed
1/2 cup parmesan cheese
1 cup bread crumbs
1 egg, lightly beaten
Preheat oven to 375˚. Stir together the eggplant pieces, olive oil, garlic powder, oregano and a dash of salt and pepper until all eggplant pieces are coated. Bake the seasoned eggplant in a baking dish for 30 minutes. Remove eggplant from the oven, set aside to let cool.
When cooled, place eggplant in a food processor with remaining ingredients. Pulse until well mixed, but not puréed. You can mix by hand if you do not have a food processor, but the meatballs will have a chunkier consistency. Shape the mixture into small balls as you would with traditional meatballs. Placed the meatballs onto a lightly sprayed baking sheet. Lightly spray the meatballs. Bake for 30-40 minutes at 375˚, until they are browned and no longer soft to the touch.
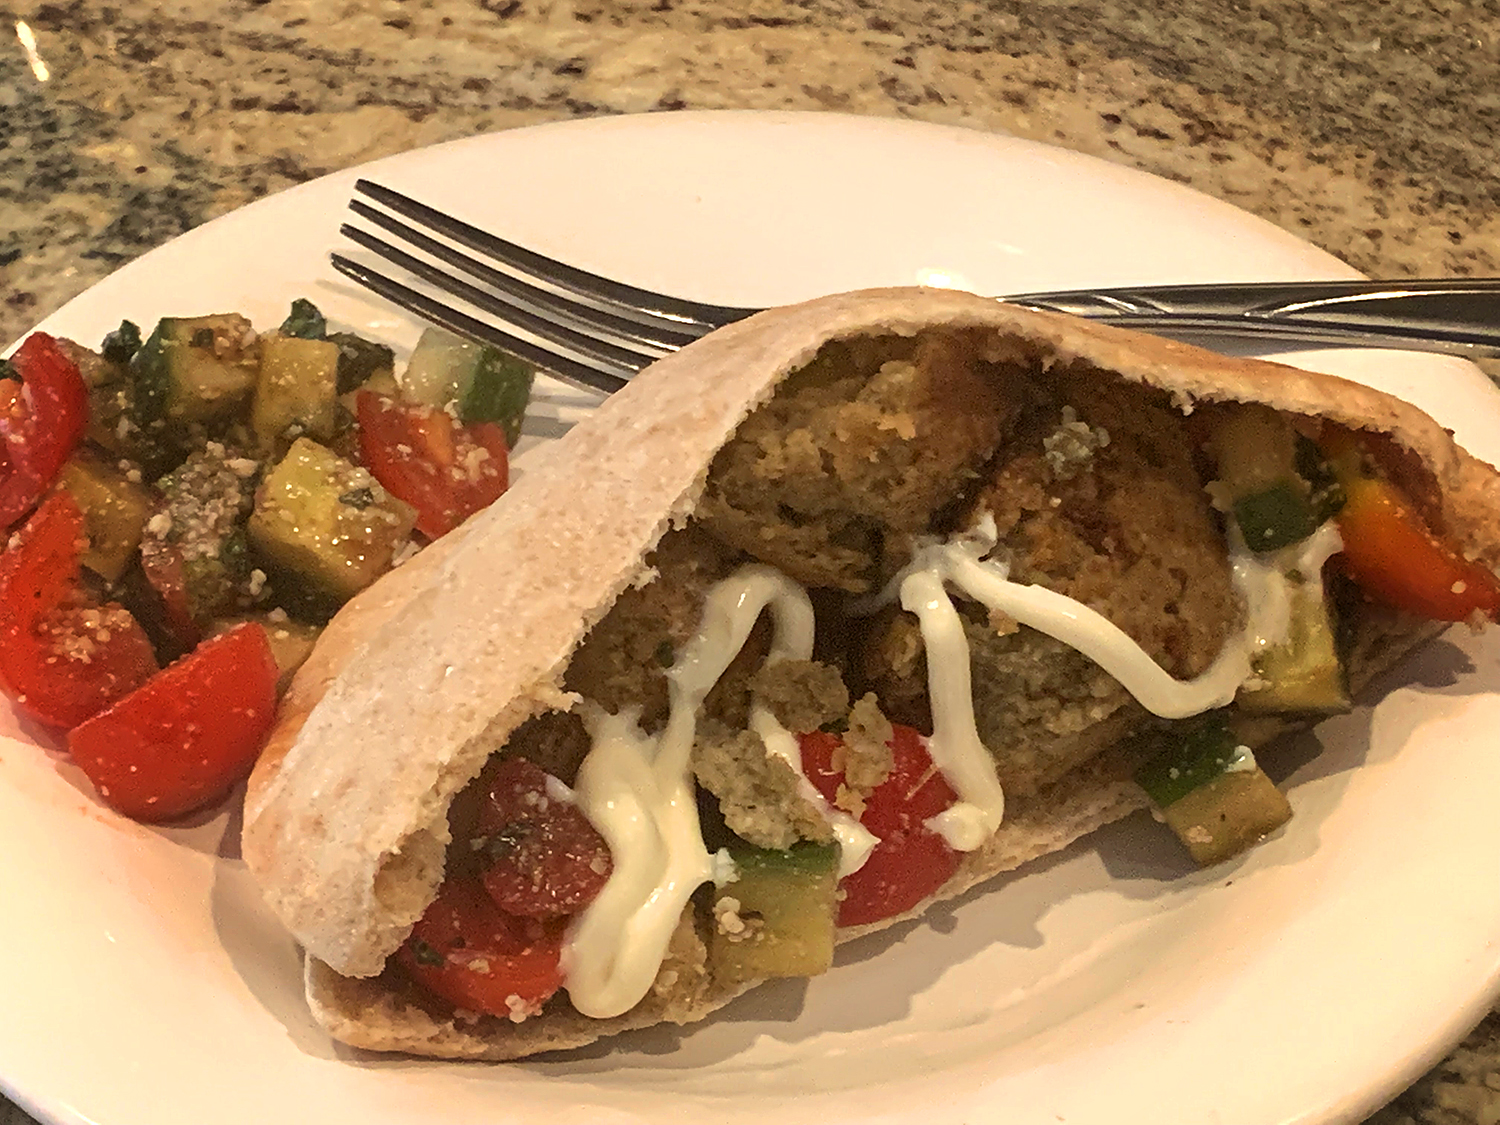
For the Assembly
To enjoy this meal, simply stuff a pita pocket, a tortilla wrap or any other sandwich wrap that you prefer with the mixed salad, two to three meatballs, and for an extra optional kick a drizzle of a creamy horseradish aioli, lemon aioli or tzatziki. Grab yourself a few napkins and enjoy!


Recent Comments