Home » Menu » Recent Articles:

Crab and Corn Chowder Pot Pie

March 26, 2015 Entrees, Menu, Soup No Comments

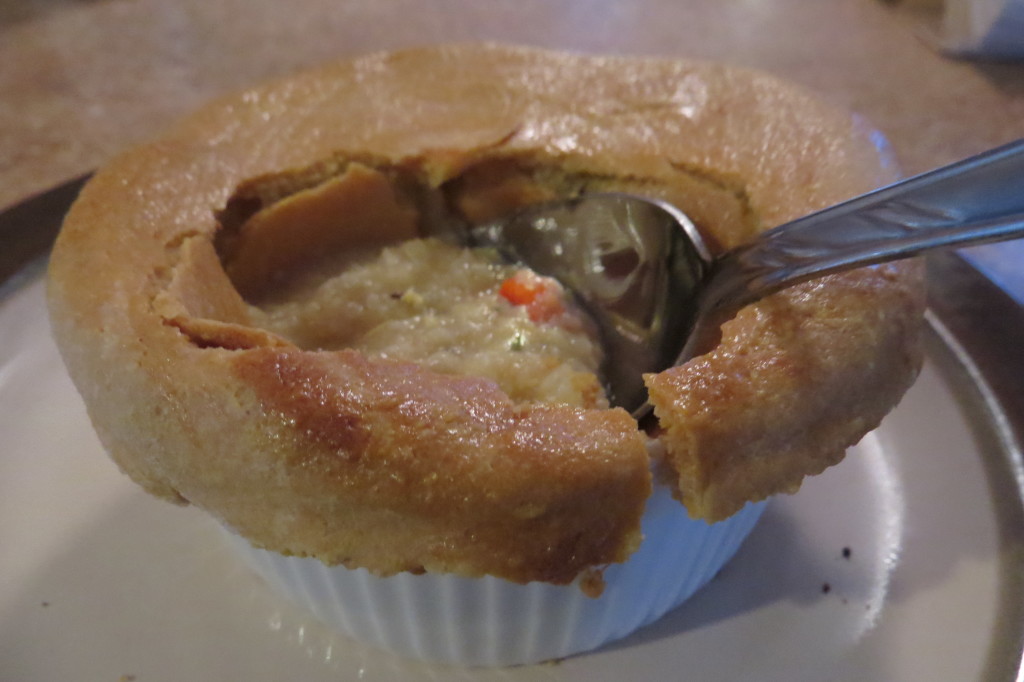
The idea for this recipe has been simmering on my “to cook” list for a while now. I finally had the opportunity to put this dish together recently, and I’m very happy to say that it was everything that I was hoping for. Crab and corn are a classic combination to begin with, so I knew that adding crab meat to a creamy corn chowder would work well. Because cornbread is often served up with corn chowder, I decided to use cornmeal when making the dough for the pot pie, so that the grainy and sweet cornbread flavor would be incorporated in every flaky bite of the pot pie crust. The addition of the cornmeal to the dough worked as well as the crab meat did in the chowder. When all of the ingredients were finally combined, the end result was incredibly tasty and very enjoyable. Normally, I would save a creamy chowder or a pot pie dish for the cold winter season. This dish however is a bit lighter and sweeter than a traditional winter chowder, so it can be enjoyed just about any time of the year. And if you’re not in the mood for a hearty pot pie, you can serve up the easy to make chowder on its own!


Crab and Corn Chowder Pot Pie

Step 1: The Chowder
1 shallot, finely chopped
6 cups frozen corn, divided (sweet or white corn)
3 cups reduced sodium chicken broth, divided
1 large sweet red pepper, chopped
1/2 tsp Old Bay seasoning
1/2 tspn dried thyme
salt and pepper to taste
6 oz can crab meat

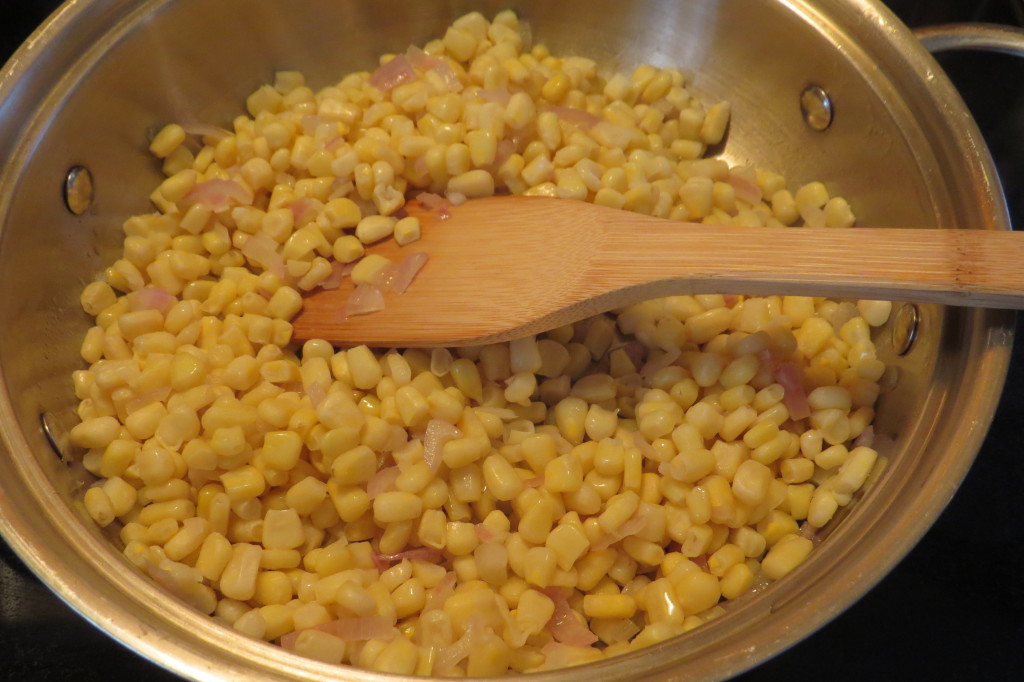
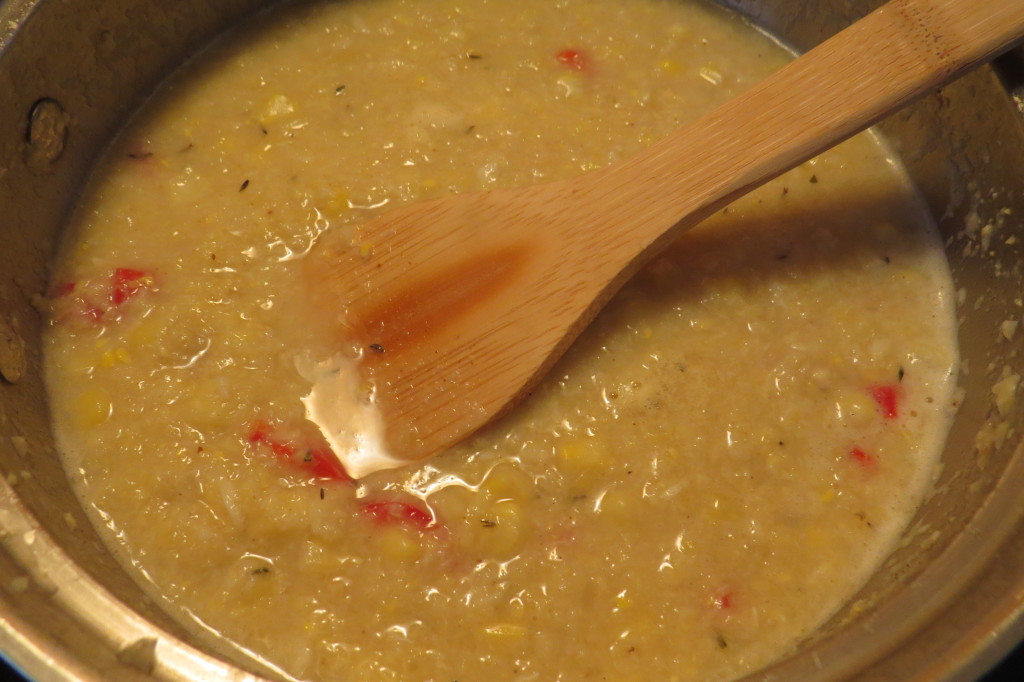
Lightly coat a large sauce pan with cooking spray. Add shallot; cook and stir over medium heat for 4 minutes or until tender. Add 4 cups corn; cook and stir until corn is softened, about 5 minutes. Add 2 cups broth; bring to a boil. Reduce heat; cover and simmer for 10 minutes or until corn is tender. Cool slightly.

IMG_5099

Carefully process soup in batches in a blender, until smooth; return mixture to the pan. Add the red pepper, Old Bay seasoning, thyme, salt and pepper, crab meat and remaining corn and broth; cook and stir for 10 minutes or until the corn is tender. Set aside.

IMG_5100

Step 2: The Pie Crust
1/2 cup cornmeal
1/2 cup flour, plus more for shaping
1 tspn salt
2 tbspn shortening
1 egg
1/4 cup water

Combine cornmeal, flour and 1 tsp salt in a bowl. Cut in shortening. In a separate bowl, beat together egg and 1/4 cup water. Add to cornmeal mixture.

Shape the dough into a ball, using extra flour to prevent sticking. Wrap the ball in plastic wrap and place in the refrigerator for at least 30 minutes.

Step 3: The Pot Pie
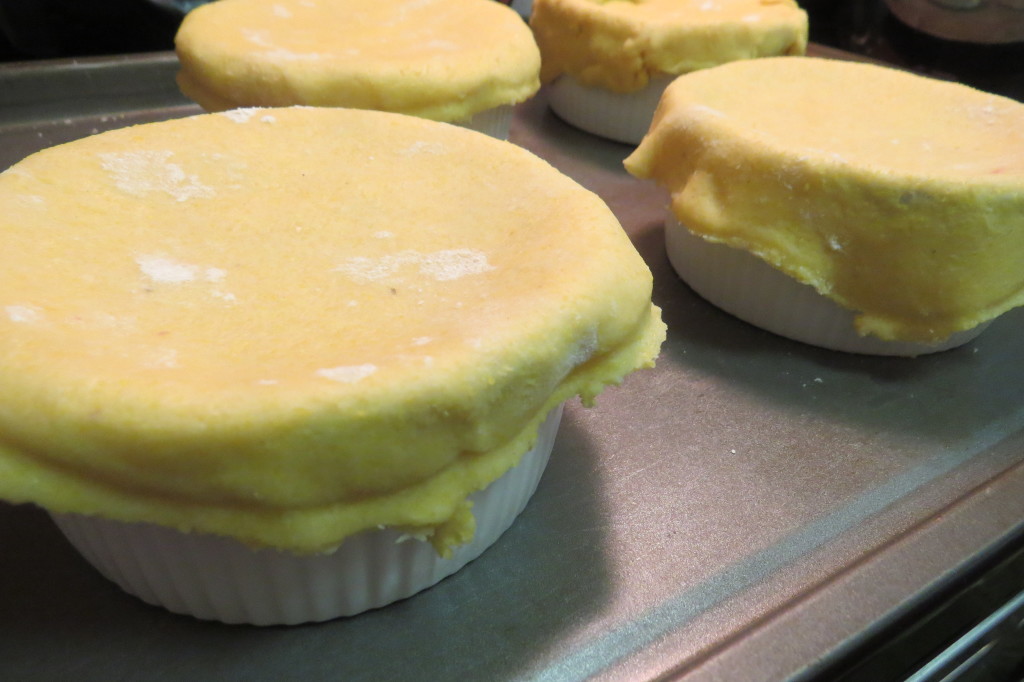
Preheat oven to 375˚. When ready to assemble the pot pies, remove dough from fridge and roll it out on a floured surface. You’ll want to cut the dough into circles large enough to slightly overlap your serving bowl, so the thinner you roll the dough the more dough you will have to use.

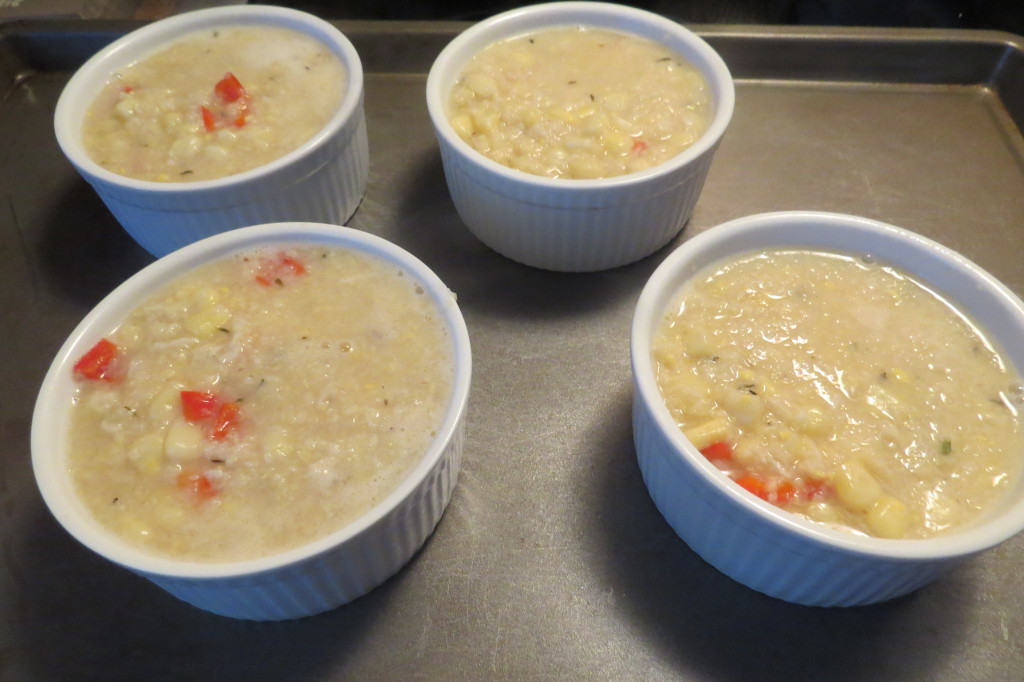
Divide the chowder equally among 6 oven-proof individual serving bowls or ramekin dishes.

IMG_5104


IMG_5107

Brush the outside edges of each bowl with an egg wash, then place the dough on top. Trim the circle to 1/2-inch larger than the top of the bowl. Crimp the dough to fold over the side, pressing it to make it stick. Brush the dough with egg wash and make a criss-cross slit in the center of the dough. Place the bowls on a baking sheet and bake for 1 hour, or until the top is golden brown and the filling is bubbling hot.

IMG_5110


Share

Roasted Tomatoes with Arugula and Grana Padano

March 8, 2015 Menu, Salads No Comments

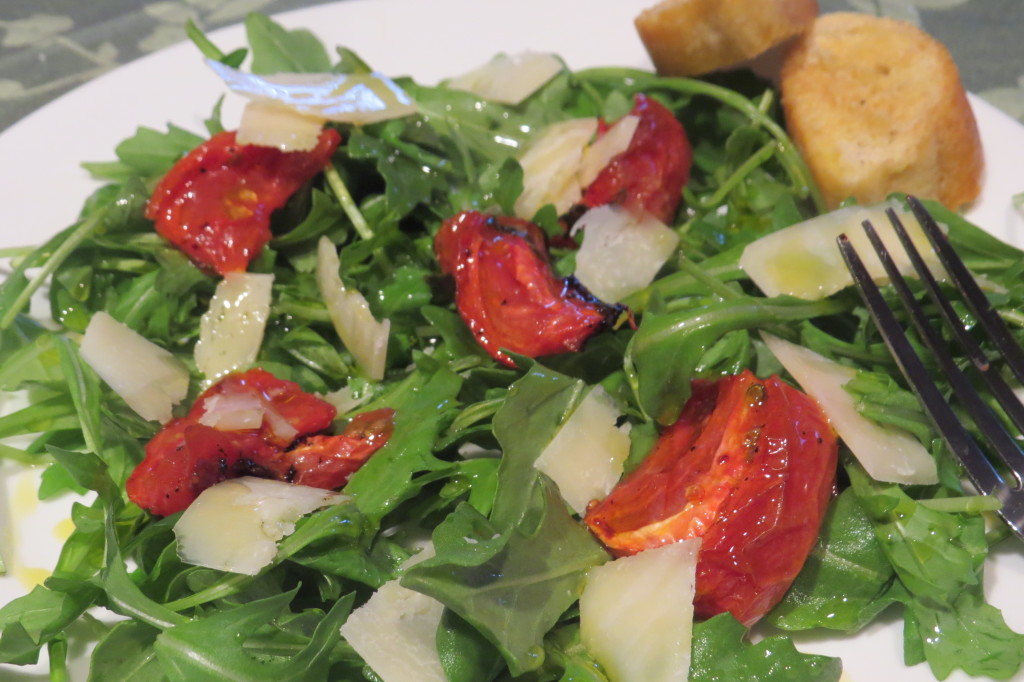
After being clobbered with an unexpected end-of-season snowstorm, I am more than ready to start enjoying some of my favorite springtime meals. While it is still too early in the season to really think about planting and picking your own fresh tomatoes, it doesn’t mean that you can’t enjoy what’s available at the grocery store. The recipe that I’m sharing with you today was inspired by television’s Chef Michael Smith, and uses some nice store-bought vine ripen tomatoes.

I recently watched Chef Smith prepare roasted tomatoes, and I knew that this was the perfect dish to help kick-start spring fever. Roasted red peppers are one of my favorite salad and sandwich condiments, and I love grilling up tomatoes in the summer, so I was very anxious to give roasted tomatoes a try. The recipe is as simple as slicing up up a few tomatoes into four to eight pieces each (depending on how small you prefer the slices), tossing them with olive oil, some salt and pepper and some fresh basil, then oven roasting them for an hour. The aroma of the roasted tomatoes is absolute heavenly. Once slightly cooled, these babies are simply amazing. The tomatoes develop a rich, robust, sauce-like flavor enhanced by the natural sweetness. The olive oil, salt, pepper and basil add a delicious punch to the tomatoes…they literally explode in your mouth.

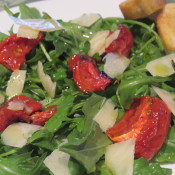
I served the tomatoes on top of arugula, then topped the salad with a little more olive oil and fresh shaved Grana Padano cheese, which is a popular Italian cheese that is similar in taste and texture to Pecorino Romano or Parmesan. The rich, sweet tomatoes were a perfect complement to the peppery arugula and sharp cheese. This salad is definitely a spring-time must…but it doesn’t mean you can’t enjoy it now. And don’t forget the crusty bread and red wine!

Roasted Tomatoes with Arugula and Grana Padano

(you can adjust all measurements to your liking)
2-4 vine ripen tomatoes
olive oil
salt
pepper
a handful of fresh basil leaves, finely chopped
arugula
Grana Padano, Pecorino Romano or Parmesan cheese

Preheat oven to 350˚. Cut the tomatoes into 4-8 pieces each, depending on how small you would like them. Toss the sliced tomatoes in a bowl with some olive oil, a dash of salt and pepper and the basil, making sure that all of the tomatoes are evenly coated. Place them on a baking tray, making sure that the pieces don’t overlap. Bake the tomatoes for one hour.

Remove from oven, let cool slightly.

To serve with arugula – place the cooled tomatoes on the arugula, drizzle with a little more olive oil, top with some shaved cheese.

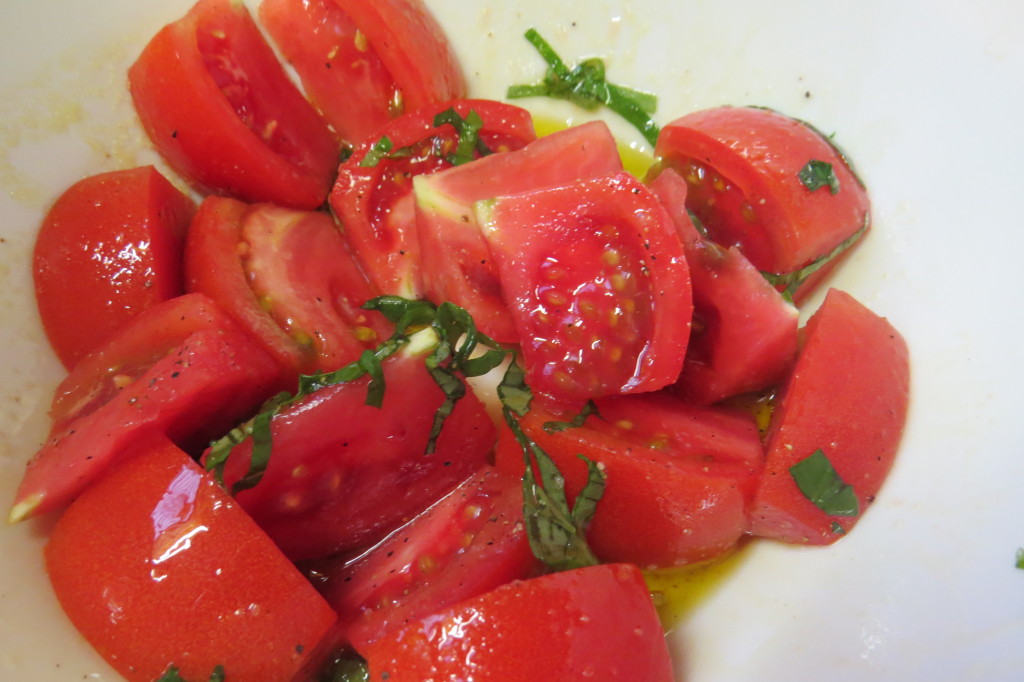
IMG_5092

Step one: cut the tomatoes and toss with olive oil, salt, pepper and fresh basil.

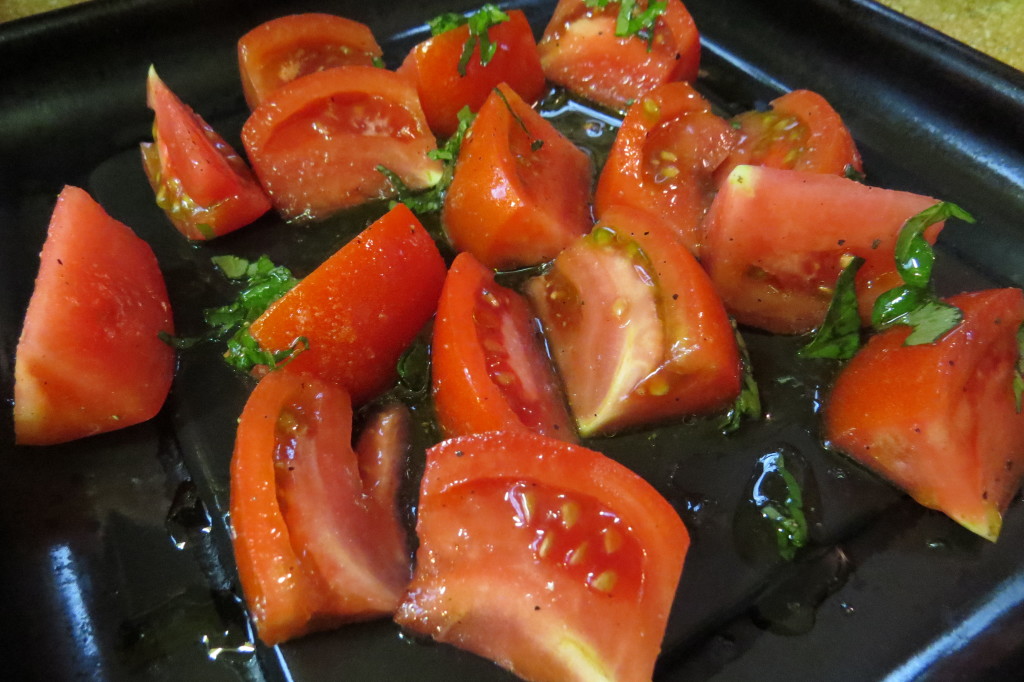
IMG_5093

Step two: spread the tomatoes evenly on a baking sheet.

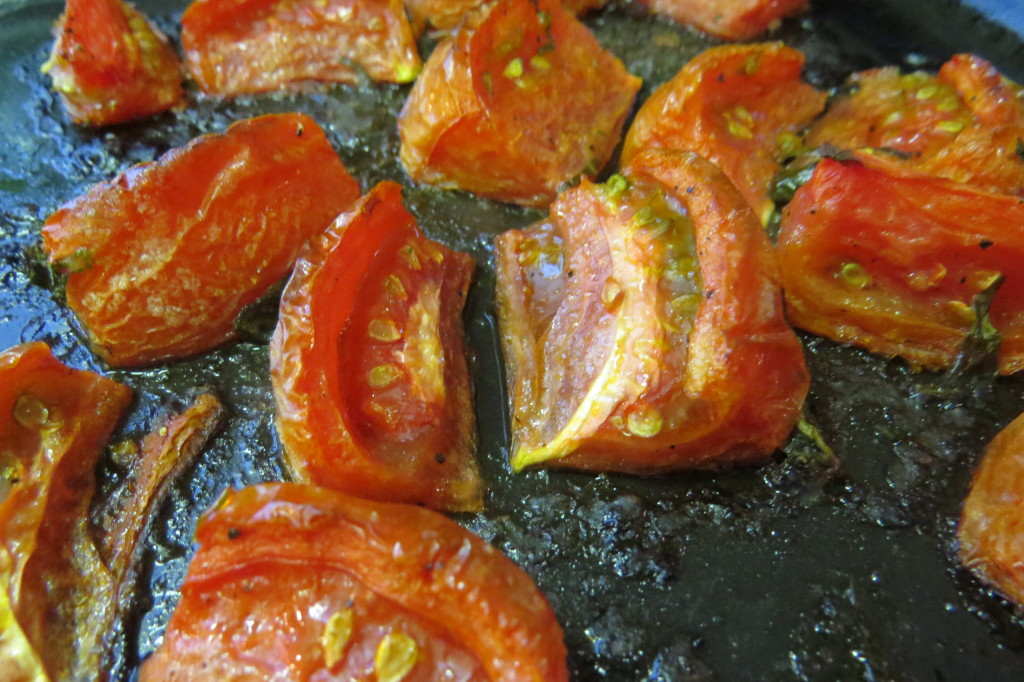
IMG_5094

Step three: after an hour in the oven, let cool slightly.

IMG_5096

Step 4: enjoy the tomatoes on a salad, sandwich, or on their own!


Share

A Little of This and Some of That: An Interview with Lorraine Ranalli

March 2, 2015 Menu No Comments

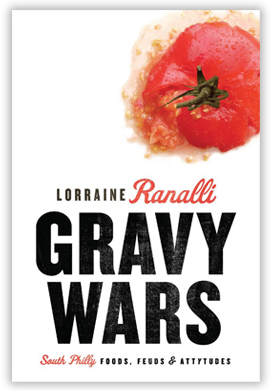
In this episode, we welcome our special guest, Lorraine Ranalli. Join us for a fun and entertaining conversation about Lorraine’s book, “Gravy Wars: South Philly Foods, Feuds and Attytudes,” the Cucuina Chatter radio show and website, her days in radio, and so much more! Pull up a chair, pour yourself a cup of coffee and join us!

gravy-wars-book

Dom and Lorraine 4x6


Show-related links

Gravy Wars

Cucina Chatter

lorraineranalli.com

Be sure to contact us at info@domskitchen.com or in the Comments section below to let us know what you thought about this episode of A Little of This and Some of That.


Share

Chicken Cacciatore Casserole

February 19, 2015 Entrees, Menu, Pasta No Comments

Family recipes, whether followed to the tee or slightly altered, are a key ingredient to keeping family traditions alive. They are a major inspiration for many big weekend and holidays meals, and the backbone to my food blog. For this recipe, I’m taking one of my Grandmother’s signature dishes, Chicken Cacciatore (which you can find on my blog by clicking here), and am slightly adjusting some of the measurements to make it into a casserole. Although the presentation and serving size are just a bit different from the original – I made adjustments to better serve a large crowd – the spirit and essence of Grandmom’s dish is still the main highlight. There’s nothing wrong with adding a new twist to a classic family dish, and I’m sure that my Grandmom would approve of this recipe!


Chicken Cacciatore Casserole

4 chicken breasts, cut into 1″ cubes, lightly dusted with flour
2 cloves garlic, minced
1/2 cup red wine vinegar
1 tspn rosemary
1 29-oz can tomato sauce (you’ll start off with about 2/3 of the can)
1 large red or green bell pepper (or two small), cut into small pieces
1 cup water
2 tblspn vegetable oil
pinch sugar
salt & pepper to taste
1lb cooked pasta (ziti, mini shells, or whatever you prefer!)
breadcrumbs
*although I don’t prefer them, you can also add mushrooms to this dish

Step 1: The Sauce
In a large frying pan, brown chicken and garlic in oil until chicken is golden brown. Add vinegar and 1/2 cup water. Simmer until liquid evaporates. Add rosemary, about 2/3 of the tomato sauce, remaining water, sugar, salt and pepper. Add peppers, stir together, cover slightly, let cook for 30 minutes.

Note – I’m suggesting that you start off with 2/3 of the tomato sauce. A full can may be too much to add to the pan. You can add in the remaining 1/3 of tomato sauce when stirring in the pasta. The added sauce will pick up the flavors while baking.

Step 2: The Pasta
Preheat oven to 350˚. While the sauce is simmering, cook the pasta until al dente. When pasta is done, mix it together with the sauce in a 13″x9″ baking dish. If the pasta doesn’t get fully coated, add the remaining 1/3 can of sauce, stir together. Sprinkle the top with breadcrumbs. Cover with aluminum foil, place in oven. Bake for 25-30 minutes, until slightly bubbling and hot.

Serve and enjoy!

cacciatore2


cacciatore1


Share

Recent Comments

Archives

powered by
Socialbar