An Easy Trick to Separate an Egg!


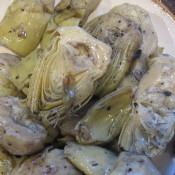
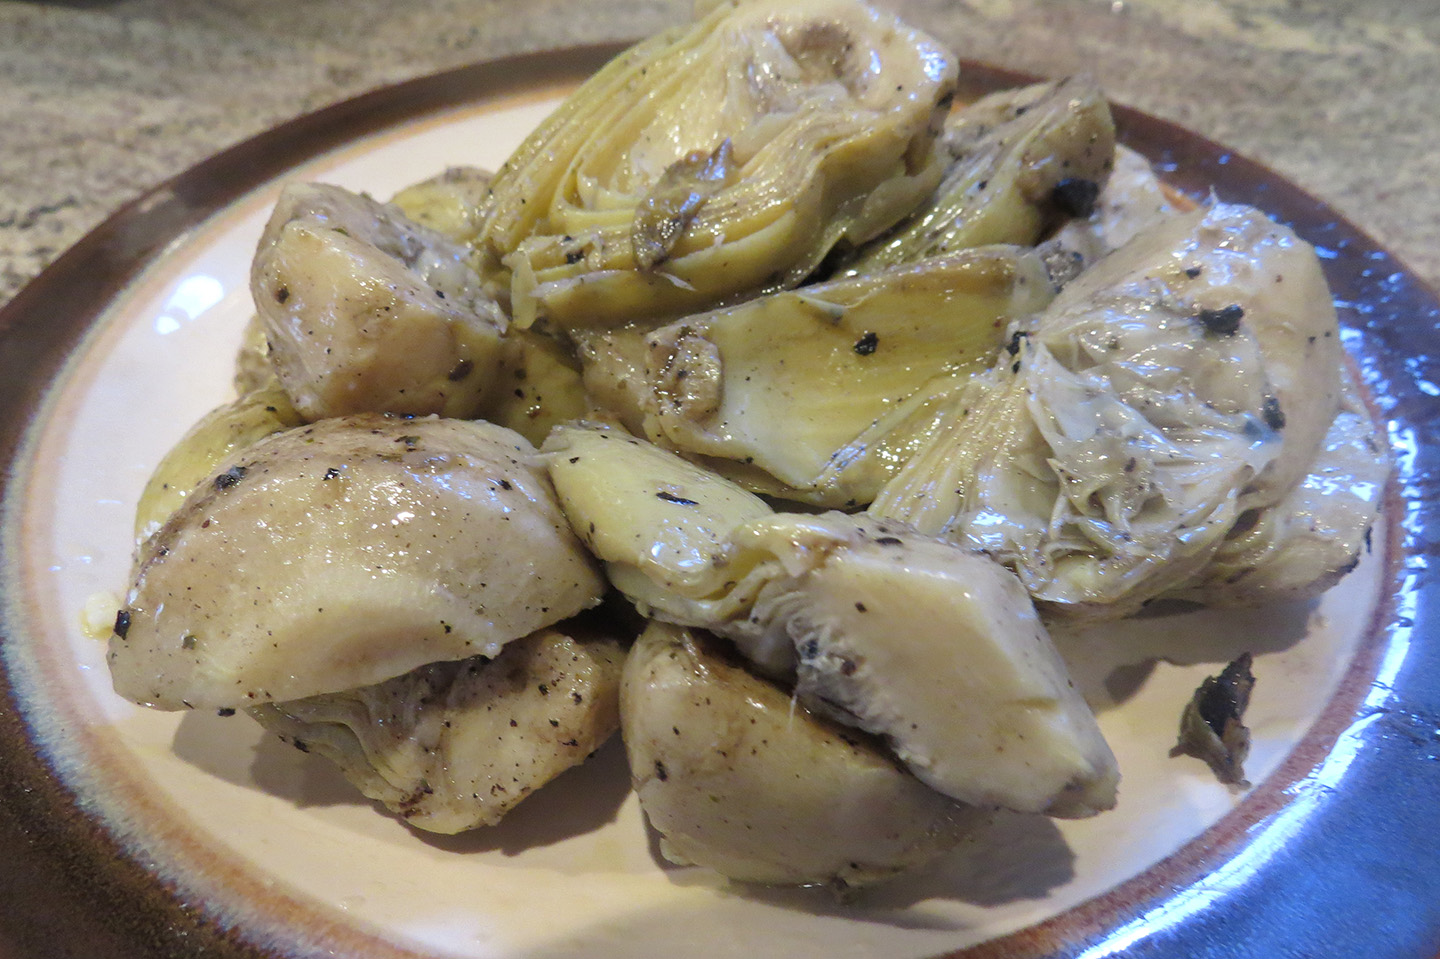
Artichoke hearts are hands-down one of my all time favorite vegetables…and yes, they are considered a vegetable. Whether used in a salad, over pasta, with chicken or fish, or even served as a dip, this anti-oxident rich veggie adds the perfect amount of zesty tang and flavor. For this recipe that I’m sharing with you, the artichoke hearts are the one-man star of the show. This dish is actually so easy, that I feel guilty to refer to it as a recipe. But it does involve some cooking (a very minimal amount at that), it makes for a great side dish to just about any meal, and it went over really well when I made them for a recent family grill-out. So all bases are covered to consider this a great summer recipe. All you need is a jar of marinated artichoke hearts (the jar size solely depending on how many you would like to make), a grill heated to medium-high, a grilling basket, a large stirring spoon and about 5-10 minutes of your time.
Place your grilling basket over direct heat. Remove the desired amount of hearts from the jar and carefully place them into the basket. I stress the word carefully because the oil-soaked hearts will cause the flames to temporarily flare up. Be sure to not pour the hearts into the basket directly from the jar, because the extra oil may cause the flames to rise to a dangerous level. Once the flames die down, stir the hearts to make sure that they get even heat distribution. The hearts will retain their natural moisture (along with marinated coating), so they will not char or burn. Instead, they will pick up a nice, bold smoky flavor, while retaining their soft texture. Continue to stir for about 5-7 minutes. Remove from basket, serve and enjoy!
Cauliflower, in my opinion, is a vegetable that doesn’t get due respect. Not that cauliflower has a bad rap…it just simply seems to be ignored. Aside from a store-bought veggie tray, cauliflower doesn’t make many other appearances. Even when you do spot it on a party plate, it is usually overshadowed by the carrots, peppers, cucumbers and broccoli. As a vegetable lover, I find this to be a real shame. Cauliflower is one of the healthiest vegetables that you could enjoy. A cousin to cabbage, kale and broccoli, cauliflower is packed with nutrients and antioxidants, along with many anti-inflamitory, cardiovascular and digestive benefits.
Recently, I was introduced to a delicious cauliflower pizza, which was a white brick-oven pizza topped with sautéed cauliflower. The pizza itself was tremendous, but the cauliflower was definitely the shining star. Because I love grilling up veggies during these summer months, the pizza encouraged me to give cauliflower its due time on my grill. Many grilled cauliflower recipes that I found while doing my research had you slicing the cauliflower head into thick, steak-like wedges. While this sounded delicious, I wanted to take advantage of the softer, sautéed taste and texture. I was afraid that following the grilled wedge version would have given more of a charred taste. Enjoyable, no doubt…but again, not what I was aiming for.
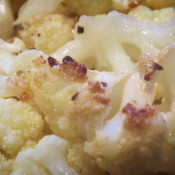
What I decided to do was divide the head into individual florets, discarding the thicker stem portions. I then made a marinade by mixing some olive oil, parmesan cheese, garlic powder, and some salt and pepper (I love the taste of black pepper with cauliflower). I mixed the marinade with the cauliflower, making sure that the florets were evenly coated. I then wrapped the florets in an aluminum foil pouch and set it on my grill, over indirect heat. After about 35-40 minutes, the cauliflower was done, and cooked to my exact expectations. Perfect! The marinade made for the perfect flavor, and softened up the cauliflower just enough (cauliflower, in my opinion, is best when partially cooked, instead of fully cooked and mushy). The heat from the grill did brown the florets slightly, which gave a nice, yet subtle grilled taste. Because my grill top was already packed with other items, the only indirect area that I had available was my upper rack. Had there been more room on the grill, I would have found an area where I could have closed off one burner to avoid charring. But it’s nice to know that the upper rack serves a good purpose with this dish. No doubt, cauliflower will become a regular item on my grill!
1 cauliflower head, chopped into individual florets, discarding thick stems
1/4 cup olive oil
2 tspn parmesan cheese
1/2 tspn garlic powder
salt and pepper
Preheat your grill to medium-high heat (about 400˚). Designate an indirect heating area, where the flames will not come in direct contact with the cauliflower. An upper rack works well for this. Mix the oil, parmesan cheese and garlic powder. Place the chopped cauliflower in a bowl and add the oil mixture. Stir to evenly coat the florets, adding additional oil if needed. Add some salt and pepper, stir again. Tear off a piece of aluminum foil large enough to hold the florets. Pour the florets onto the foil, then carefully fold and wrap the foil to make a loose pouch, open side on top. Place the pouch on your indirect heating area, close the lid and let cook for 35-40 minutes, checking occasionally. When the cauliflower starts to slightly char, carefully remove from grill. Let sit for a few minutes before opening the pouch. Carefully open the pouch, avoiding getting burned but the released steam. Plate it, serve it and enjoy!


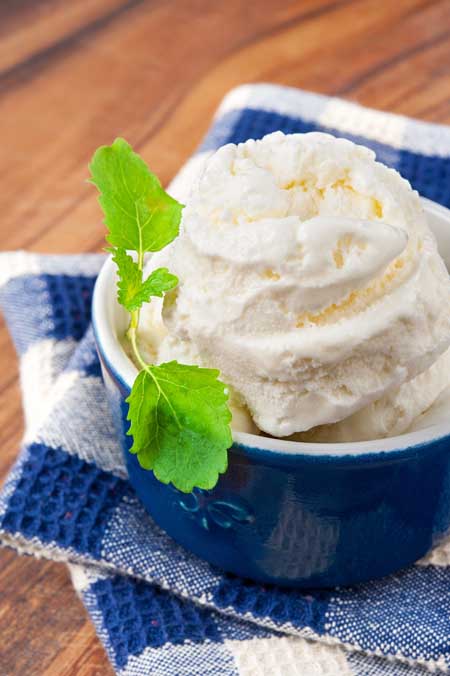
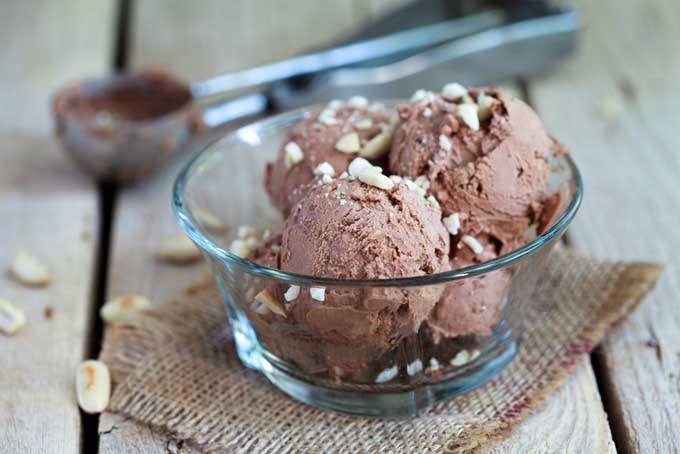
Summer days and summer nights are heating up, and what better way to cool down than with a refreshing scoop (or two) of ice cream? Well…how about a few scoops of fresh, home-made ice cream! Sounds intimidating, right? But the truth is, home made ice cream is pretty simple to make, and the key ingredients needed are most likely already on hand. Home made ice cream is also really fun for the kids to help make, and with a little creativity, the flavors and variations are endless.
Foodal.com, which is another great food and drink website, was kind enough to share with me their recipe for a home made ice cream base. This is the basic recipe for home made ice cream, which itself is quite tasty and refreshing. What I found interesting about this recipe as opposed to others that I have tried was that it uses eggs. Recipe author Ashley Martell explains: “Yes, you can make ice cream without any egg, but the egg helps to keep ice crystals from forming in the dessert and keeps it creamy smooth. It also gives you the silky mouth feel that you simply can’t get without egg yolk.”
Along with the ice cream base recipe, their website also includes recipes for vanilla, salted caramel, coconut, chocolate, and chocolate hazelnut ice cream. This, of course, is just a small sample of the amazing flavor combinations that you can come up with. From strawberry-basil and lemon mint, to cookies & cream and bourbon pecan…the variety is just a scoop away!
You will need an ice cream machine to help churn the ingredients, but again this is nothing to be intimated by. Amazon.com has a wide variety of ice cream machines, ranging from as low as $29.99 for a basic machine, to well over $200 for a gourmet gelato maker.
Bottom line…if you’re an ice cream fan, you should definitely give these home-made recipes a try!
Courtesy of Ashley Martell/foodal.com
Ingredients
2 cups heavy cream
1 cup whole milk
2/3 cup sugar
1/8 teaspoon fine sea salt
6 large egg yolks
Instructions
In a small saucepan, combine cream, milk, sugar and salt and bring to a simmer over medium heat. Cook until the sugar completely dissolves, about 5 minutes. Remove the pot from heat and set aside.
In a separate bowl, whisk egg yolks, and while whisking constantly, slowly pour about 1/3 of the hot cream into the yolks to bring them to temperature (this is to avoid inadvertently making scrambled eggs).
Pour the yolk mixture back into the pot with the remaining cream. Return the mixture to a medium-low heat and cook until mixture is thick enough to coat the back of a wooden spoon.
Strain the cream through a fine-mesh sieve into a separate bowl. Cool mixture to room temperature, and then cover and chill your base at least 4 hours, or overnight.
Churn in an ice cream maker according to the manufacturer’s instructions. You can eat the ice cream right away, but it will be more of a soft serve ice cream. For a firmer product, allow it to continue to firm up in the freezer for a few hours, or overnight.
Click here for the foodal.com home made ice cream page, which includes their base recipe, as well as recipes for vanilla, salted caramel, coconut, chocolate, and chocolate hazelnut ice cream.
Images courtesy of foodal.com/Ashley Martell
Recent Comments