Recent Articles:

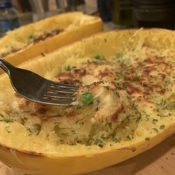
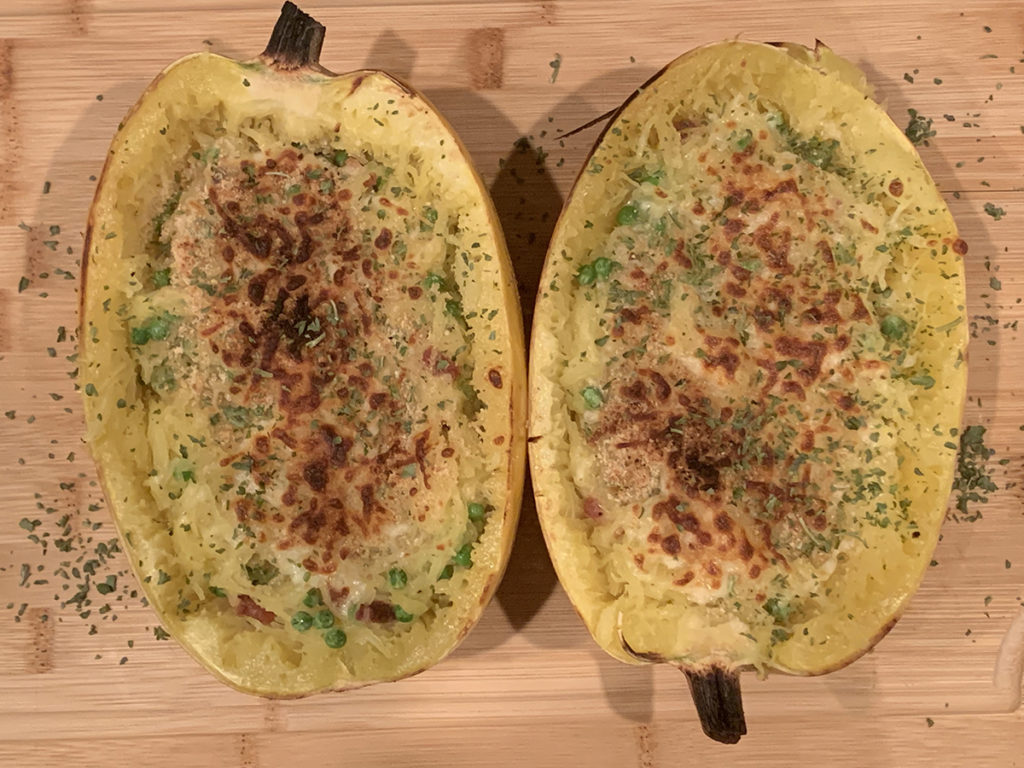
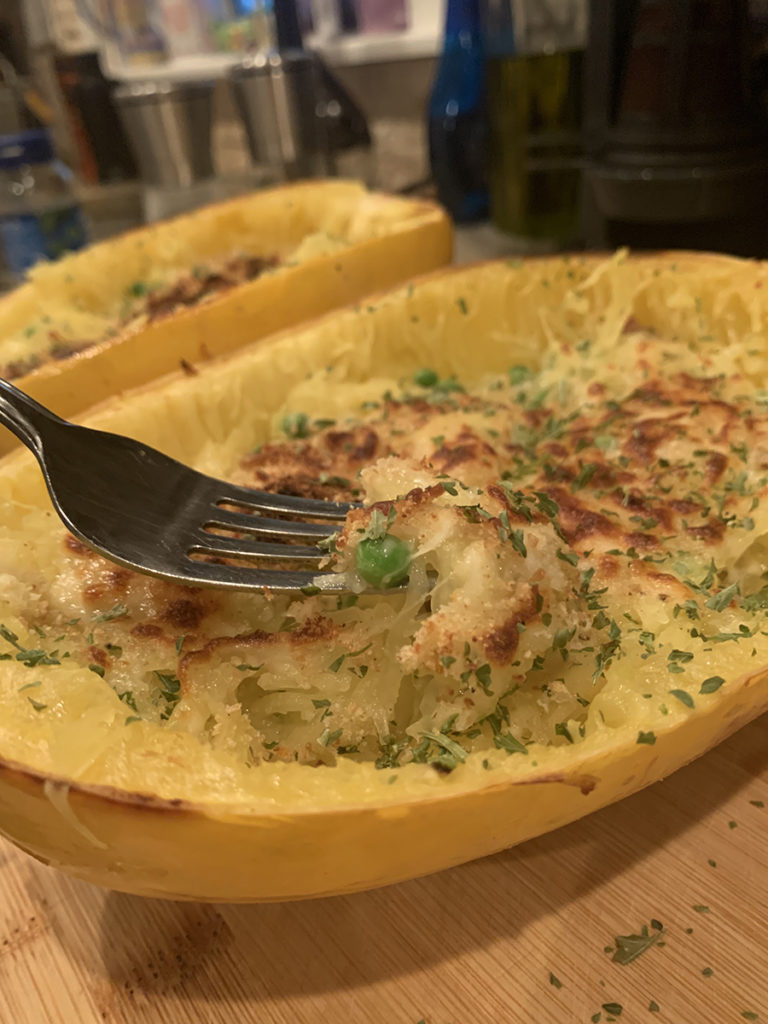
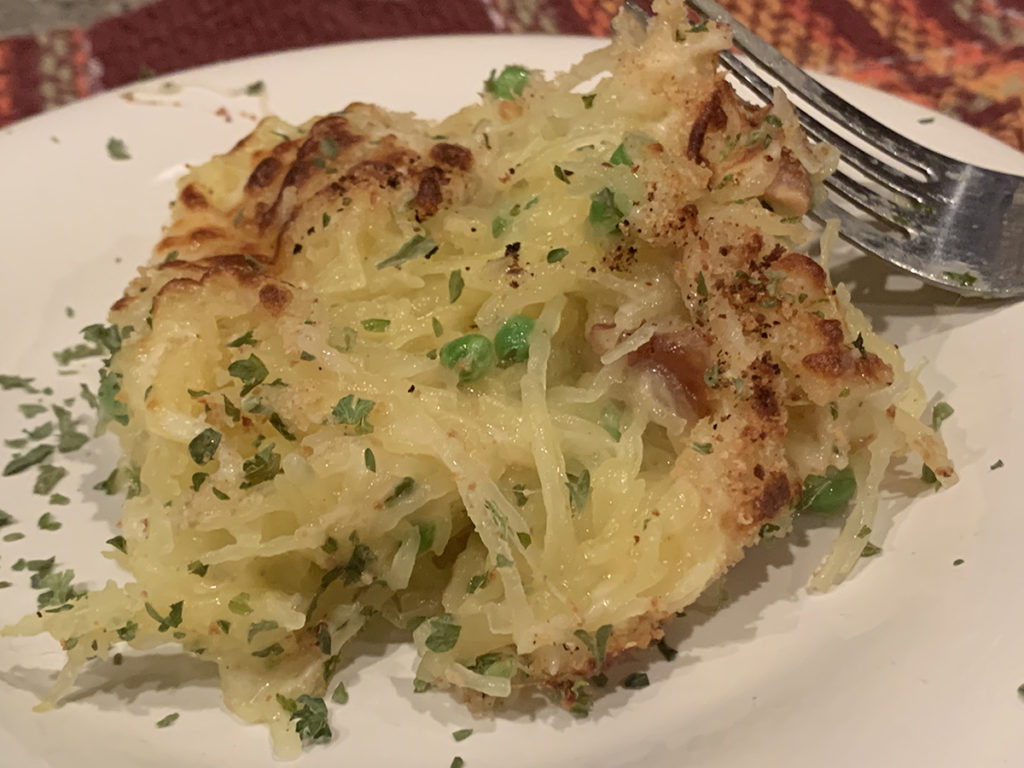
Cacio e Pepe Spaghetti Squash with Bacon and Peas

October 24, 2021 Entrees, Menu No Comments

Traditional Cacio e Pepe is a Roman pasta dish that literally translates to “cheese and pepper.” This recipe marries together the simple yet enjoyable comfort dish with the classic combination of peas and bacon, and one of my favorite winter squashes.

If you are not familiar with spaghetti squash, it is an oval shaped winter squash, and the outer skin usually has a light or bright yellow color. Similar to other winter squash, like butternut or acorn squash, there is a fair amount of seeds and pulp that needs to be removed once cut open. The seeds can be seasoned and roasted like pumpkin seeds. However, the taste is a bit mild compared to butternut and acorn squash. The meaty texture also shreds after being cooked, which then makes it look like…you guessed it, spaghetti!

It is a healthy, nutritional alternative to traditional spaghetti if you are looking for a low carb pasta-type dish. It pairs well with spaghetti sauce, and also works well with butter, brown sugar and cinnamon, similar to what you would use for butternut squash.

What I enjoy about this recipe is that it offers lots of flavor, yet the steps are fairly simple. It is also a good meal to prepare either during the week or for a nice Sunday dinner!

Cacio e Pepe Spaghetti Squash with Bacon and Peas

1 large spaghetti squash
olive oil
1 teaspoon salt, plus more for seasoning
2 teaspoons Italian seasoning
2 teaspoons fresh cracked black pepper
1 cup cooked peas
1/2 cup cooked bacon pieces
1 cup shredded Parmesan cheese
1 cup Mozzarella cheese

  1. Preheat oven to 350 degrees. Line a baking sheet with parchment paper.
  2. Cut the spaghetti squash in half lengthwise, scoop out the seeds and pulp.
  3. Lightly brush the inside and edge of each half of the squash with olive oil. Season the oil-brushed squash with 1 teaspoon of salt and the Italian seasoning.
  4. Place the squash cut side down on the baking sheet. Bake for 45 minutes.
  5. Remove the squash from the oven, flip the squash over and let cool for a few minutes.
  6. Use a fork to shred the cooked squash so it looks like spaghetti strands. Shred most of the squash from each half, but be sure to leave a thin layer of the squash in the skin to maintain the shape. Do not discard the two empty halves.
  7. Place the shredded squash into a large bowl. Drizzle a bit of olive oil and stir to lightly coat the squash. Season with additional salt to taste. Add the cooked peas, bacon pieces, pepper and Parmesan cheese to the bowl. Mix well.
  8. Fill the empty squash halves with the mixture. Top with the Mozzarella cheese.
  9. Bake for additional 8-10 minutes, or until the cheese starts to melt.
Share

Sheet Pan Gnocchi

August 22, 2021 Entrees, Menu No Comments

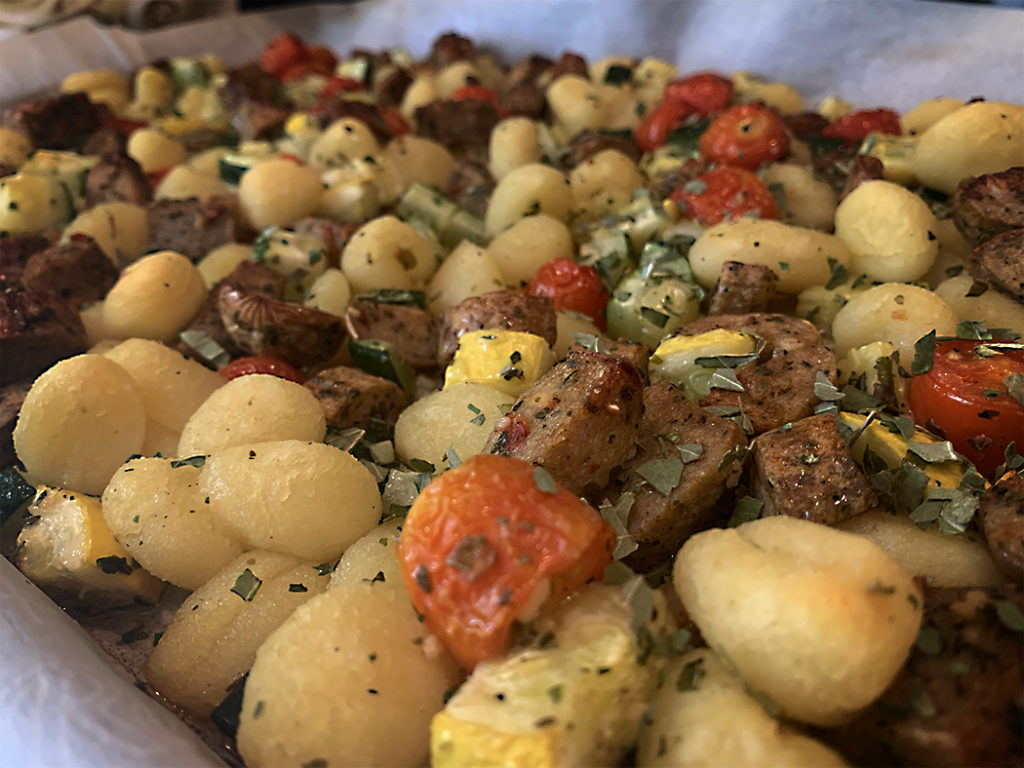
Every so often, a fun and trendy recipe will pop up and will grab my attention. Not only do I get caught up in the creative ingredients, steps and its beautiful imagery, I also get caught up in thinking about how I can tweak the recipe into my own unique version. This most recently happened when I came across a recipe for Sheet Pan Gnocchi in Bon Apetit magazine. This is an incredibly easy recipe that only requires you to bake the seasoned ingredients (onions, tomatoes, garlic and gnocchi) on a sheet pan for 25-30 minutes. Yes, even the gnocchi! Their version also has you tossing in fresh arugula and shaved Parmesan after the baking is done to make for a very creative and interesting pasta dish (you can view the original recipe by clicking here).

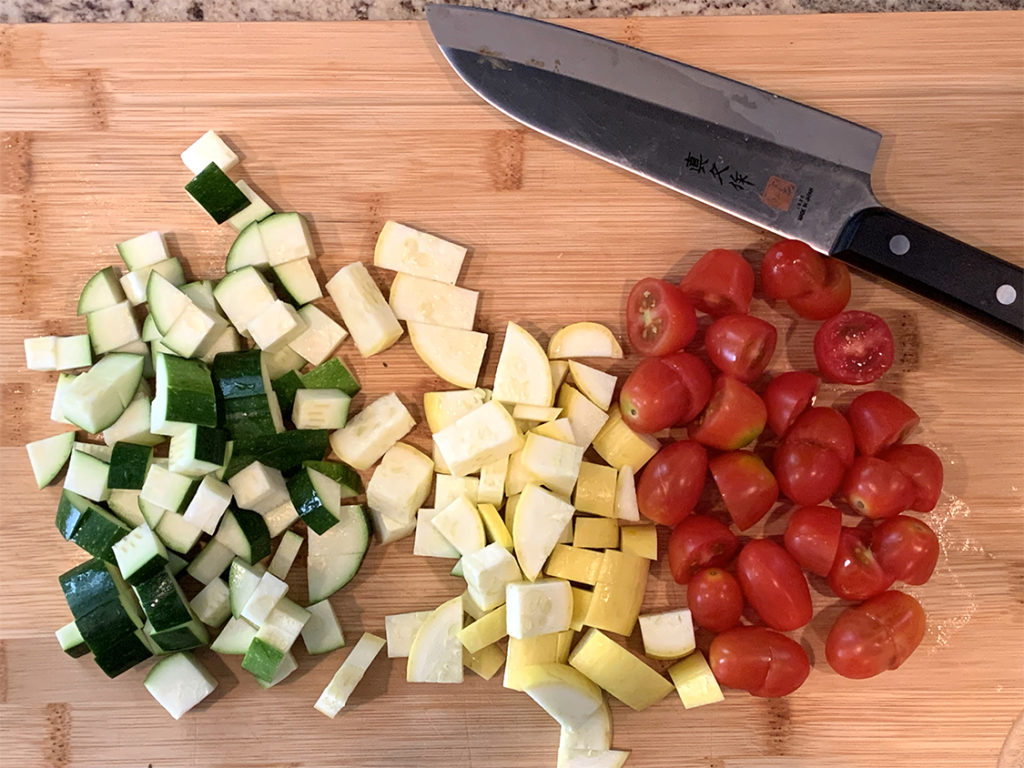
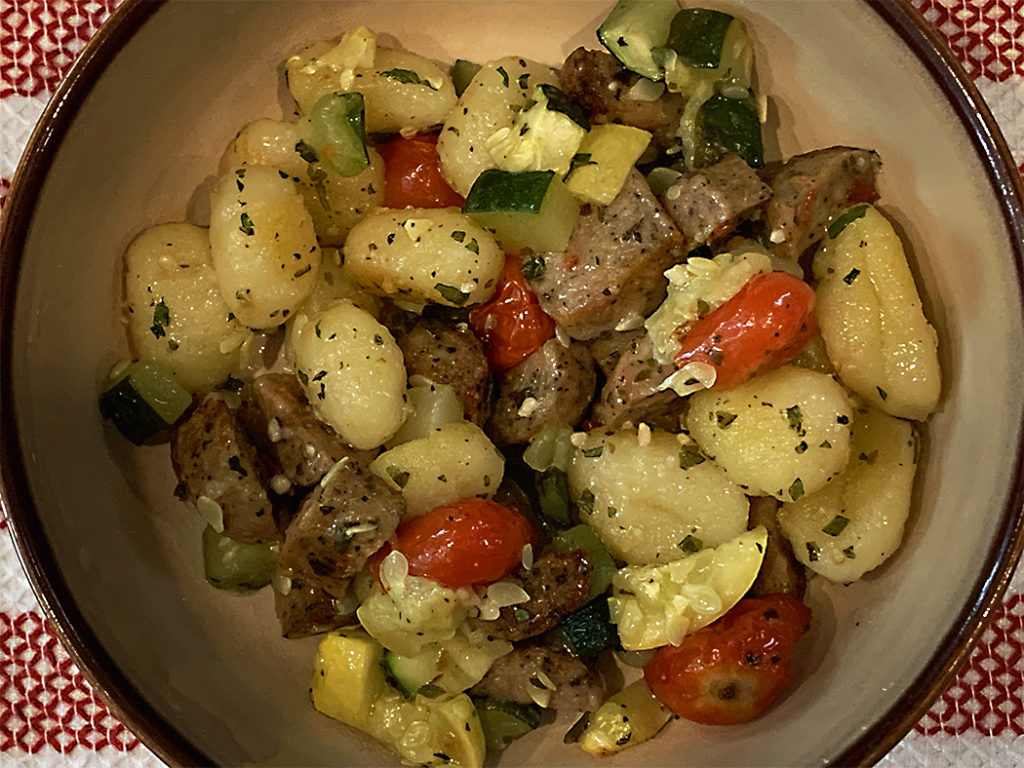
I absolutely love gnocchi, and will jump at the chance to do something fun and creative with it. The description of the gnocchi itself (crispy and caramelized on the outside, soft and fluffy on the inside) had me sold on wanting to try this recipe. While the addition of the arugula did sound intriguing, it also got me thinking that my baked ratatouille would also work very well with this recipe. Instead of the onion and arugula, my version would include chopped cherry tomatoes, zucchini and yellow squash, seasoned and mixed with the gnocchi. To add some additional flavor and ‘oomph’, I also added chopped pre-cooked chicken sausage.

Not only did this dish taste amazing, it has also become part of our regular rotation. Ten minutes of prep, 25-30 minutes in the oven, and boom! A perfect week day (or any day) pasta dish! Before I share the recipe, there are a couple of things that I would like to review:

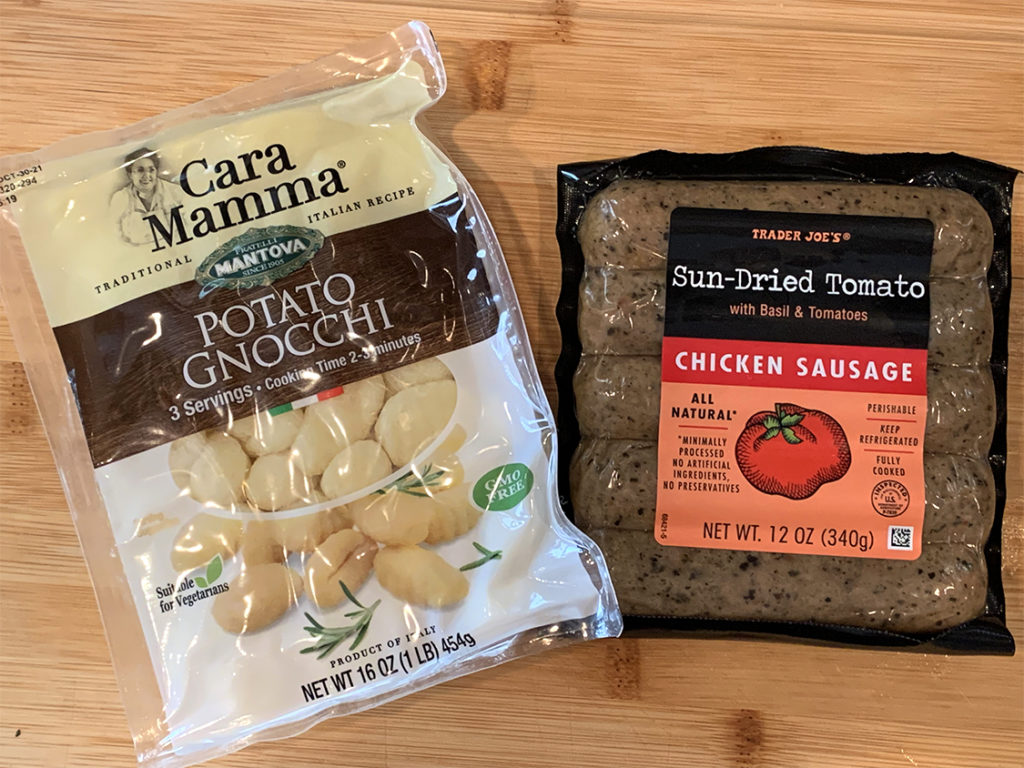
  1. What type of gnocchi should I use? It is recommended that you use shelf-stable (air tight packaged and found in the pasta aisle) or refrigerated gnocchi. I would imagine that home made gnocchi would also work, if you have the time to make it. I would avoid using frozen gnocchi.
  2. Why a sheet pan and not a baking dish? Sheet pans are better conductors of heat and allow for crispier browning when baking, which is what you are looking for with this dish. The ingredients could end up more soft and mushy, and less crispy in a glass baking dish.
  3. What other ingredients can you add? The beauty of this dish is that it is very versatile. You can add a number of ingredients to make it your own! Anything from shrimp and chicken to peppers, artichoke hearts and fennel will all work well here! In fact, I am planning to put together an autumn version of this recipe with butternut squash and savory seasonings…stay tuned for that post!

Sheet Pan Gnocchi

1 pint grape tomatoes, halved
1 zucchini, diced
1 yellow squash, diced
1 16 ounce package shelf-stable or refrigerated gnocchi
1 12 ounce package pre-cooked chicken sausage, chopped
1 garlic clove, minced
1 tablespoon Italian seasoning
1-1/2 teaspoon kosher salt
ground black pepper
1/3 cup extra virgin olive oil, plus more for drizzling
1/4 cup grated Parmesan cheese

Pre-heat oven to 425 degrees. Mix together 1/3 cup olive oil, garlic, Italian seasoning, kosher salt and ground black pepper. In a large bowl, combine tomatoes, zucchini, yellow squash, gnocchi and sausage. Toss with olive oil mixture until well coated. Add additional olive oil if necessary to coat, without having the ingredients soaking in oil.

Pour the ingredients on a rimmed baking sheet. Place on middle rack, bake for 25-30 minutes, stirring once. Remove from oven once gnocchi turn golden and start to crisp. Transfer the baked ingredients to a serving bowl. Mix with Parmesan cheese and additional olive oil if necessary. Serve and enjoy!

Share

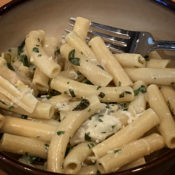
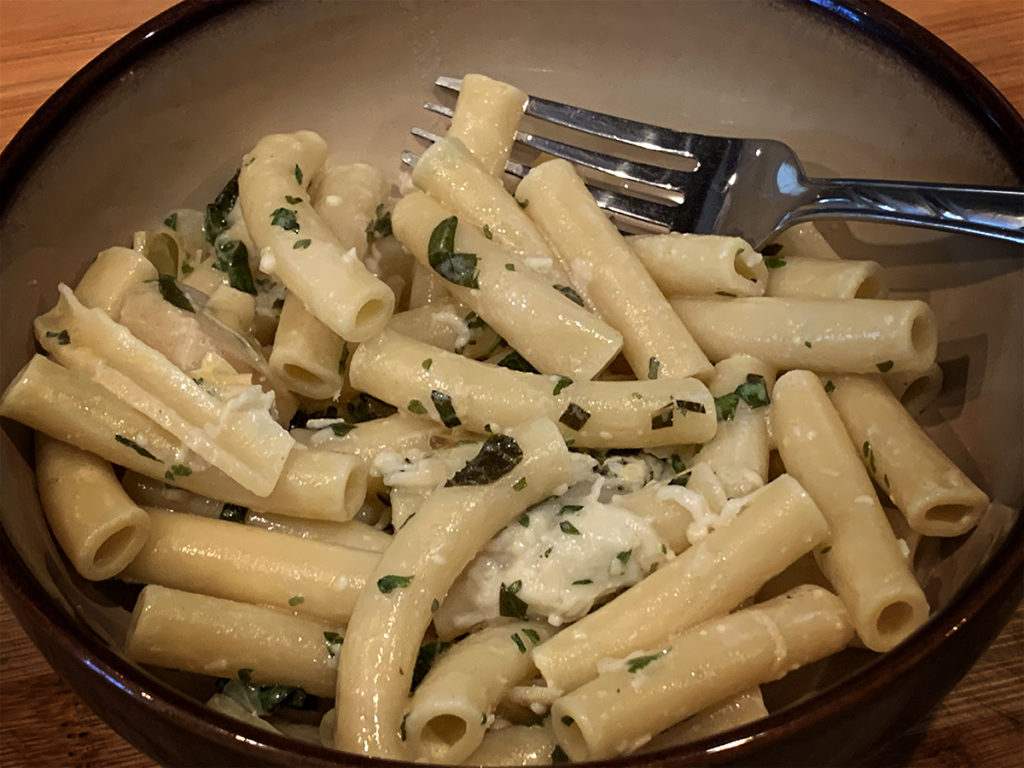
Ziti with Lemon Herb Parmesan Sauce

July 24, 2021 Menu No Comments

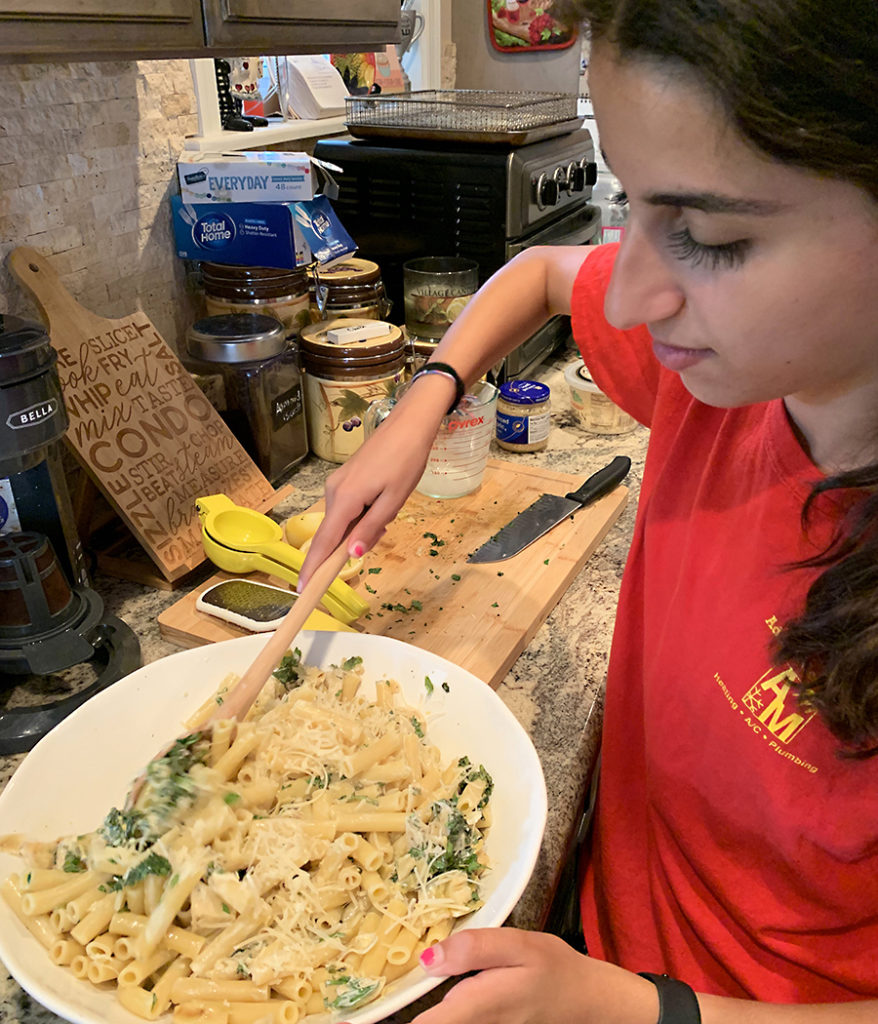
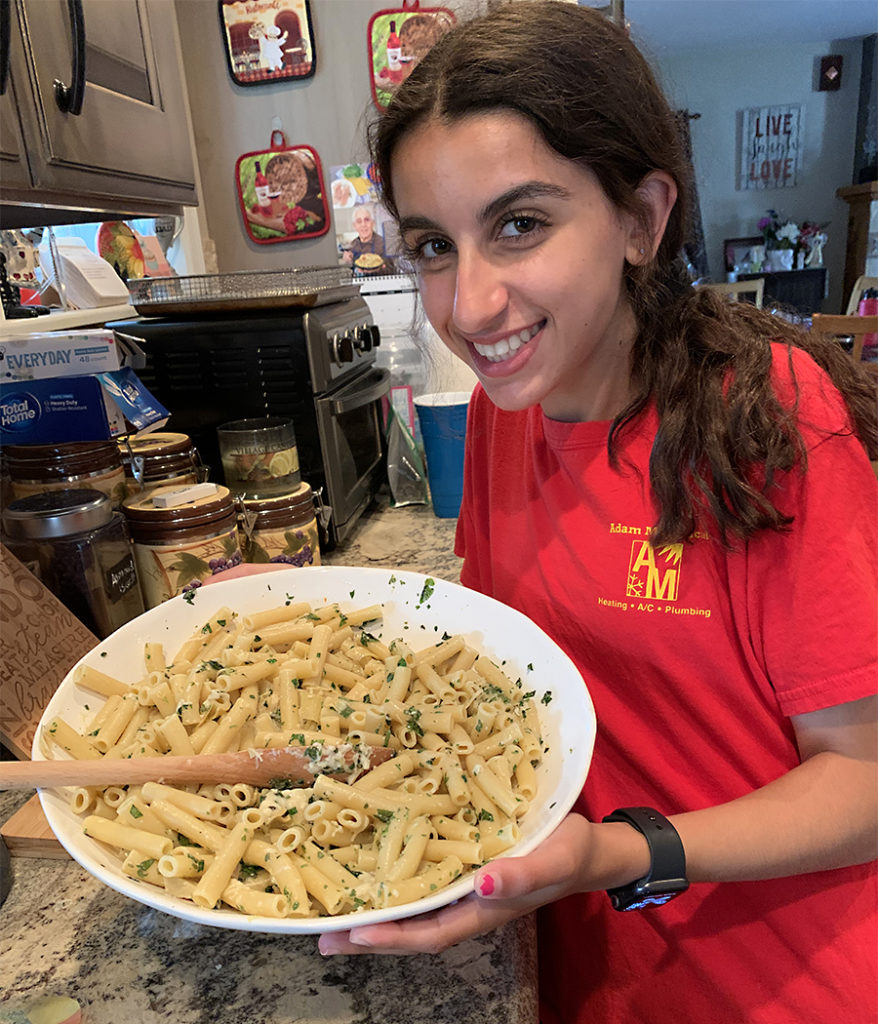
I am very excited to share this recipe with you because it is one that my daughter Jules and I collaborated on from start to finish. Jules recently came across a recipe on TikTok (where else) that has you baking uncooked pasta and chicken broth in a baking dish until the pasta is done, then adding chopped herbs, lemon zest and juice, shredded and grated parmesan cheese and heavy cream, stirring it together until combined. This all sounds delicious, but like many other TikTok recipes, there were no measurements, no instructions, and I honestly don’t even know if pasta would cook properly in the oven.

This did, however, remind me of another recipe that I recently tried and absolutely loved. It was made by celebrity chef Geoffrey Zakarian on the tv show, The Kitchen. The main differences were that the pasta was boiled traditionally in salted water, and he used strained greek yogurt and crumbled feta in place of the heavy cream. The pasta water was reserved and when added to the ingredients, it made a beautiful lemony-herb cream sauce. The feta and greek yogurt kept the fat content down, and I have to say this recipe was so much better than that other pasta feta dish that everyone keeps raving about.

What Jules and I decided to do was to put measurements to the recipe that she found, but cook it in the style that Geoffrey Zakarian did, utilizing the salted pasta water to create a sauce. To stay as true to the recipe as possible, I did add a few teaspoons of low sodium chicken bouillon to the boiling salted water before adding the pasta. I don’t know if this step is absolutely necessary, as the starchy and salty pasta water will give you plenty of flavor when mixed with the other ingredients. That said, the bouillon does give additional flavor, and if you choose to do this, be sure to either use low sodium bouillon or cut back on the salt that you add to the water if you don’t have low sodium bouillon.

I also kept the heavy cream measurements to 1/3 cup. I’m not a huge fan of heavy cream sauces, but if you prefer you can add more to your liking.

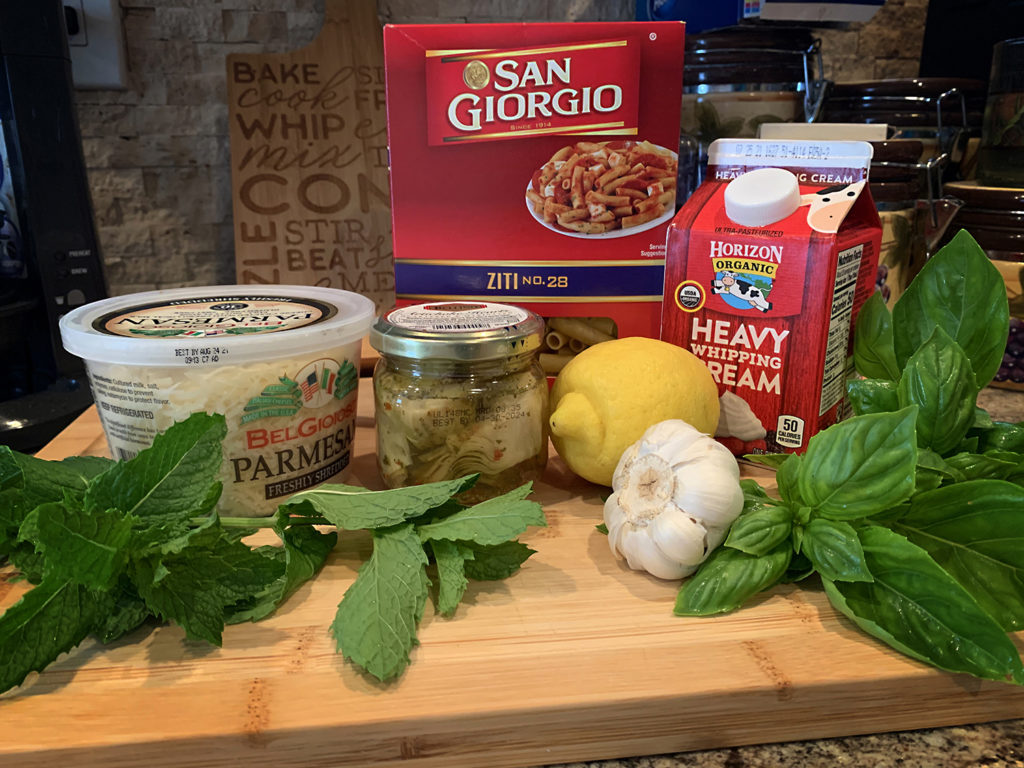
The TikTok version used heaping scoops of both grated and shredded parmesan cheese. Of the two, I feel that the grated parmesan is the more necessary. Not only does it give the dish that nutty and bold parmesan taste, it also helps thicken up the sauce. The shredded parmesan will melt into the dish, similar to a shredded mozzarella. It will be more clumpy and less stringy than mozzarella, but it does make for a nice addition. We decided to use 1/2 cup of each, but I would definitely use at least 1/2 cup of the grated. We rounded off the dish with some fresh chopped mint, basil and parsley from the garden, and as a bonus we threw in a small jar of chopped artichoke hearts.

This is a very flavorful, filling and easy to make pasta dish that I highly recommend, especially for a quick weekday dinner that will be enjoyed by all!

Ziti with Lemon Herb Parmesan Sauce

1 box uncooked ziti (or your choice of pasta)
2 teaspoons (or two cubes) low sodium chicken bouillon (if low sodium is not an option, cut back on salt added to water)
2 cloves garlic, minced
zest plus juice of one lemon
1/3 cup heavy cream (you can add more if you desire a thicker sauce)
1/2 cup grated parmesan
1/2 cup shredded parmesan (optional, but suggested)
1/4 cup fresh chopped basil
1/4 cup fresh chopped mint
1/4 cup fresh chopped parsley
1 small jar chopped artichoke hearts (optional)
salt and pepper
1/2 cup reserved pasta water

Boil the pasta in a large pot of salted boiling water (with the added bouillon) until the pasta is al dente, about 11 minutes. Stir occasionally. When the pasta is done, reserve about 1/2 cup or so of the pasta water. Drain the pasta (but do not rinse it) and pour it directly into a large serving bowl. Add the lemon zest and juice, garlic, heavy cream, grated parmesan cheese, chopped basil and mint, and artichoke hearts. Add 1/4 cup pasta water. Stir ingredients together, adding the additional pasta water if necessary (and to your liking). Add the shredded parmesan cheese, stir together. Season to taste with additional salt and pepper. Top with chopped parsley. Serve and enjoy!

Share

Bourbon Peach No-Churn Ice Cream

June 30, 2021 Dessert, Menu No Comments

Summertime is once again upon us! If you are looking for a fun recipe to help cool off on those hot summer nights or to share with friends at a grill-out, then this is the blog post for you! The beauty of this recipe is that you don’t even need an ice cream maker. Just a stand up or hand mixer, a 9 inch x 5 inch x 3 inch metal loaf pan, a few basic ingredients, and a few hours are all that is required to make a tasty, home made no-churn ice cream.

The ingredients that you will need to get you started are very simple: sweetened condensed milk, vanilla extract, heavy whipping cream and a pinch of salt. This combination will create the batter for a classic vanilla ice cream. The places where you can take the ice cream batter from here are almost limitless! Fresh fruit, chocolate chips, cookie pieces…you name it! A very good friend of mine who turned me on to this recipe actually made a strawberry shortcake version…which I can guarantee will be on my menu sometime very soon! The trick to incorporating your selected special ingredients is to freeze the initial batter for two hours. This will allow the batter to start to thicken, but will still be soft enough to stir in whatever goodies you desire without having them sink to the bottom, Another three hours in the freezer, and voila! Home made no-churned ice cream!

The special ingredients that I have chosen to incorporate into this recipe are peaches and bourbon. These two flavors complement each other very well on their own, so when I decided to add these flavors into my ice cream, I knew that it would make for a very special tasty cold treat. There are a few work-arounds with the bourbon if you are planning to share this ice cream with the kids. You could heat up the bourbon on the stove top to cook off the alcohol, or you could just as easily leave the bourbon out all together. My suggestion would be to simply make a batch without for the kids, and make a batch with for the adults. Just make sure to properly label each batch!

For the peaches, I used an 8.5 ounce can of sliced peaches that I pureed and stirred into the ice cream batter along with 1/4 cup of bourbon at the two hour mark. I wasn’t looking for an overpowering peach taste, and this amount gave me just the right desired taste. If you are looking for a heavier peach taste, you can use a larger can and add to your preference. You can sample the batter as you stir in your additional ingredients. You’ll be surprised how tasty the batter is even when partially frozen!

Whatever flavor ice cream you decide on making, I know you will enjoy it and will impress others with your new summertime creation!

Bourbon Peach No-Churn Ice Cream

Basic Vanilla No-Churn Ice Cream
1 14-ounce can sweetened condensed milk
2 teaspoons vanilla extract
2 cups cold heavy cream
pinch of salt

Additional Ingredients
1 8.5-ounce can sliced peaches, pureed
1/4 cup bourbon (you can heat the bourbon on the stove for a few minutes to extract the alcohol if you wish…just be sure to let it cool before adding to the ice cream mixture)

Whisk condensed milk, vanilla extract and salt in a bowl, set aside. In a separate chilled bowl, whip the heavy cream for about two minutes until firm peaks start to form. Fold one cup of the whipped cream into the mixture until well combined. Then fold the combined mixture into the remaining one cup of whipped cream until well combined. Pour the mixture into a 9 inch x 5 inch x 3 inch metal loaf pan. Cover with foil, freeze for two hours. At this point you will have the start of a soft serve consistency, which will allow you to stir in any additional ingredients.

At the two hour mark, stir in the pureed peaches and 1/4 cup bourbon. Stir to mix it into the ice cream batter. Cover and freeze for another three hours.

Serve and enjoy!

Share

Recent Comments

Archives

powered by
Socialbar