
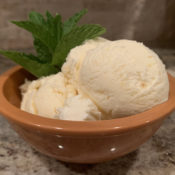
Bourbon Peach No-Churn Ice Cream
Summertime is once again upon us! If you are looking for a fun recipe to help cool off on those hot summer nights or to share with friends at a grill-out, then this is the blog post for you! The beauty of this recipe is that you don’t even need an ice cream maker. Just a stand up or hand mixer, a 9 inch x 5 inch x 3 inch metal loaf pan, a few basic ingredients, and a few hours are all that is required to make a tasty, home made no-churn ice cream.
The ingredients that you will need to get you started are very simple: sweetened condensed milk, vanilla extract, heavy whipping cream and a pinch of salt. This combination will create the batter for a classic vanilla ice cream. The places where you can take the ice cream batter from here are almost limitless! Fresh fruit, chocolate chips, cookie pieces…you name it! A very good friend of mine who turned me on to this recipe actually made a strawberry shortcake version…which I can guarantee will be on my menu sometime very soon! The trick to incorporating your selected special ingredients is to freeze the initial batter for two hours. This will allow the batter to start to thicken, but will still be soft enough to stir in whatever goodies you desire without having them sink to the bottom, Another three hours in the freezer, and voila! Home made no-churned ice cream!
The special ingredients that I have chosen to incorporate into this recipe are peaches and bourbon. These two flavors complement each other very well on their own, so when I decided to add these flavors into my ice cream, I knew that it would make for a very special tasty cold treat. There are a few work-arounds with the bourbon if you are planning to share this ice cream with the kids. You could heat up the bourbon on the stove top to cook off the alcohol, or you could just as easily leave the bourbon out all together. My suggestion would be to simply make a batch without for the kids, and make a batch with for the adults. Just make sure to properly label each batch!
For the peaches, I used an 8.5 ounce can of sliced peaches that I pureed and stirred into the ice cream batter along with 1/4 cup of bourbon at the two hour mark. I wasn’t looking for an overpowering peach taste, and this amount gave me just the right desired taste. If you are looking for a heavier peach taste, you can use a larger can and add to your preference. You can sample the batter as you stir in your additional ingredients. You’ll be surprised how tasty the batter is even when partially frozen!
Whatever flavor ice cream you decide on making, I know you will enjoy it and will impress others with your new summertime creation!
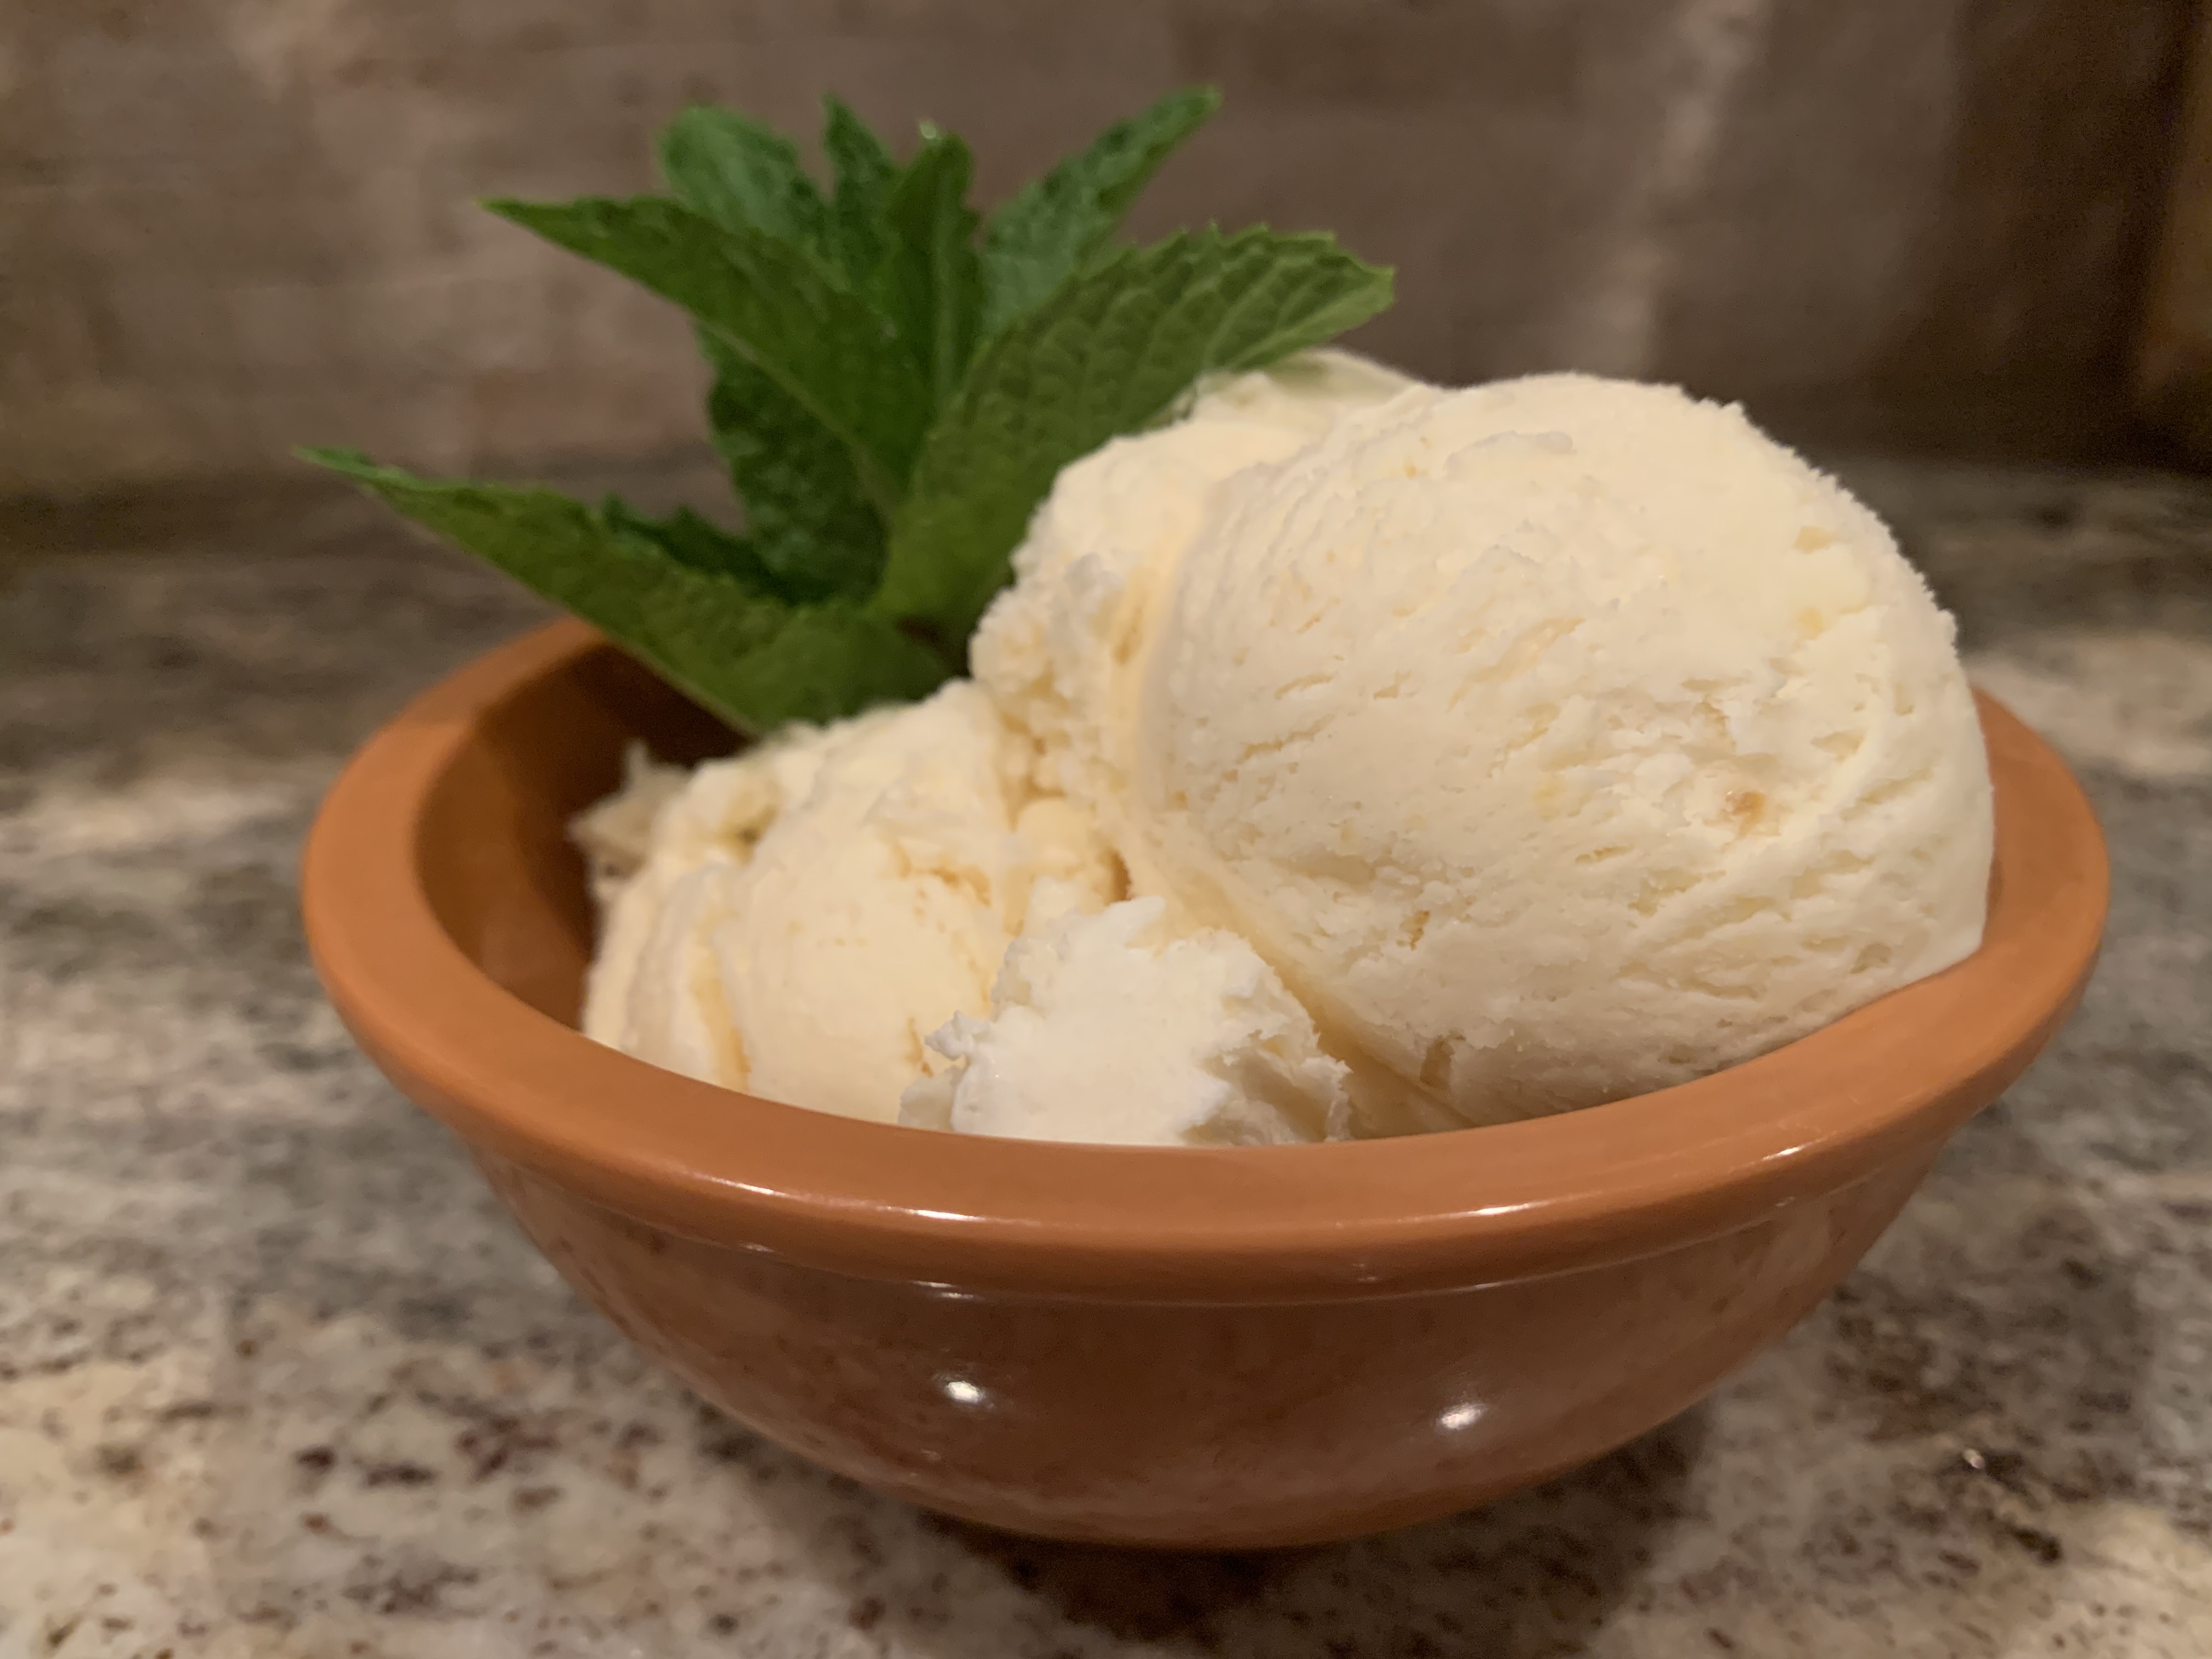
Bourbon Peach No-Churn Ice Cream
Basic Vanilla No-Churn Ice Cream
1 14-ounce can sweetened condensed milk
2 teaspoons vanilla extract
2 cups cold heavy cream
pinch of salt
Additional Ingredients
1 8.5-ounce can sliced peaches, pureed
1/4 cup bourbon (you can heat the bourbon on the stove for a few minutes to extract the alcohol if you wish…just be sure to let it cool before adding to the ice cream mixture)
Whisk condensed milk, vanilla extract and salt in a bowl, set aside. In a separate chilled bowl, whip the heavy cream for about two minutes until firm peaks start to form. Fold one cup of the whipped cream into the mixture until well combined. Then fold the combined mixture into the remaining one cup of whipped cream until well combined. Pour the mixture into a 9 inch x 5 inch x 3 inch metal loaf pan. Cover with foil, freeze for two hours. At this point you will have the start of a soft serve consistency, which will allow you to stir in any additional ingredients.
At the two hour mark, stir in the pureed peaches and 1/4 cup bourbon. Stir to mix it into the ice cream batter. Cover and freeze for another three hours.
Serve and enjoy!


Recent Comments