Home » basil » Recent Articles:

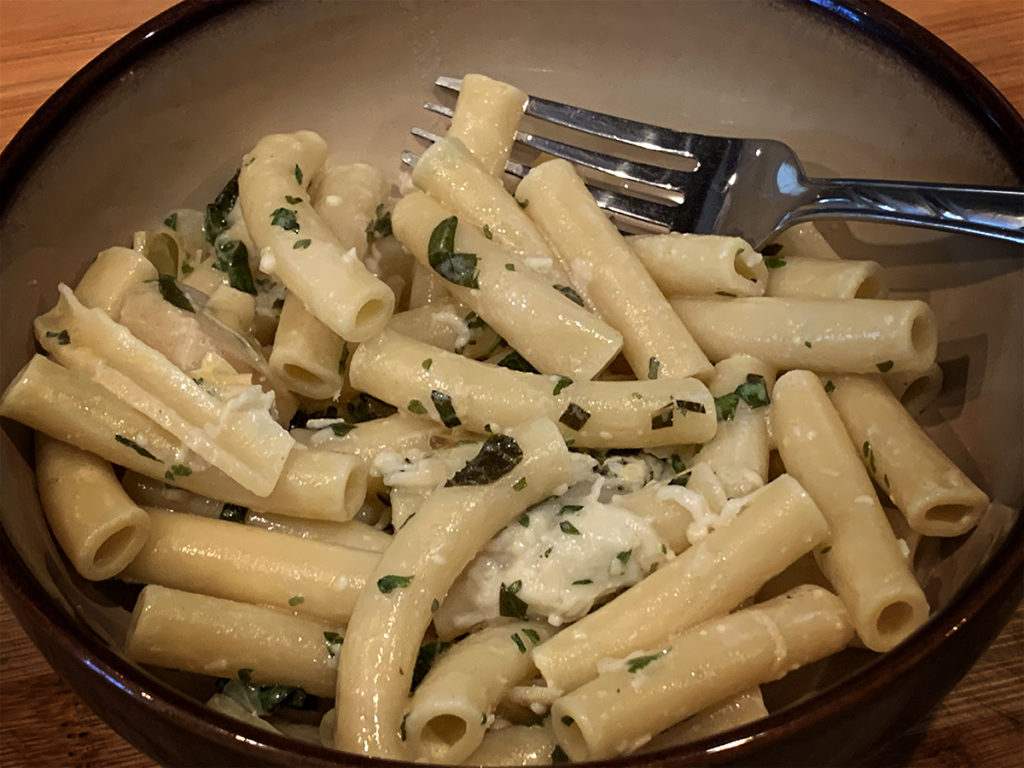
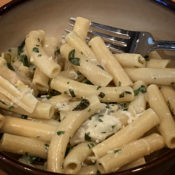
Ziti with Lemon Herb Parmesan Sauce
July 24, 2021 Menu No Comments

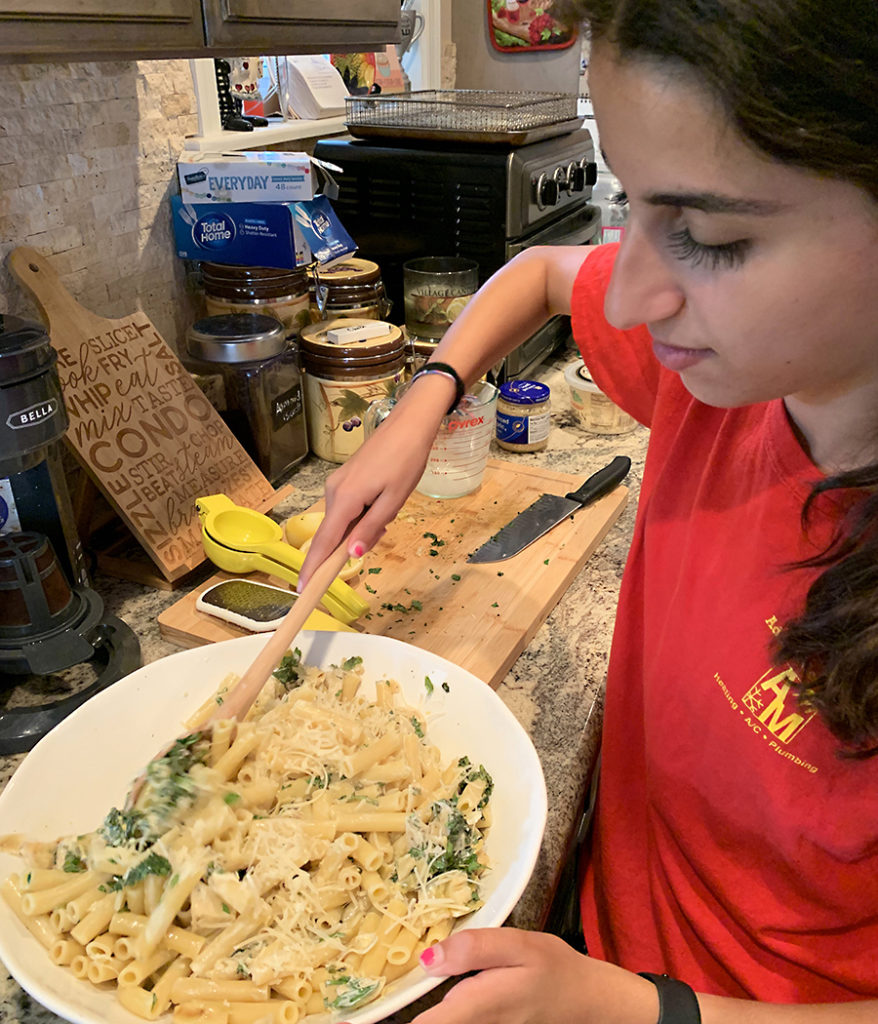
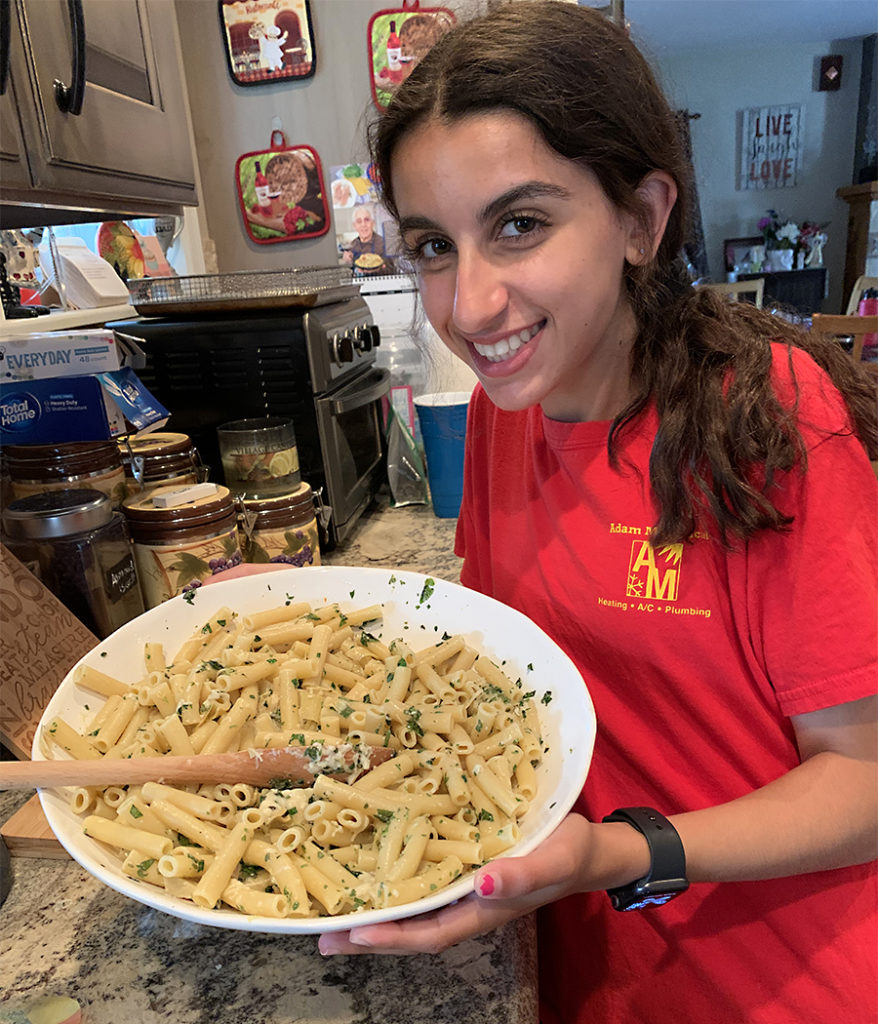
I am very excited to share this recipe with you because it is one that my daughter Jules and I collaborated on from start to finish. Jules recently came across a recipe on TikTok (where else) that has you baking uncooked pasta and chicken broth in a baking dish until the pasta is done, then adding chopped herbs, lemon zest and juice, shredded and grated parmesan cheese and heavy cream, stirring it together until combined. This all sounds delicious, but like many other TikTok recipes, there were no measurements, no instructions, and I honestly don’t even know if pasta would cook properly in the oven.

This did, however, remind me of another recipe that I recently tried and absolutely loved. It was made by celebrity chef Geoffrey Zakarian on the tv show, The Kitchen. The main differences were that the pasta was boiled traditionally in salted water, and he used strained greek yogurt and crumbled feta in place of the heavy cream. The pasta water was reserved and when added to the ingredients, it made a beautiful lemony-herb cream sauce. The feta and greek yogurt kept the fat content down, and I have to say this recipe was so much better than that other pasta feta dish that everyone keeps raving about.

What Jules and I decided to do was to put measurements to the recipe that she found, but cook it in the style that Geoffrey Zakarian did, utilizing the salted pasta water to create a sauce. To stay as true to the recipe as possible, I did add a few teaspoons of low sodium chicken bouillon to the boiling salted water before adding the pasta. I don’t know if this step is absolutely necessary, as the starchy and salty pasta water will give you plenty of flavor when mixed with the other ingredients. That said, the bouillon does give additional flavor, and if you choose to do this, be sure to either use low sodium bouillon or cut back on the salt that you add to the water if you don’t have low sodium bouillon.

I also kept the heavy cream measurements to 1/3 cup. I’m not a huge fan of heavy cream sauces, but if you prefer you can add more to your liking.

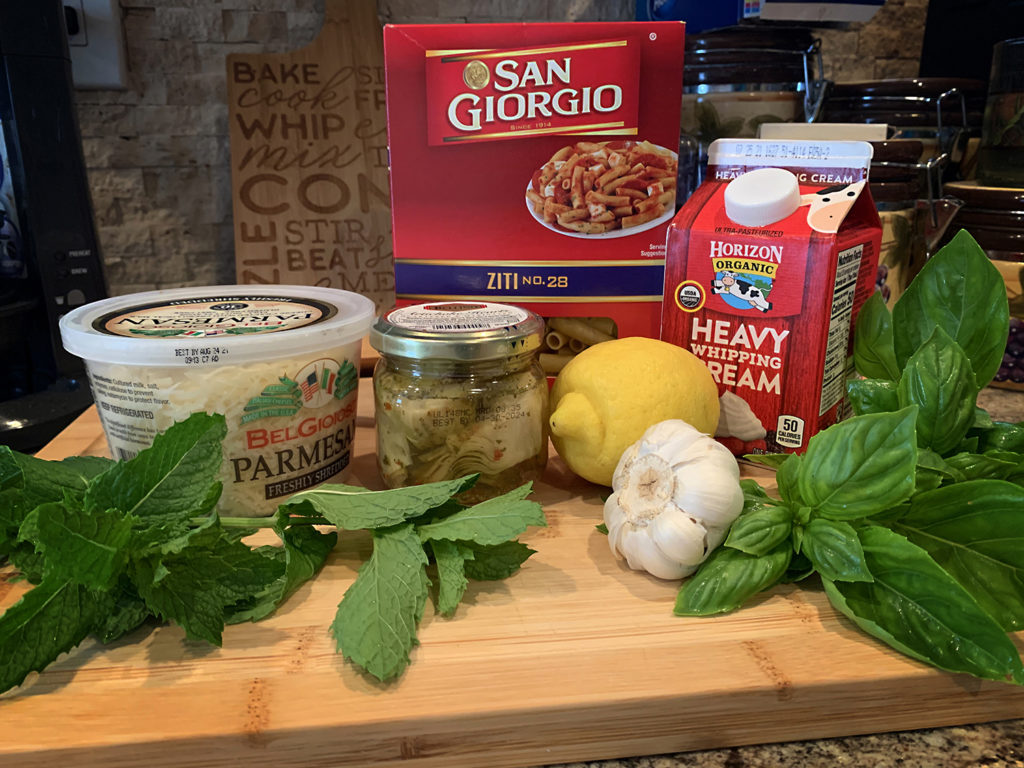
The TikTok version used heaping scoops of both grated and shredded parmesan cheese. Of the two, I feel that the grated parmesan is the more necessary. Not only does it give the dish that nutty and bold parmesan taste, it also helps thicken up the sauce. The shredded parmesan will melt into the dish, similar to a shredded mozzarella. It will be more clumpy and less stringy than mozzarella, but it does make for a nice addition. We decided to use 1/2 cup of each, but I would definitely use at least 1/2 cup of the grated. We rounded off the dish with some fresh chopped mint, basil and parsley from the garden, and as a bonus we threw in a small jar of chopped artichoke hearts.

This is a very flavorful, filling and easy to make pasta dish that I highly recommend, especially for a quick weekday dinner that will be enjoyed by all!

Ziti with Lemon Herb Parmesan Sauce

1 box uncooked ziti (or your choice of pasta)
2 teaspoons (or two cubes) low sodium chicken bouillon (if low sodium is not an option, cut back on salt added to water)
2 cloves garlic, minced
zest plus juice of one lemon
1/3 cup heavy cream (you can add more if you desire a thicker sauce)
1/2 cup grated parmesan
1/2 cup shredded parmesan (optional, but suggested)
1/4 cup fresh chopped basil
1/4 cup fresh chopped mint
1/4 cup fresh chopped parsley
1 small jar chopped artichoke hearts (optional)
salt and pepper
1/2 cup reserved pasta water

Boil the pasta in a large pot of salted boiling water (with the added bouillon) until the pasta is al dente, about 11 minutes. Stir occasionally. When the pasta is done, reserve about 1/2 cup or so of the pasta water. Drain the pasta (but do not rinse it) and pour it directly into a large serving bowl. Add the lemon zest and juice, garlic, heavy cream, grated parmesan cheese, chopped basil and mint, and artichoke hearts. Add 1/4 cup pasta water. Stir ingredients together, adding the additional pasta water if necessary (and to your liking). Add the shredded parmesan cheese, stir together. Season to taste with additional salt and pepper. Top with chopped parsley. Serve and enjoy!

Share

Grilled Zucchini Caprese Bites

July 13, 2018 Appetizer, Menu No Comments

There is nothing quite as satisfying as a simple recipe that uses basic and fresh ingredients, which then produces an amazingly enjoyable dish. The recipe that I’m sharing with you today fits perfectly into this category. Because it can easily be prepared on the grill, it also qualifies as a summer must-have!

One of my all time favorite dishes is the classic Caprese Salad. How the fresh basil, slices of tomato and fresh mozzarella complement each other is pure mouth-watering bliss. One of my favorite vegetables, especially during the summer grilling season, is the zucchini. With just a splash of olive oil, salt and pepper, and maybe a dash of garlic powder, you have a tasty and healthy vegetable dish that works well with just about any meal served up on the grill. By combining the ingredients of a Caprese Salad with sliced zucchini, you end up with a four-star appetizer that just about anyone will enjoy. You could almost pass it off as a healthier version of a mini bagel bite…now who in their right mind would turn THAT down?!?

Now, before we go any further, I do highly suggest that you use either a grill mat or a grill tray for this recipe. Flipping zucchini slices on a traditional grill grate is always a bit of a gamble, and I would hate to have you drop a few slices between the grate openings into the fiery pit below…and yes, it will happen.

The ingredients are very simple, and can easily be adjusted to accommodate additional servings.
We are going to start with the following:

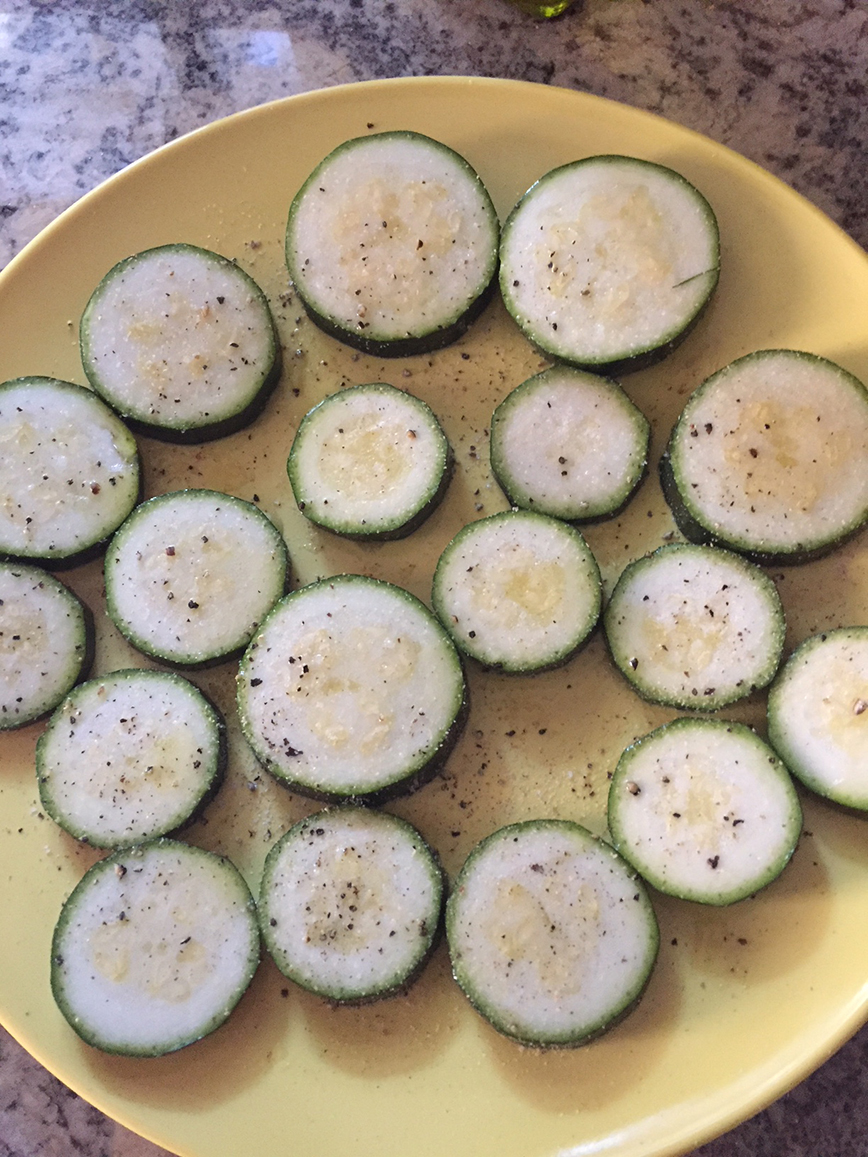
  • 1 large zucchini, cut into 1/2″ slices (you should get about 15 or so slices)
  • 12-15 cherry tomatoes, sliced (you may need to use more than one slice of tomato per zucchini slice, depending on the size of the zucchini slices)
  • fresh mozzarella, cut into small pieces that will fit on top of the zucchini slice (a container of mini mozzarella pearls found in the gourmet cheese section of your grocery store work well)
  • 15-20 fresh basil leaves (depending on how many zucchini slices you have)
  • olive oil
  • salt and pepper
  • garlic powder

Warm your grill to medium-high, and prepare to cook over direct heat. Again, although it is not mandatory, I highly suggest that you use a grill tray or a grill mat instead of cooking the zucchini slices directly on the grill grates. You could also use a sheet of aluminum foil. Whatever surface you are using, be sure that the surface is lightly sprayed or oiled to avoid the zucchini from sticking.

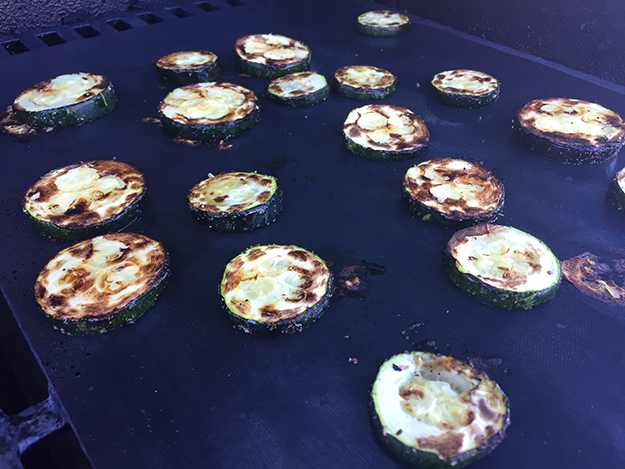
Lightly brush each of the zucchini slices with olive oil, then season each slice with a bit of salt, pepper and garlic powder. Place the zucchini slices, seasoned side up, on the prepared grill area. Let the zucchini cook for about 5-7 minutes, or until the bottom of the slices start to brown, adjusting the flame as needed.

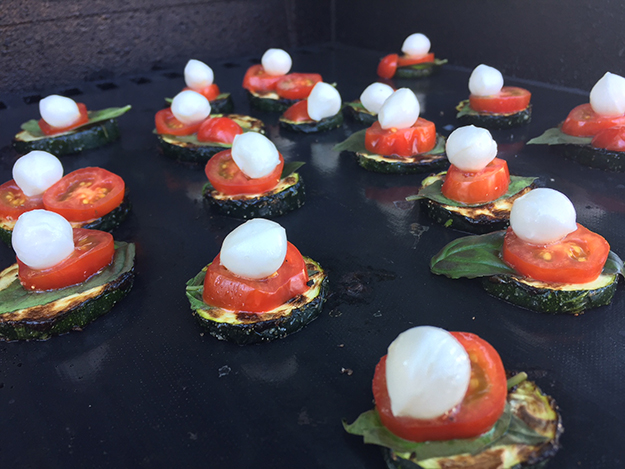
Carefully flip the zucchini slices, making sure that none drop through the grill grates. Top the zucchini slices with a piece of basil, a slice or two of tomato, and a piece of fresh mozzarella.

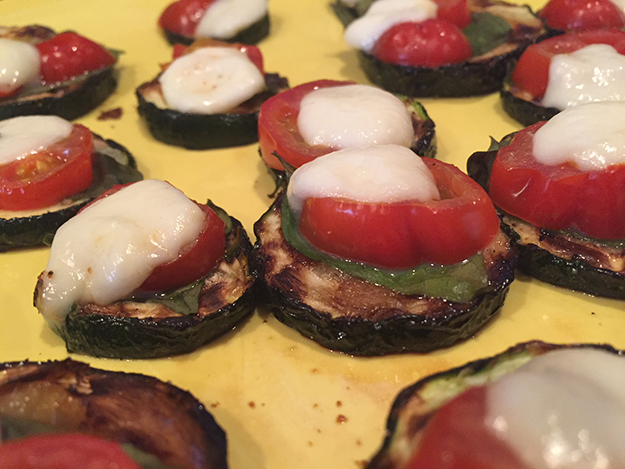
Let the zucchini cook for another 5-7 minutes, or until the cheese starts to melt.

Carefully remove the zucchini slices. Season with additional salt if necessary. Serve and enjoy!


Oven-baked Version

You can easily prepare this dish in the oven as well. Pre-heat your oven to 400˚. Place the zucchini slices on a lightly sprayed or parchment lines cookie sheet. Bake for 5-7 minutes (no need to flip the zucchini when baking in the oven). Top with the basil, sliced tomato and fresh mozzarella. Bake for another 7-10 minutes, or until the mozzarella starts to melt. You can also go with a more traditional pizza-inspired taste by using sauce, shredded mozzarella, oregano and sliced pepperoni as your topping.

Share

Tomato, Basil and Ricotta Salata

March 28, 2017 Menu, Salads No Comments

Recently, I shared with you my recipe for game-day empanadas, and one of the fillings that I decided to use in my empanadas was ricotta salata. Up until this point, I had not really been all that familiar with this particular cheese. Ever since, it has become a staple in our house. For those of you who are still not familiar with this flavorful gem, it is an Italian cheese made from whey that is re-cooked (ricotta), and has been pressed, salted (salata) and aged for at least 90 days. The end result is a beautiful, milky white cheese with a slight nutty flavor, that is perfect for slicing, shredding or crumbling. Texture-wise, it is more like a feta than a traditional soft ricotta, with a taste that packs a delightful punch. It is also a very reasonably priced cheese, which makes it all the more enjoyable.

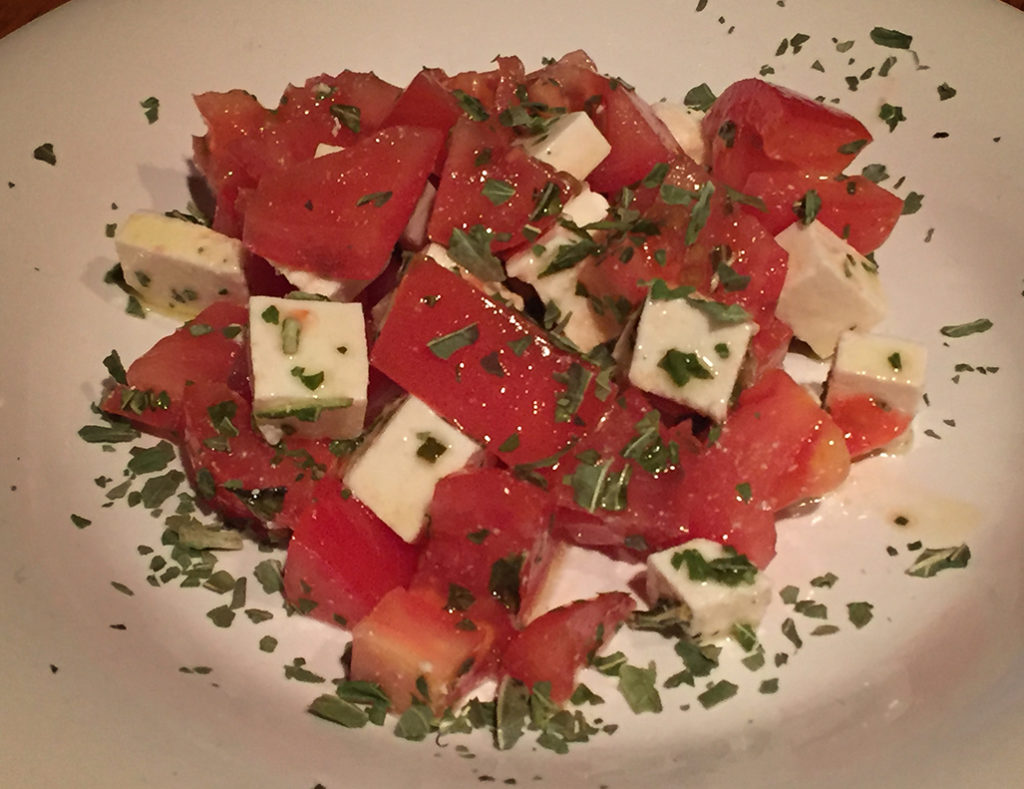
While my wife and I were perfectly content with simply enjoying slices of this cheese drizzled with a little balsamic, the wheels in my mind quickly started spinning on how to incorporate it into recipes. The first, and most obvious recipe that came to mind was the classic Caprese Salad, which of course is simply made up of fresh sliced mozzarella, tomatoes, fresh basil, olive oil and herbs. My thought was that not only would the texture of the cheese hold up well with the tomatoes and fresh basil, but also that the lively flavors would not require any additional seasonings. My hunch was correct. The in-your-face, vibrant flavor marries perfectly with the sweetness of fresh chopped basil, swirled together with a splash of rich, golden olive oil. The crumbly, chunky texture plays well with chunks of juicy tomato. Traditional Carpese Salad may be one of my all time favorites, but the ricotta salata version is definitely a nice and inviting alternative.


Tomato, Basil and Ricotta Salata

This is a very simple recipe. Measurements can be adjusted to your preferred serving size.

one chunk of ricotta salata
1-2 roma tomatoes
fresh chopped basil
Extra virgin olive oil

Chop the cheese and tomatoes into slices or cubes. Sprinkle with fresh chopped basil. Drizzle lightly with olive oil. Serve and enjoy!

Share

Quick and Easy Basil Mayonnaise

August 28, 2016 Menu No Comments

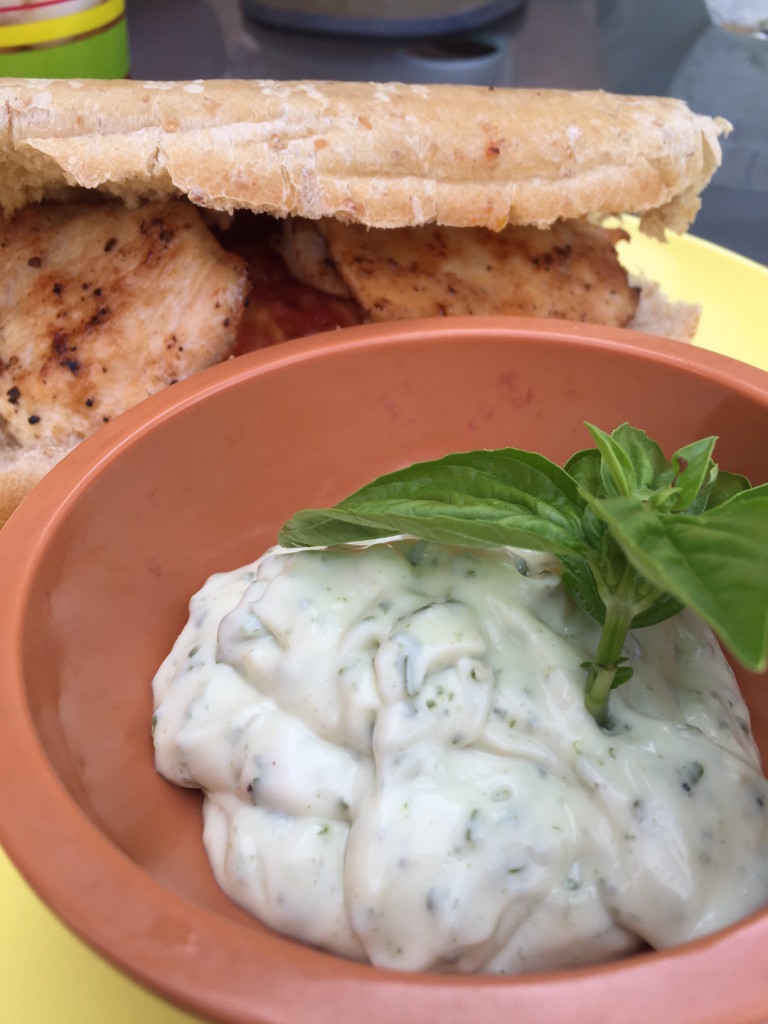
If you’re looking to put your harvested basil to good use, today’s recipe is an excellent way to do so. Inspired by Ina Garten’s Basil Mayonnaise recipe, this quick and easy version uses just a few key ingredients, all of which are everyday cooking staples.With just a few pulses in your food processor, you will have a tasty condiment that is perfect for any sandwich. My personal recommendations are for a tomato and fresh mozzarella sandwich, a chicken cutlet hoagie or a juicy BLT. And don’t forget to use the good, crusty bread!


Quick and Easy Basil Mayonnaise

1 cup good mayonnaise
10 basil leaves
1 clove minced garlic
1 tspn lemon juice
dash of salt and pepper
2 tsp olive oil

Place all ingredients into a food processor. Blend for 30 seconds, or until all ingredients are mixed well. Chill immediately in a closed container until ready to serve.

Basil Mayo

Share

Recent Comments

Archives

powered by
Socialbar