Home » eggplant » Recent Articles:

Marinated Eggplants – Keeping it in the Family

October 25, 2016 Menu No Comments

One of the biggest traditions in the kitchen that I look forward to each year is marinating and jarring eggplants. I still have vivid memories from when I was very little of my Grandmother distributing her jars of marinated eggplants to the family this time of year, telling us to let the jars sit until Thanksgiving before opening them. The eggplants didn’t have anything to do specifically with Thanksgiving…but rather it was just right amount of time to allow the jars to sit and age. I never got the exact recipe from my Grandmother, but I did put together my own version a few years back. Everyone in my family still enjoys them and looks forward to when I hand out my jars, so I know that I am keeping a family tradition alive and well.

As I prepared to put together this year’s batch, our daughter Julianna asked if she could help. It may sound silly, but Julianna’s interest in helping me filled me with such pride and happiness. We always make it a point to involve our kids with preparing our meals as often as we can. They may not necessarily enjoy eating the meal if it is too experimental for them. But if they are involved with creating the meal, it is enough encouragement for them to at least sample it. And I’m fine with that.

To see Julianna’s interest in wanting to help with the marinated eggplants means so much more. It shows me that she has a true interest in our family history and traditions. Hopefully what she learned from helping me will stick with her, and will encourage her to keep those traditions alive.

Below are a series of photos that I took of Julianna following the step-by-step process of marinating and jarring. And not to worry…I made sure to carefully guide her through each step to avoid injury with the food processor and the boiling water.

You can find the link to my marinated eggplant recipe by clicking here.


new1

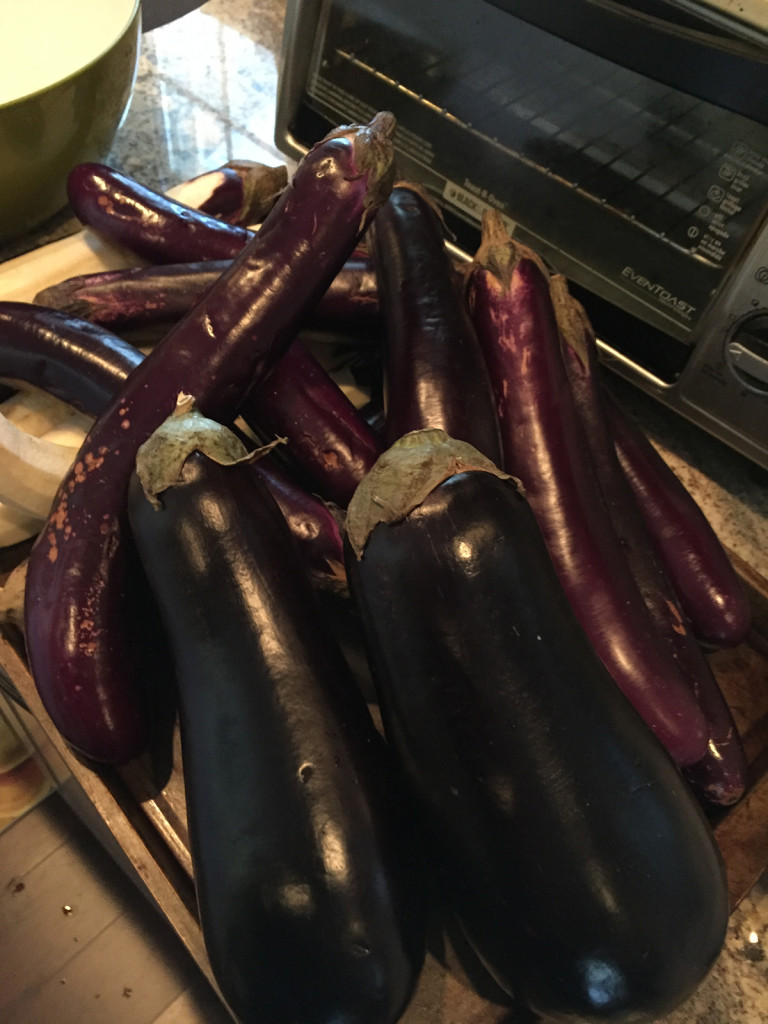
This year’s batch is a combination of Italian Globe and Japanese eggplants.


new2

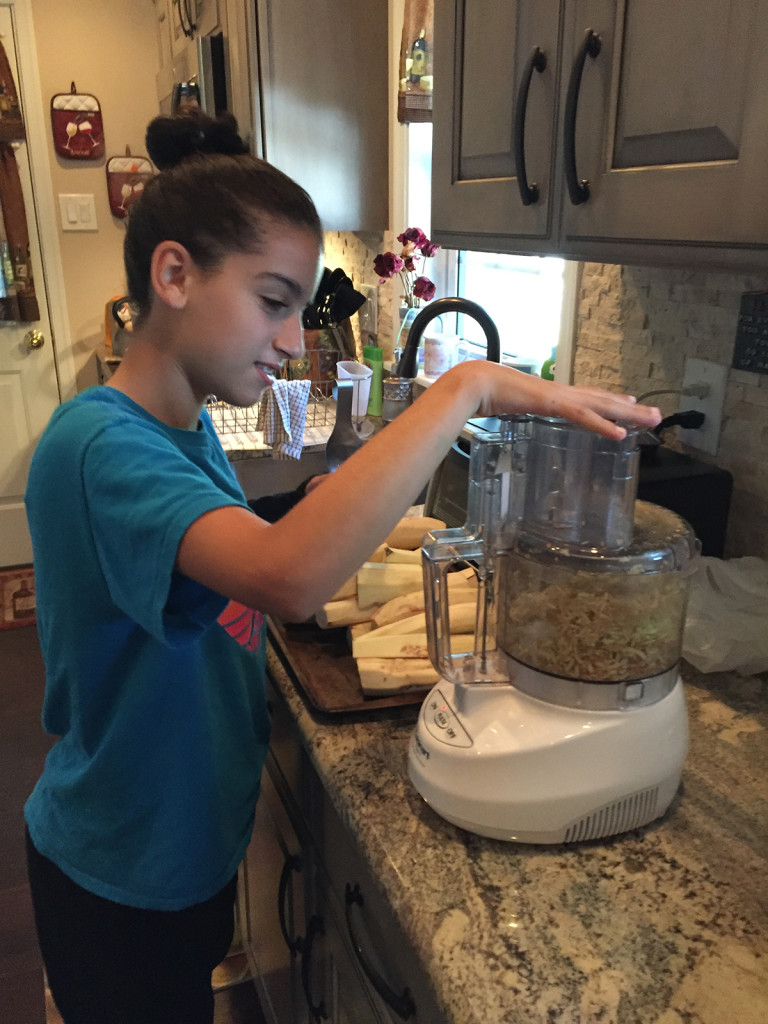
Running the peeled eggplants through the food processor, using the shredder blade.


img_3149

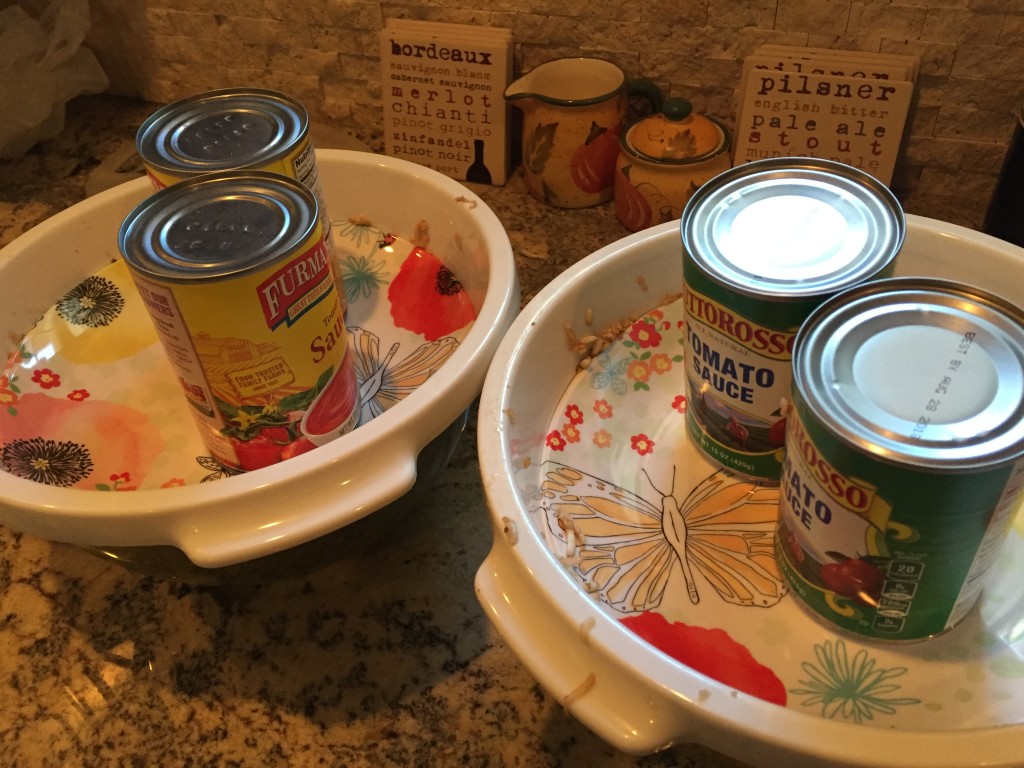
Weighing down the shredded eggplants tossed with salt, to strain out the bitter juices.


img_3153

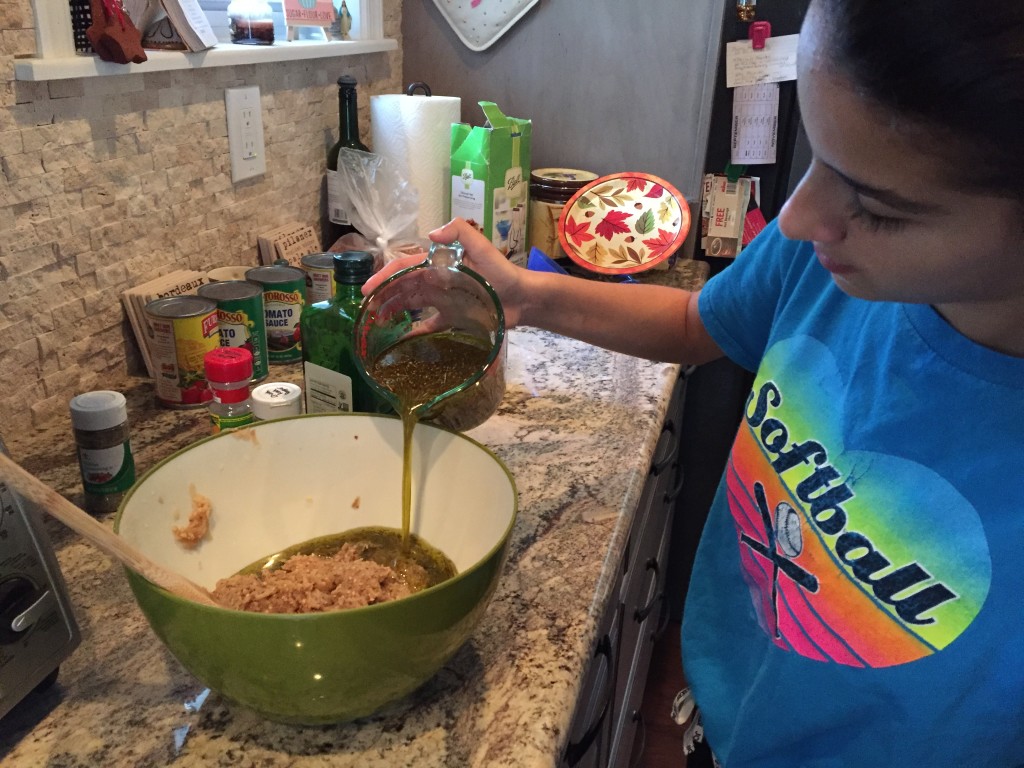
After rinsing the salted eggplants and soaking them in white wine vinegar, Julianna adds the olive oil herb mixture.


img_3155

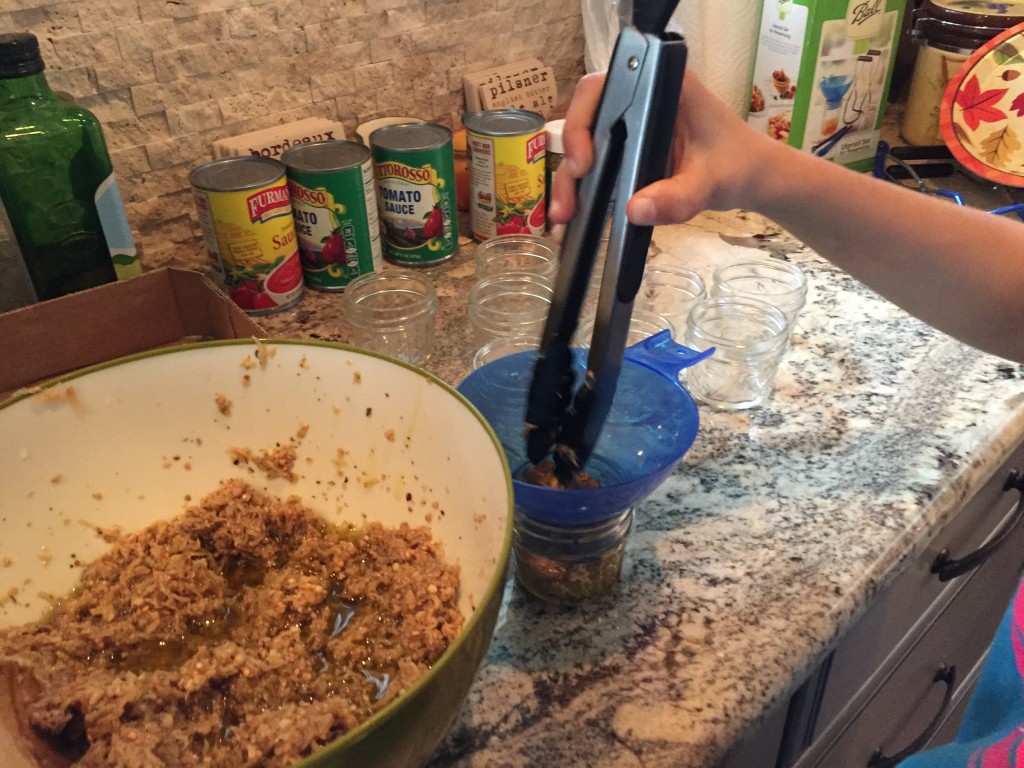
Placing the marinated eggplants into the jars.


new3

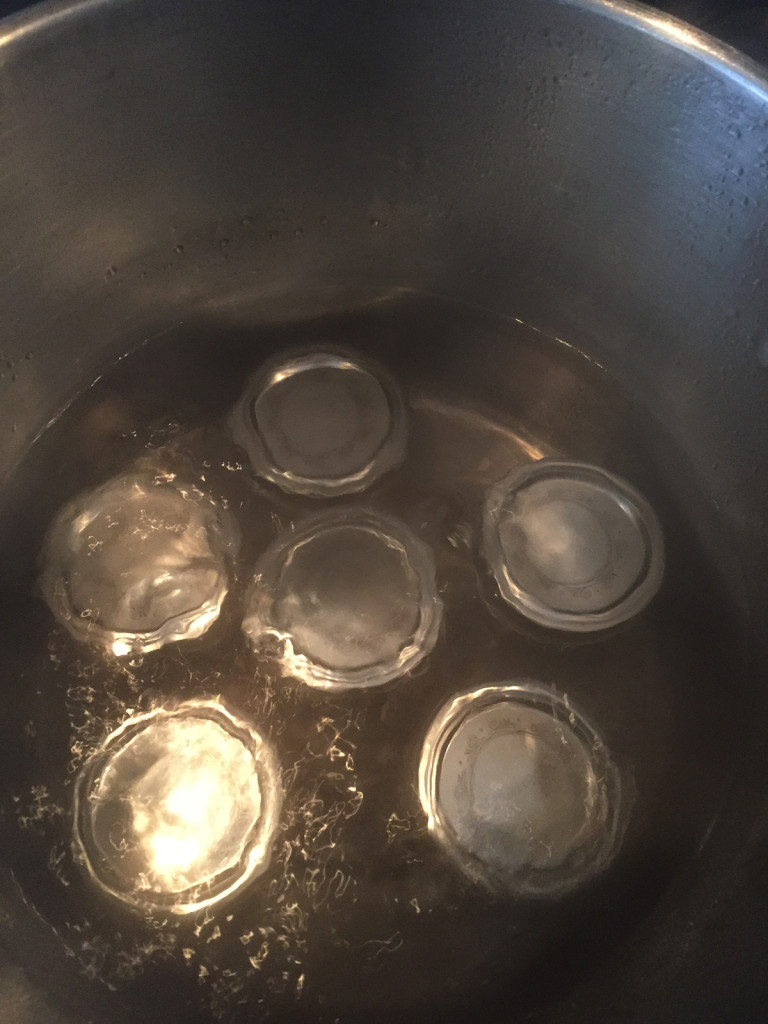
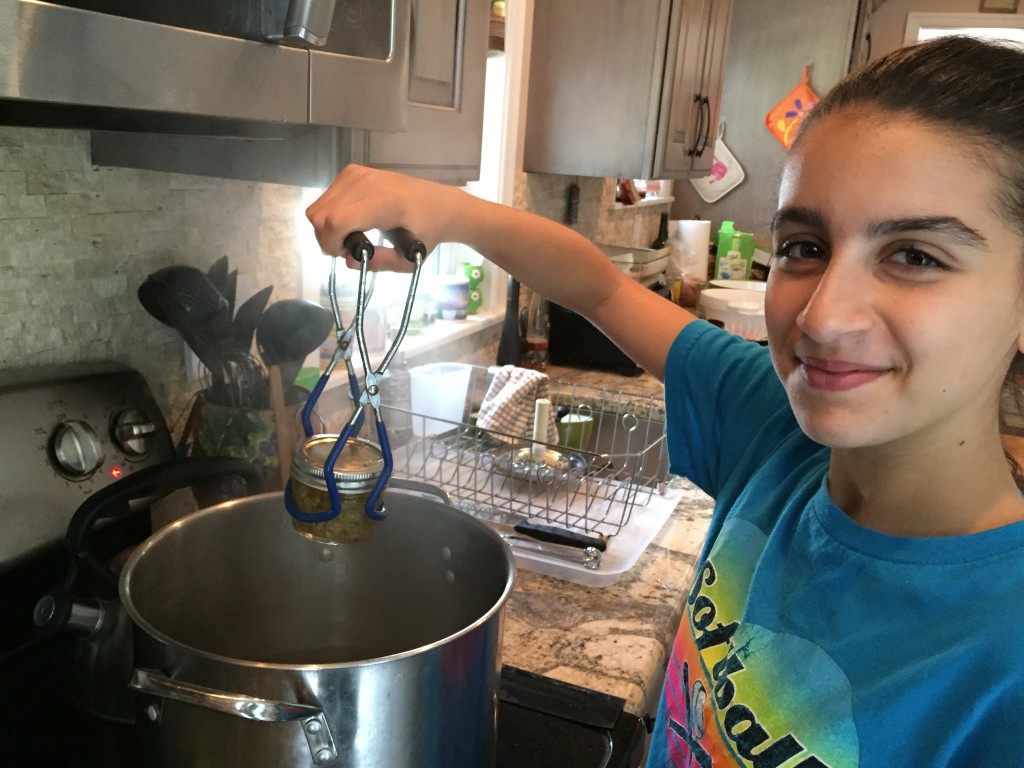
The bain marie (aka the water bath), to help seal the jars.


img_3158

Carefully removing the jars to let them sit and cool. They’ll be ready to enjoy in about 4 weeks…just in time for Thanksgiving!


eggplant-jars_small

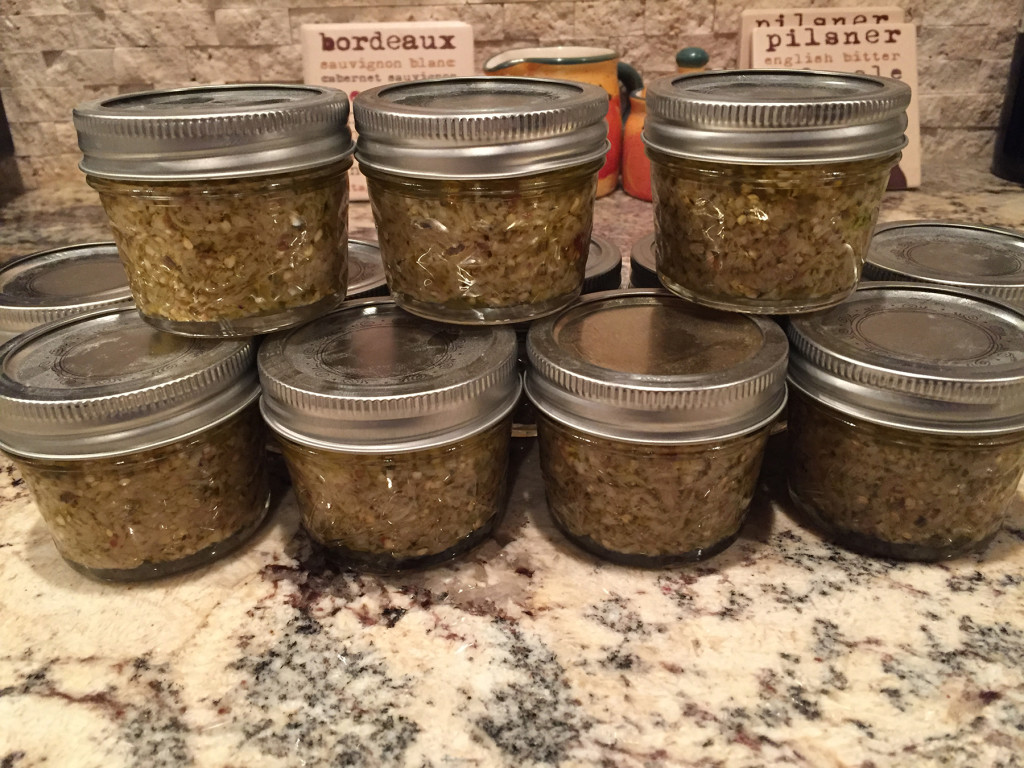
Julianna’s marinated eggplant!

Share

Mini Timbale

March 11, 2016 Entrees, Menu No Comments

In my last post, I shared with you my updated spin on the classic sausage and peppers, with the addition of rice and seasoned tomato sauce. Today’s post will put that recipe to excellent use, by using it as a stuffing inside of a timbale! For those of you not familiar with timbale, it is a dish that is prepared in a round pan (most often a spring form pan for a large size), that is lined with thin layers of eggplant, then filled with a mixture usually made up of a pasta base. The timbale is baked, then presented whole, which looks like a timbale drum, then is sliced and served. If you are a long-time reader of my food blog, you may recall my less-than-successful attempt a few years back at making timbale for my Mom’s birthday (click here for The Trials of Timbale).

After a few years, I felt that it was time to once again give it a go at making timbale. Learning from my previous mistakes, I decided this time to make individual servings in ramekin dishes to help keep everything contained and not have it fall apart all over my kitchen counter. Because I was planning to use a much smaller container, I thought that it may not allow for much room for a pasta filling. This is why I opted instead for the sausage, peppers and rice filling. By adding the sauce to the filling, it would allow the ingredients to hold together as I packed it into each serving dish. Unlike my last attempt, I was also very careful not to use too much oil when preparing the eggplant slices. Adding oil to eggplant, especially when baking it, can be very deceiving. The eggplant has a tendency to soak up liquids like it were a sponge, but then it releases them as it cooks. My previous attempt failed because I used too much oil on my eggplants, which did not allow it to hold together once removed from the pan.
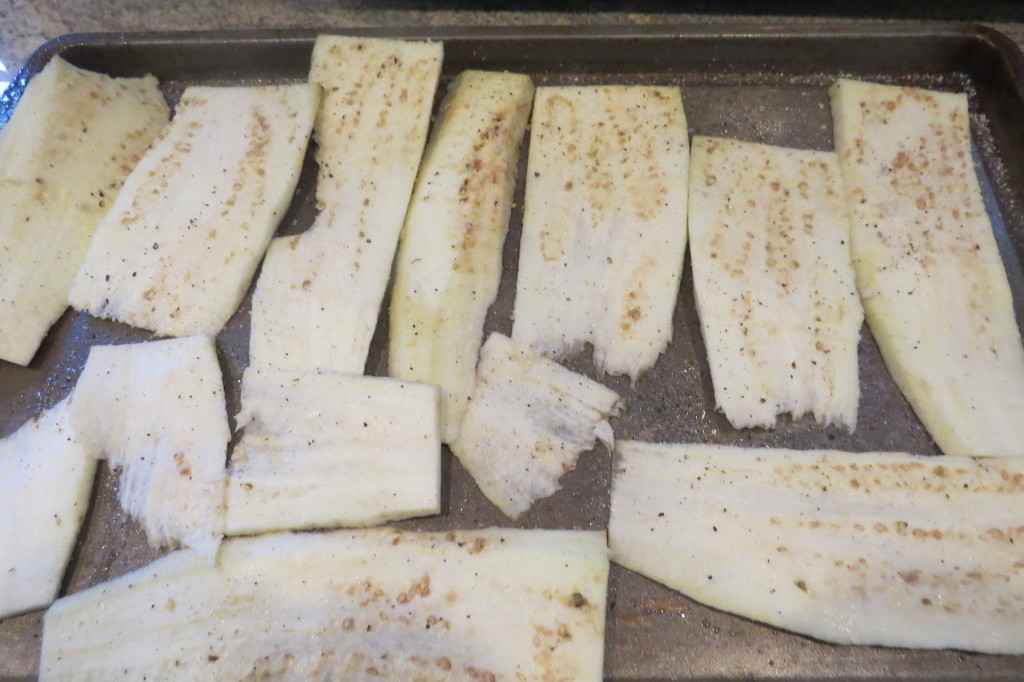
Thinly sliced seasoned eggplant on a lightly oiled baking sheet, baked at 350˚ for 5-10 minutes until softened.

Thinly sliced seasoned eggplant on a lightly oiled baking sheet, baked at 350˚ for 5-10 minutes until softened.

I started off by thinly slicing one large eggplant length-wise. I lightly sprayed a large baking sheet, and placed the slices on the sheet, lightly seasoning them with salt and pepper. I placed them in the oven at 350˚ for about 5-7 minutes…just long enough to make the slices pliable but not to where they would fall apart. Already I was off to a much better start! This left me with enough slices to line two single-serve ramekin dishes. Unlike a full size timbale, I opted to not add enough eggplant to enclose the filling. While this step is necessary with a full size, I felt that it would work fine with the smaller size, and especially with the tighter packed filling that I was planning to use. If you opt to use a pasta filling, be sure to account for more eggplant. I also suggest preparing the eggplant ahead of time and storing it in the refrigerator. The slices will stay soft enough to work with, but will not fall apart.
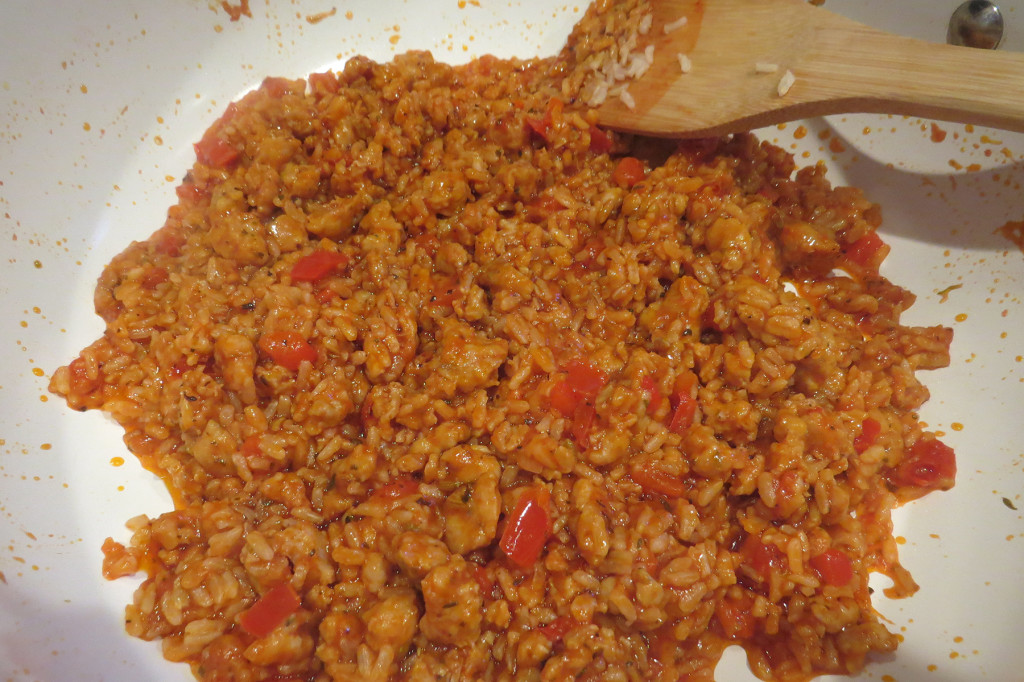
My sausage, peppers, rice and tomato sauce filling.

My sausage, peppers, rice and tomato sauce filling.

As I prepared my filling (you can click here for the recipe), I once again preheated the oven to 375˚. I lightly sprayed the ramekin dishes before lining them with the sliced eggplant. Although some pieces of eggplant were longer and larger than others, I put all of the slices to good use, making sure that the entire dish was lined. If you want to fully enclose you timbale, be sure to use larger slices off eggplant and have them overlap the edges of the pan, then simply fold over once the dish is filled. But again, because my filing was more compact that a pasta filling, I went with not completely enclosing the dish.
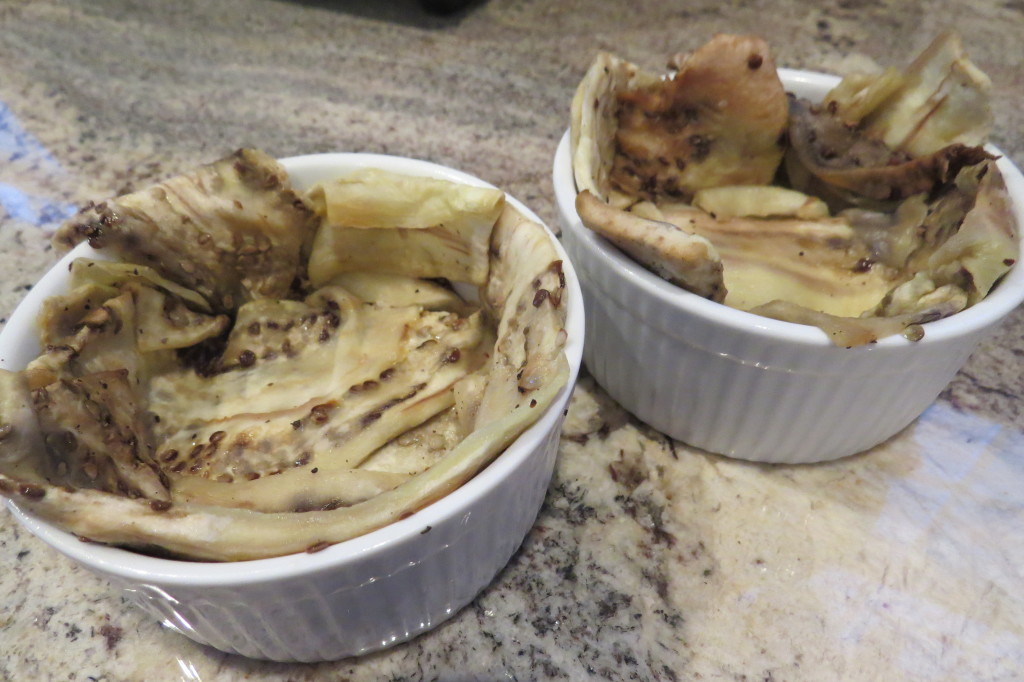
Ramekin dishes liked with the eggplant slices.

Ramekin dishes lined with the eggplant slices.
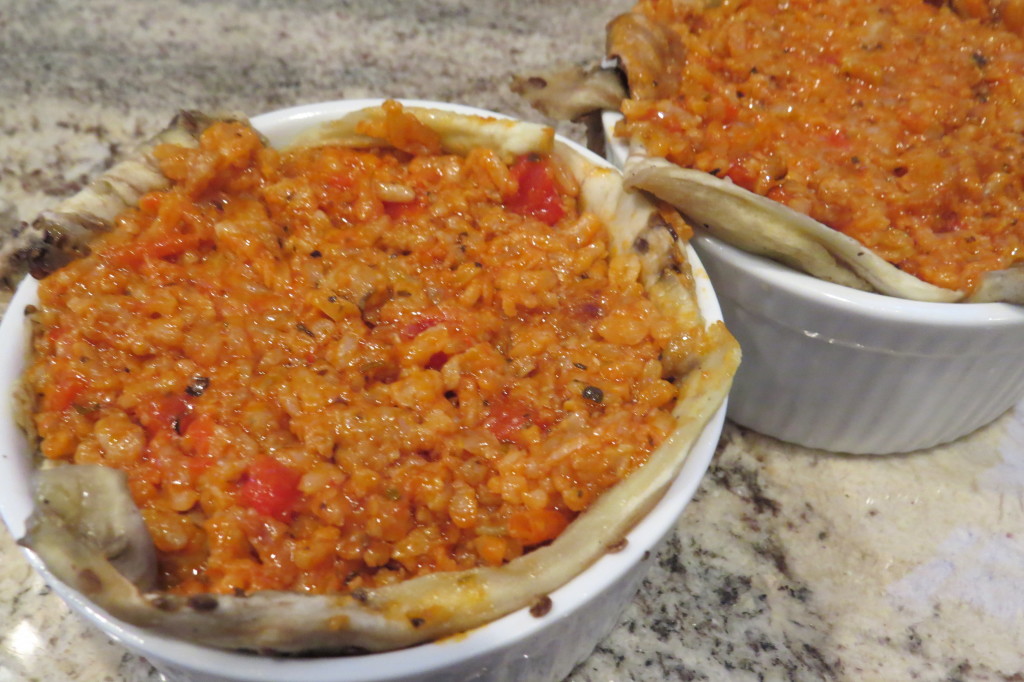
 

Tightly packing the ramekins with the filling.

Tightly packing the ramekins with the filling.

Once all of the filling was tightly packed into the ramekins, I placed them into the oven for about 30 minutes, until the outer edge of the eggplants started to brown and slightly crisp. I removed them from the oven, let them cool for a few minutes and very carefully ran a paring knife around the inner edges to separate the timbale from the dish. With a careful flip onto the dish and a few light taps, the timbale fell perfectly onto the dish. I quickly hit them with a drizzle of olive oil and some fresh herbs…and it was a thing of beauty! After years of disappointment, I had finally achieved making timbale. Not only did it look elegant, it tasted just as wonderful. It was a spectacular dish, put together with just a few simple ingredients. But a little bit of extra love took it a long way.
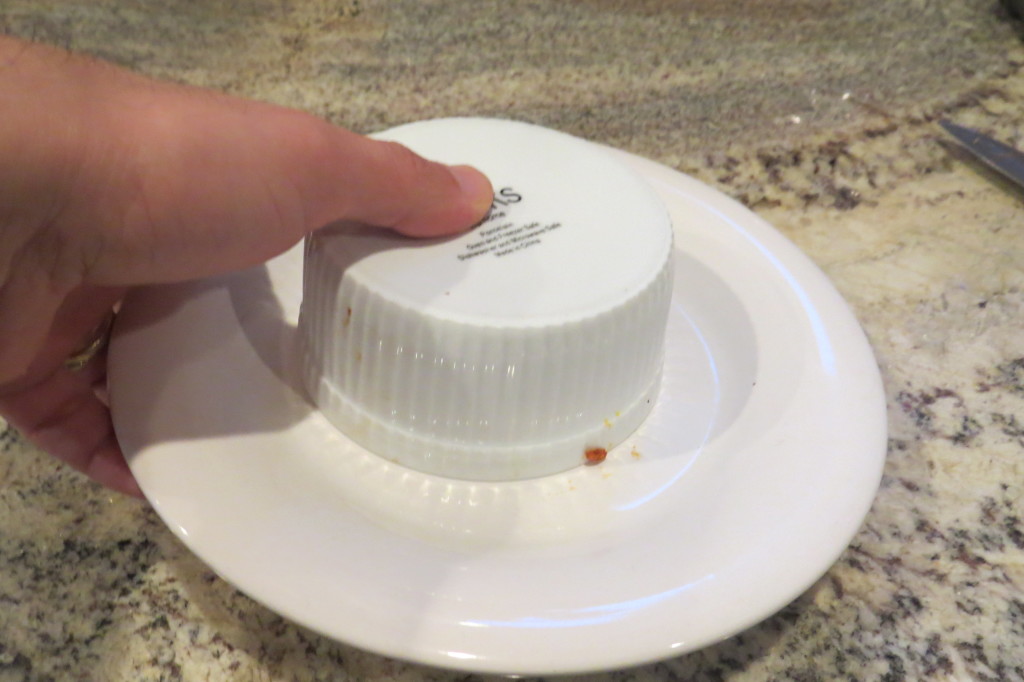
Carefully flipping the timbale onto the dish.
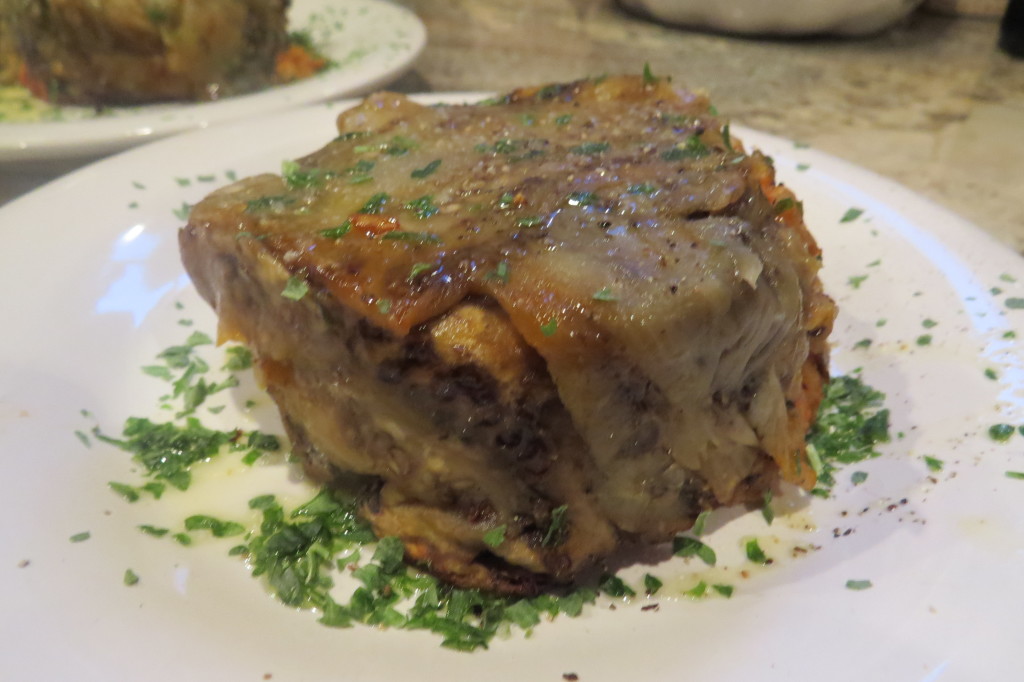
Carefully flipping the timbale onto the dish.


Drizzled with olive oil and topped with fresh herbs.

Drizzled with olive oil and topped with fresh herbs.

Regarding the filling – you can get as creative as you like. Pasta, ricotta cheese, various meats, shrimp or even vegetables would make for excellent fillings. You can also top it however you like once it is removed from the baking dish. A nice slice of mozzarella, some fresh tomatoes and basil…the options are endless!
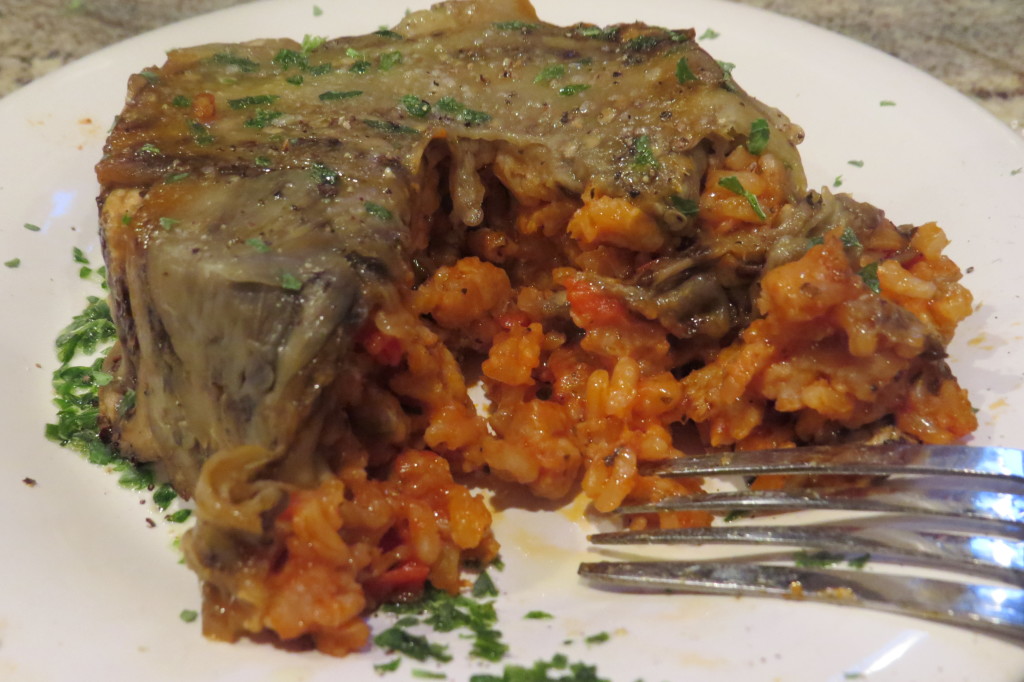
IMG_6770

Perfection!

So there you have my triumphant return to attempting timbale, and I hope it inspires you to give this creative, impressive and filling dish a try!
Share

Eggplant Prosciutto Involtini

August 21, 2014 Menu No Comments

One of the more trendy dishes that you may find today on an Italian menu is Eggplant Involtini.

Inspired by the Italian word for ‘little bundles’, eggplant involtini is thinly-sliced eggplant, stuffed and rolled with a ricotta filling, then cooked in a basic tomato sauce. My wife and I always preferred to have our eggplant prepared thin, so involtini is a dish that we enjoy whenever we have the chance.

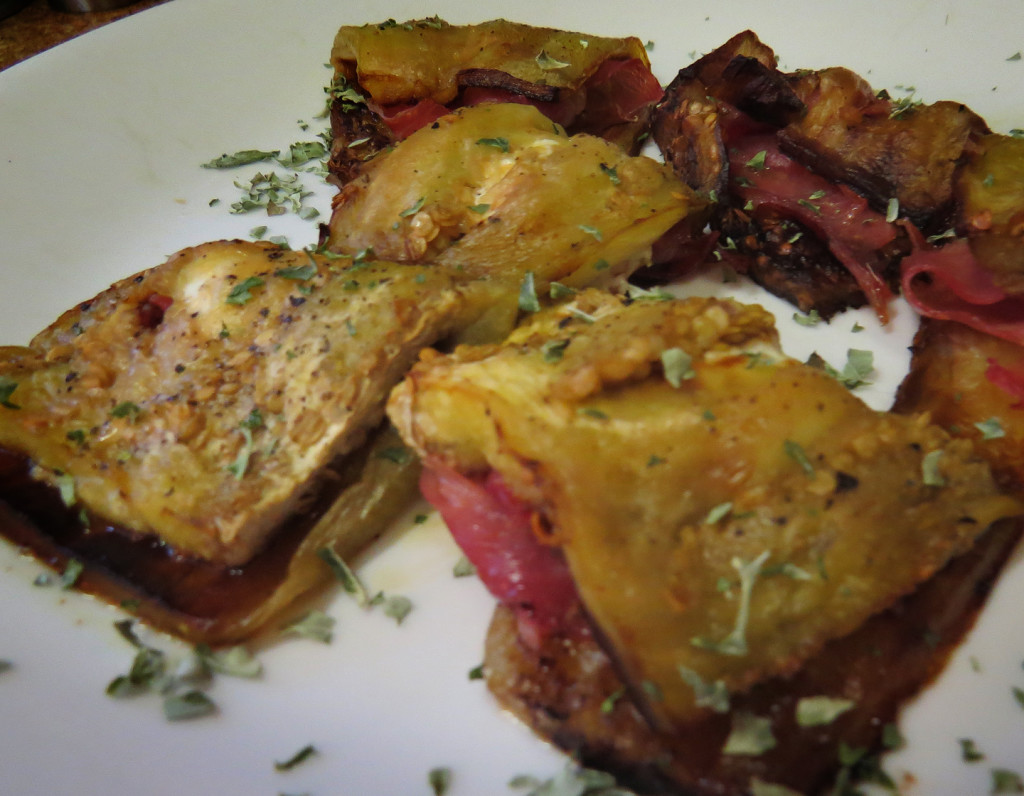
For my version of eggplant involtini, I’m replacing the ricotta stuffing with a garlic-herb goat cheese (one of my latest guilty pleasures) topped with a thin slice of prosciutto. There is no need for tomato sauce in this recipe (although feel free to add it on top if you wish).

When baked, the eggplant develops a slightly crunchy exterior and a soft and tasty interior, and is the perfect casing for the crispy and salty prosciutto and the creamy and tangy goat cheese.

This dish serves well as an appetizer or a main course.


Ingredients:

  • 1 large eggplant, skin removed and sliced thin from top to bottom (you will get about 6-8 slices)
  • olive oil
  • salt and pepper
  • garlic herb goat cheese
  • prosciutto

Directions:

Preheat oven to 375˚. Lightly drizzle eggplant slices on both sides and season with salt and pepper. Place slices on a cooking sheet and bake for 15-20 minutes, or until eggplant starts to turn golden brown.

Remove from oven, flip the eggplant slices and place a dollop of the goat cheese on each slice. Top with a thin slice of prosciutto, then fold in half (rolling may cause the slices to break). Place the eggplant back into the oven for another 5-10 minutes, until the eggplant is a rich golden brown, being careful not to burn the eggplant.

Serve and enjoy.

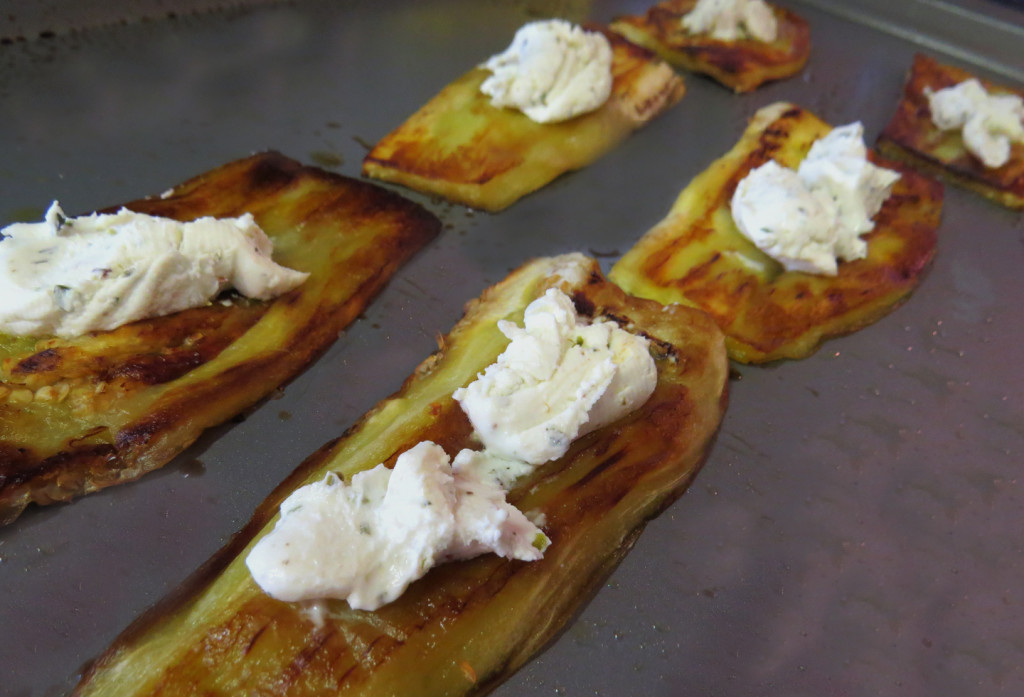
The baked eggplant topped with goat cheese.

The baked eggplant topped with goat cheese.

Folded and ready to be served.

Folded and ready to be served.

Share

Cream Sauces Part 2: White Eggplant Cream Sauce

March 20, 2014 Entrees, Menu, Pasta No Comments

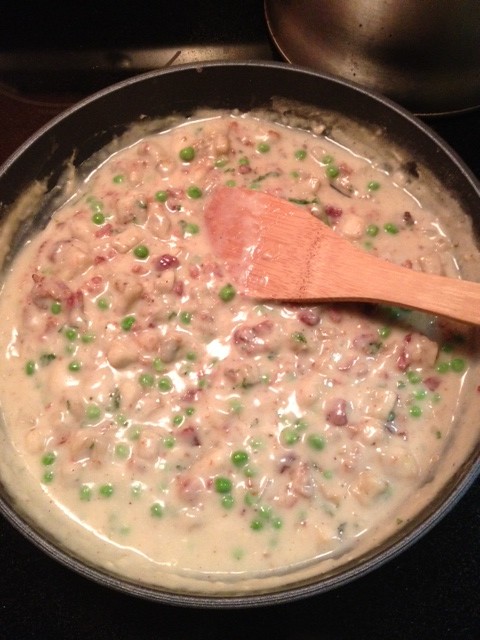
In my previous post, I introduced you to the basics of béchamel sauce, along with other sauces that use a béchamel as their starting point (mornay, soubise and velouté sauces, to be exact). I also shared with you the recipe for my red pepper béchamel cream sauce. In this post, I’ll be sharing with you the recipe for my white eggplant cream sauce, which also borrows steps and ingredients from all of the béchamel inspired sauces mentioned above. I’m using 1 cup of diced and floured eggplant, which will help give this sauce a nice, earthy taste and, depending on how long you let it simmer, either a chunky or creamy texture. As the sauce cooks, you’ll notice that the eggplant will start to break down, thus thickening the sauce as it dissolves into the liquid base. You can control how thick or chunky you make the sauce by how long you keep it simmering. The longer you simmer, the thicker and smoother the sauce. Because the sauce could potentially thicken quickly, you’ll want to keep additional broth on hand while cooking, to help thin out the sauce when needed. You can also add additional ingredients to the sauce for extra flavor and texture. I added some peas and cooked bacon to my sauce. Anything from asparagus and ham to mushrooms would work. It’s your sauce…have fun with it!

One additional benefit to this sauce is that you can make it low fat. Whole milk or heavy cream are not necessary, which is a big plus for a cream-based sauce. You can use 2% or 1% milk. Soy milk or almond milk also works well!


White Eggplant Cream Sauce 

2 tbspn unsalted butter
1 tbspn finely chopped shallot
2 cloves garlic, minced
1 cup eggplant, finely diced and dredged in flour
1 cup milk (your preference of 2% or 1% milk, or even soy milk or almond milk will work)
1/2 cup broth (chicken or vegetable), plus additional if needed
1 tbspn grated parmesan cheese
salt and pepper to taste
dash of nutmeg

Additional ingredients that I used in my version:
2 tbspn frozen peas
2 tbspn cooked bacon pieces

Heat a large, non-stick pan over medium heat. Add the butter. When melted, add the shallots, cook for 30 seconds. Add the garlic, stir together until fragrant (about another 20-30 seconds). Next, add the diced and floured eggplant, stir so that all of the pieces are coated with the butter, shallots and garlic (at this point, it will appear that the eggplant has soaked up all of the butter. When the liquid is added and the eggplant cooks, it will release all of the buttery flavor that it first absorbed).

Next, add the milk and the broth, stir together. Bring the heat down to low and stir occasionally. The eggplant will gradually dissolve into the liquid, creating a creamy sauce. Add the parmesan cheese, salt, pepper and nutmeg. Stir together, then taste to see if additional seasonings are needed. You can also add additional cheese, but be aware that this will cause the sauce to thicken even more. Continue to check on the sauce and stir for about 5 minutes. At this point the sauce is heated enough to be served, and you have control of how thick you want to make the sauce. The longer you keep it on the heat, the thicker and creamier it will become. You can (and most likely will) add additional broth to the sauce as needed to thin it out a bit. Be sure to just add a little bit at a time so that the sauce does not become too thin and runny.

You can stir in additional cooked ingredients a few minutes before serving. I added two tablespoons of frozen peas and two tablespoons of cooked bacon bits, stirring them into the sauce a few minutes before serving.

Serve the sauce with penne.

eggplantsauce2

Share

Recent Comments

Archives

powered by
Socialbar